crwdns2915892:0crwdne2915892:0
Unplug the vacuum before repair. The cord is easily disconnected and replaced once the vacuum is disassembled adequately.
crwdns2942213:0crwdne2942213:0
-
-
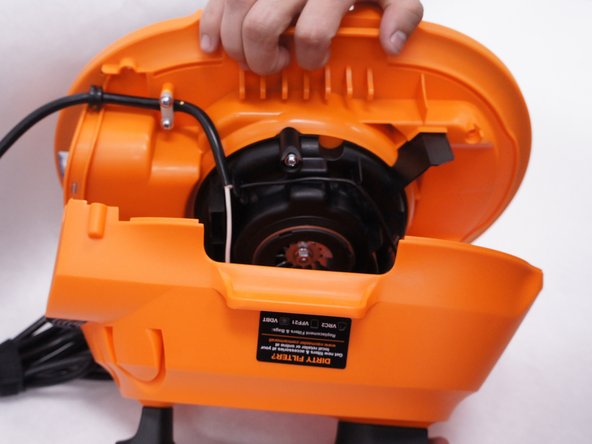
Remove the orange main housing unit from the vacuum bucket by pulling outward on the handle tabs while lifting upward as shown.
-
-
-
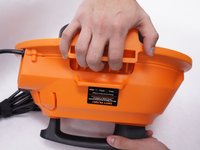
Remove the 15 mm T20 screw. This screw is located nearest the power cord.
-
-
-
-
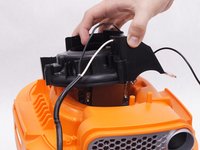
Gently separate the upper and lower sections of the main housing.
-
-
-
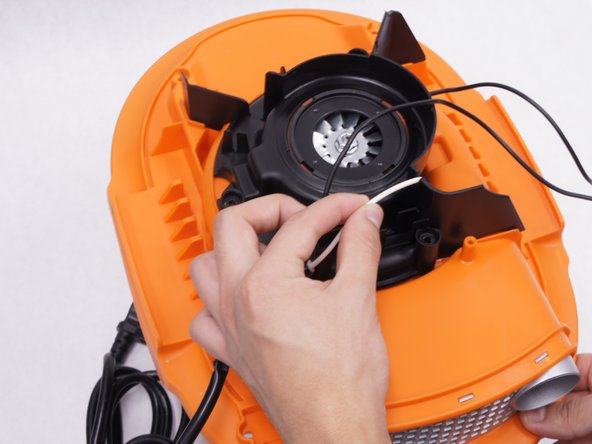
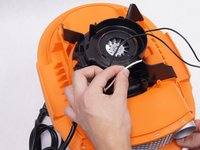
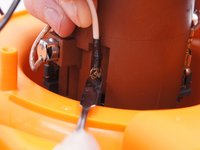
Pull the black wire from the power cord out of the switch.
-
-
-
Remove the five 15mm screws from the plastic motor cover and power cord clamp using a PH2 screwdriver.
-
-
-
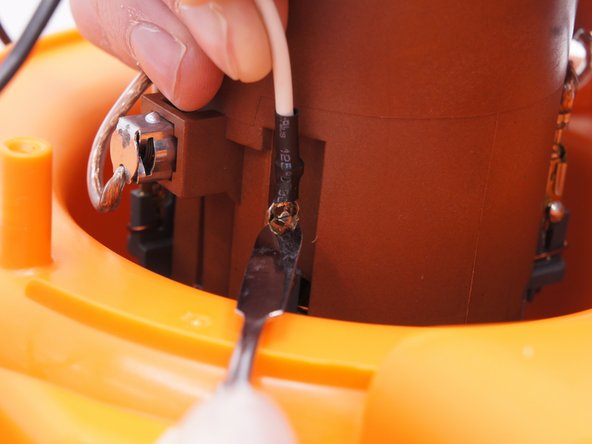
Detach the white wire from the motor by pulling upwards on the wire as you depress the small metal tab on the connector with a nylon spudger.
-


To reassemble your device, follow these instructions in reverse order.
To reassemble your device, follow these instructions in reverse order.
crwdns2935221:0crwdne2935221:0
crwdns2935229:03crwdne2935229:0
crwdns2915084:0crwdne2915084:0

IUPUI, Team 2-1, Baechle Spring 2016 crwdns2935289:0IUPUI, Team 2-1, Baechle Spring 2016crwdne2935289:0
IUPUI-BAECHLE-S16S2G1
crwdns2931471:04crwdne2931471:0
crwdns2935297:06crwdne2935297:0