crwdns2933423:0crwdne2933423:0
crwdns2947577:0crwdnd2947577:0crwdne2947577:0

ArmorAll AA255 Power Cord Replacement

crwdns2942213:0crwdne2942213:0

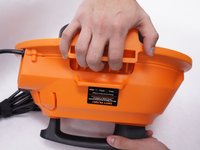
    1. ArmorAll AA255 Power Cord Replacement, Lower Motor Housing: crwdns2935265:01crwdnd2935265:01crwdnd2935265:01crwdne2935265:0
      • Remove the orange main housing unit from the vacuum bucket by pulling outward on the handle tabs while lifting upward as shown.

      crwdns2952109:0crwdne2952109:0

      crwdns2917038:0crwdne2917038:0

    2. ArmorAll AA255 Power Cord Replacement: crwdns2935265:02crwdnd2935265:01crwdnd2935265:01crwdne2935265:0
      • Remove the five 15mm PH2 screws.

      crwdns2952109:0crwdne2952109:0

      crwdns2917038:0crwdne2917038:0

    3. ArmorAll AA255 Power Cord Replacement: crwdns2935265:03crwdnd2935265:01crwdnd2935265:01crwdne2935265:0
      • Remove the 15 mm T20 screw. This screw is located nearest the power cord.

      crwdns2952109:0crwdne2952109:0

      crwdns2917038:0crwdne2917038:0

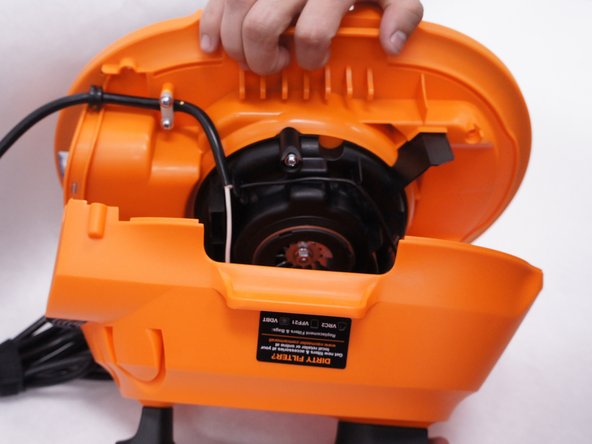
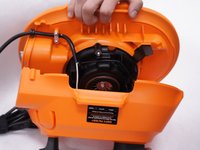
    4. ArmorAll AA255 Power Cord Replacement: crwdns2935265:04crwdnd2935265:01crwdnd2935265:02crwdne2935265:0 ArmorAll AA255 Power Cord Replacement: crwdns2935265:04crwdnd2935265:02crwdnd2935265:02crwdne2935265:0
      • Gently separate the upper and lower sections of the main housing.

      crwdns2952109:0crwdne2952109:0

      crwdns2917038:0crwdne2917038:0

    1. ArmorAll AA255 Power Cord Replacement, Power Cord: crwdns2935265:05crwdnd2935265:01crwdnd2935265:01crwdne2935265:0
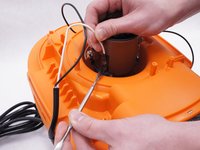
      • Pull the black wire from the power cord out of the switch.

      • There are no clips or tabs that hold this wire in place. Just pull strongly to remove it.

      • Don't remove both black wires. Only the black wire that comes from the power cord itself needs to be removed. The one going to the motor can be left alone.

      crwdns2952109:0crwdne2952109:0

      crwdns2917038:0crwdne2917038:0

    2. ArmorAll AA255 Power Cord Replacement: crwdns2935265:06crwdnd2935265:01crwdnd2935265:01crwdne2935265:0
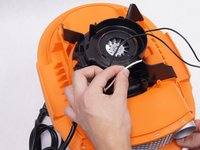
      • Remove the five 15mm screws from the plastic motor cover and power cord clamp using a PH2 screwdriver.

      crwdns2952109:0crwdne2952109:0

      crwdns2917038:0crwdne2917038:0

    3. ArmorAll AA255 Power Cord Replacement: crwdns2935265:07crwdnd2935265:01crwdnd2935265:02crwdne2935265:0 ArmorAll AA255 Power Cord Replacement: crwdns2935265:07crwdnd2935265:02crwdnd2935265:02crwdne2935265:0
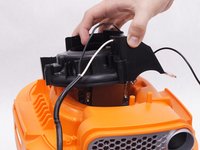
      • Remove the plastic motor cover.

      • Be sure to loosen the white wire from the notch in the plastic motor cover by pulling it upwards.

      crwdns2952109:0crwdne2952109:0

      crwdns2917038:0crwdne2917038:0

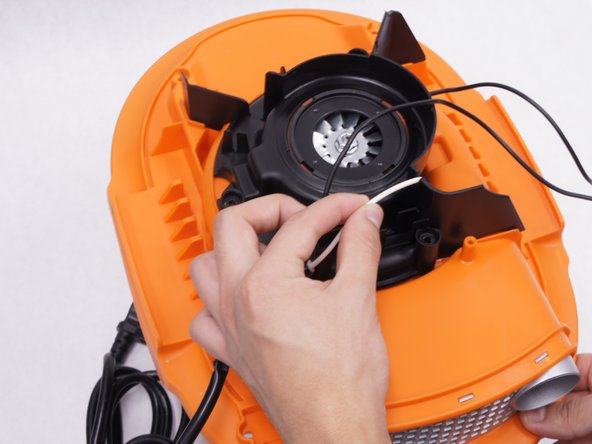
    4. ArmorAll AA255 Power Cord Replacement: crwdns2935265:08crwdnd2935265:01crwdnd2935265:02crwdne2935265:0 ArmorAll AA255 Power Cord Replacement: crwdns2935265:08crwdnd2935265:02crwdnd2935265:02crwdne2935265:0
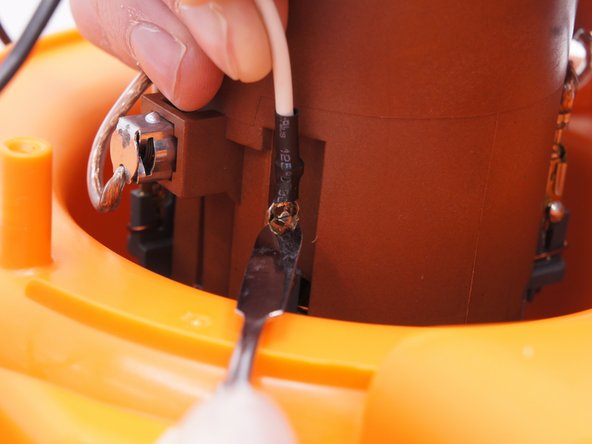
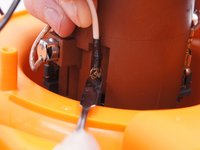
      • Detach the white wire from the motor by pulling upwards on the wire as you depress the small metal tab on the connector with a nylon spudger.

      • When working with electronics, it's important to choose a tool that's ESD-safe to avoid accidental damage to the device. The regular black nylon spudger or a plastic opening tool should be used whenever possible.

      crwdns2952109:0crwdne2952109:0

      crwdns2917038:0crwdne2917038:0

crwdns2915888:0crwdne2915888:0

To reassemble your device, follow these instructions in reverse order.

crwdns2935221:0crwdne2935221:0

crwdns2935229:03crwdne2935229:0

Abel Manring

crwdns2935283:002/10/16crwdne2935283:0

263 crwdns2915208:0crwdne2915208:0

crwdns2935295:0crwdne2935295:0

crwdns2935287:0crwdne2935287:0

IUPUI, Team 2-1, Baechle Spring 2016 crwdns2935289:0IUPUI, Team 2-1, Baechle Spring 2016crwdne2935289:0

IUPUI-BAECHLE-S16S2G1

crwdns2931471:04crwdne2931471:0

crwdns2935297:010crwdne2935297:0

crwdns2947412:00crwdne2947412:0

crwdns2917038:0crwdne2917038:0

crwdns2936625:0crwdne2936625:0:

crwdns2936751:024crwdne2936751:0 2

crwdns2936753:07crwdne2936753:0 16

crwdns2936753:030crwdne2936753:0 39

crwdns2942667:0crwdne2942667:0 1,544