crwdns2915892:0crwdne2915892:0
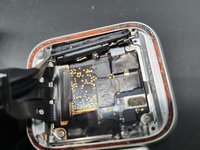
This Guide Picks up after the Battery and Screen Removal guides posted, all of the same tools are used.
-
-
Unscrew Tri-screw and remove small plate cover.
-
-
-
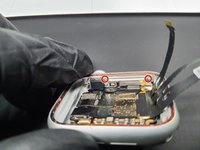
Undo both connectors highlighted.
-
Then the Taptic engine should be able to be lifted out.
-
-
-
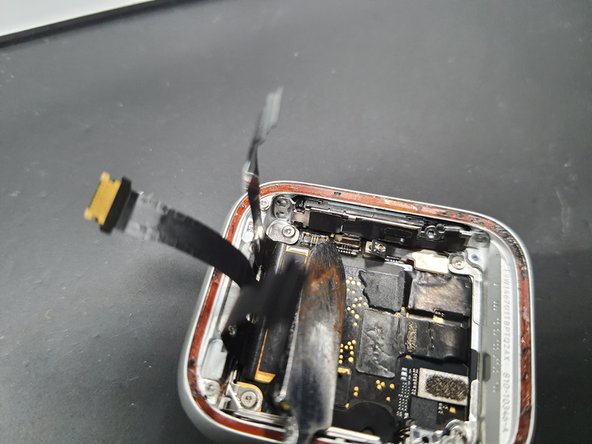
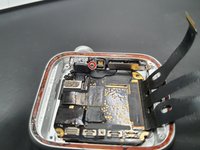
Disconnect this connector.
-
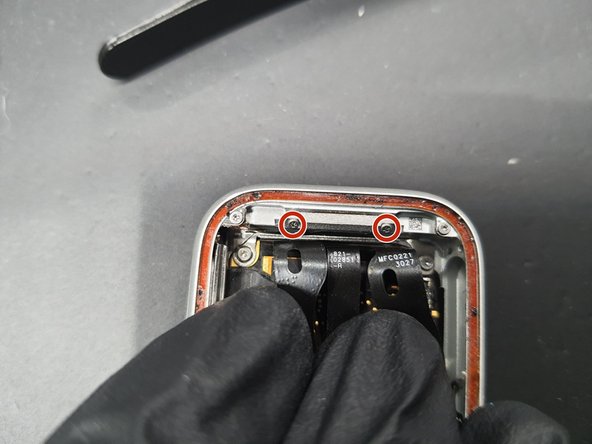
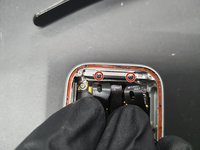
Then remove these 3 tri-screws.
-
-
-
crwdns2935267:0crwdne2935267:0Tweezers$4.99
-
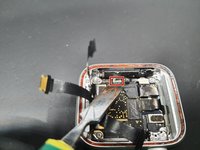
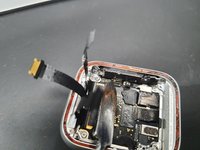
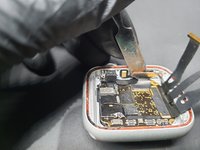
Remove the speaker slowly.
-
-
-
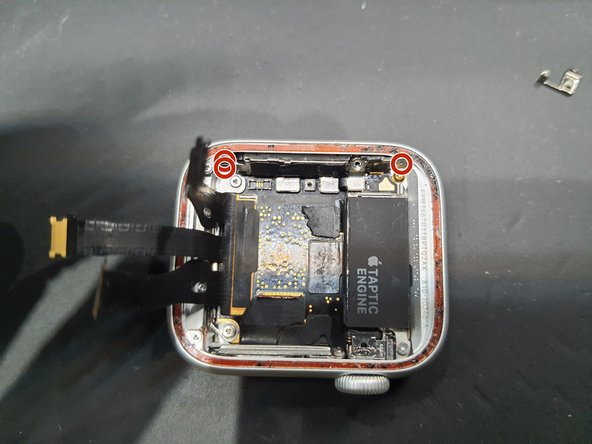
4 more Tri-screws are removed here.
-
Gently pulling back the screen flex cables reveals 2 more Tri-screws that should be removed.
-
Then the brackets can be removed with tweezers.
-
-
-
Remove these 2 Tri-screws.
-
After taking off the first bracket, take of the next Tri-screw and remove the second bracket.
-
-
-
Disconnect the Power button FPC.
-
-
-
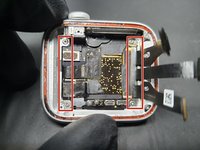
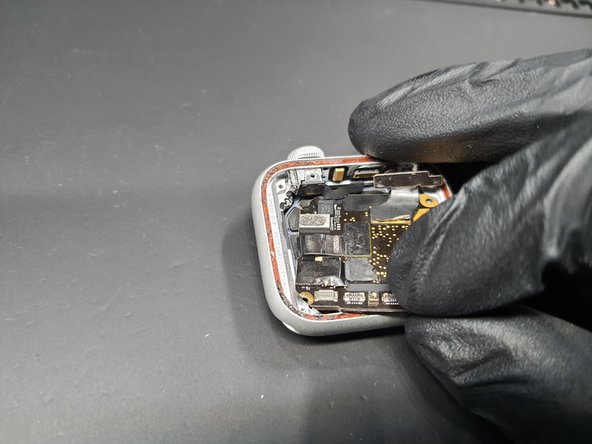
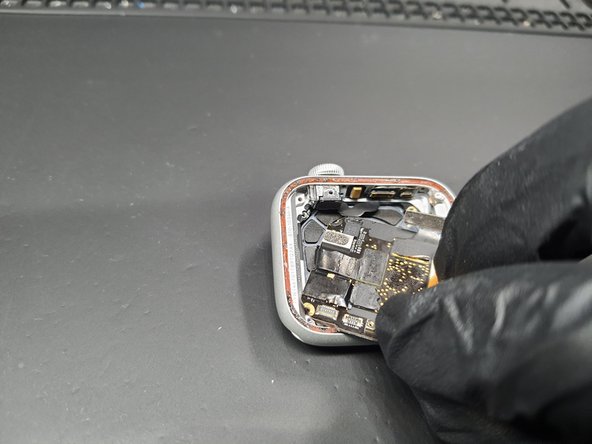
Starting in the bottom right corner as show here. Gently wedge in a spudger and pry up on the board.
-
Once you are able to get a good hold on the board move try pulling down and to the right in a clockwork motion.
-
-
-
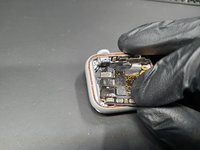
Once the board is lifted out, the final connector is highlighted.
-
Disconnect and you are all done!
-
Repeat steps backwards to put everything back together.
-