crwdns2915892:0crwdne2915892:0
The base plate serves as the under casing for the device. It provide structural security and protection for the internal components. If the base plate is damaged it may put the internal hardware at risk and should be replaced. The rubber covering is held in place by an adhesive and make take some time remove.
crwdns2942213:0crwdne2942213:0
-
-
Turn the device upside down to reveal the rubber section of the back plate. Using a metal spudger, carefully wedge the blunt tip into the space between the aluminum back plate and the rubber, separating the two pieces.
-
Depending on air temperature and how set the adhesive is, you may need to spend some time warming the back plate with a hot plate (on low) or hair dryer.
-
-
-
-
Remove the ten 3mm screws with a Phillips #00 screwdriver.
-
-
-
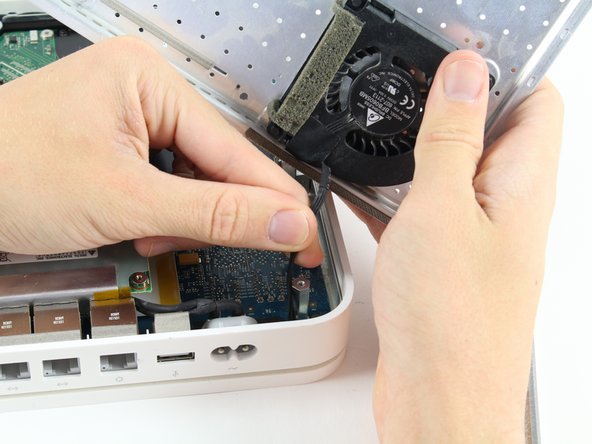
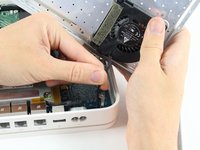
The fan affixed to the back plate is connected to the logic board. A small wire must be detached to fully remove the back plate.
-
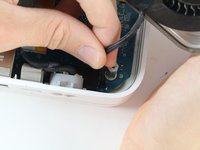
Pull the base of the wire close to the logic board and the connector will pop off.
-
To reassemble your device, follow these instructions in reverse order.
crwdns2935221:0crwdne2935221:0
crwdns2935229:09crwdne2935229:0
crwdns2947412:02crwdne2947412:0
I had to open to destroy the hard drive for security reasons. The rubber bottom was so old it just tore to bits. I used a Dremel Multi-Max with a flat scraper blade to remove it in the end.
must I put back on the rubber bottom or can I leave it off for maximum airflow?


