crwdns2915892:0crwdne2915892:0
In order to obtain access to the internal components you must first follow this step by step general disassembly guide. This will be a first stop in installing a new component that is enclosed by the outer shell.
crwdns2942213:0crwdne2942213:0
-
-
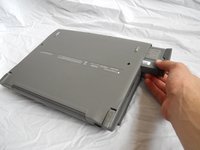
Turn computer over.
-
Remove battery expansion cover and battery.
-
-
-
With monitor hinge at the bottom, remove the two top center screws.
-
-
-
Remove top left and top right screws.
-
-
-
-
Remove middle left and middle right screws.
-
-
-
Open computer kickstands.
-
Remove screws underneath each kickstand.
-
-
-
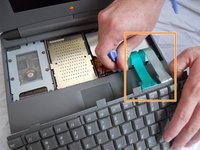
Lift keyboard from bottom and take out of shell.
-
-
-
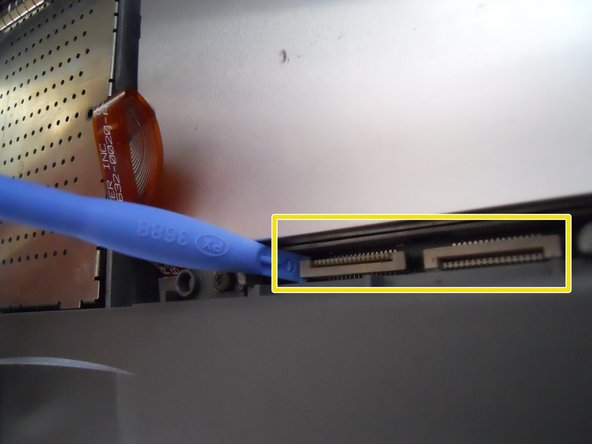
Lift the white ribbon clamps securing the keyboard ribbon cables to the motherboard. You can do this using a plastic opening tool.
-
Removing both ribbon cables from the motherboard will leave the clamps like so.
-
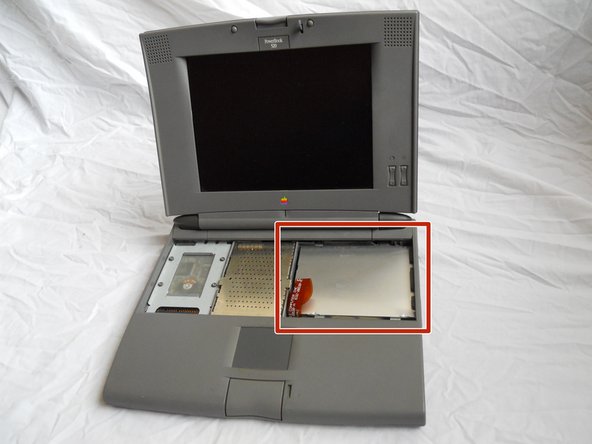
From here you can access the logic board, hard drive, and floppy drive.
-


To reassemble your device, follow these instructions in reverse order.
crwdns2935221:0crwdne2935221:0
crwdns2935229:011crwdne2935229:0
crwdns2947412:02crwdne2947412:0
http://tim.id.au/laptops/apple/powerbook... (PDF)
Apple Service Source: PowerBook 500 Series
Guides for everything.
Thanks been trying to fix this for a long time