crwdns2915892:0crwdne2915892:0
This guide serves to help you to replace the charging port on the Anker Soundcore 3. If you need help identifying possible issues with your charging port before replacing it, consult this troubleshooting guide for possible quick solutions.
crwdns2942213:0crwdne2942213:0
-
-
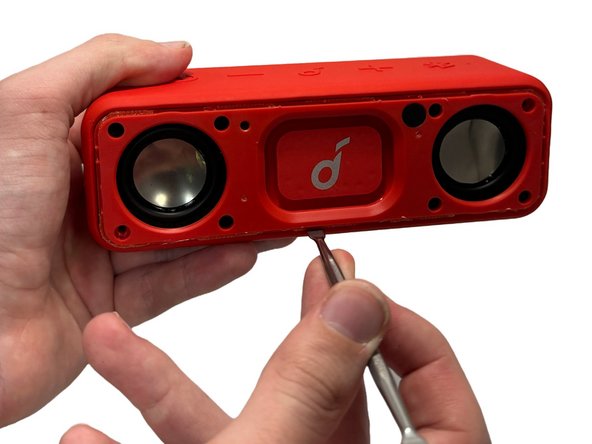
Gently heat the perimeter of the device with a hairdryer to loosen the adhesive.
-
Insert a metal spudger in between the speaker's front grill and chassis.
-
Continuously pry around the edges of the casing; you should hear the glue start to separate from the front panel before the two parts separate.
-
-
-
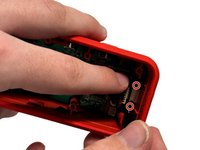
Remove 8 of the 10 mm screws from the speaker panel using a Phillips #0 screwdriver.
-
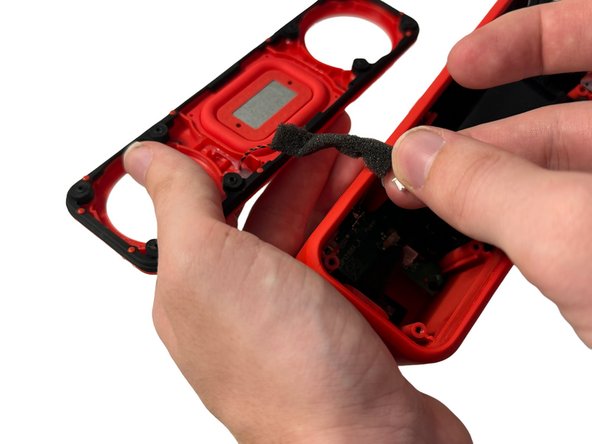
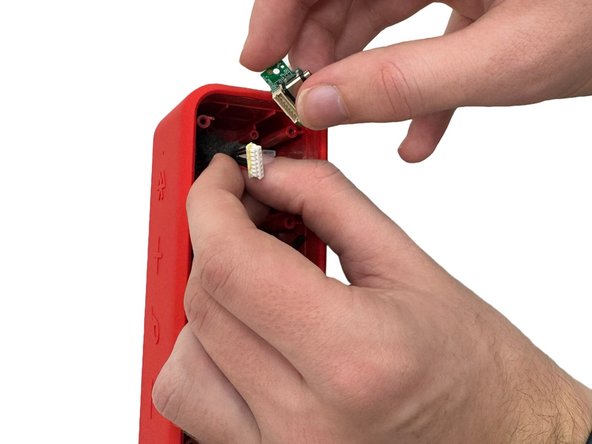
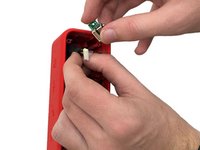
Using the metal spudger, gently pry at the outer-edges of the speaker to remove the rubber/plastic panel that sits above the motherboard.
-
Grip and disconnect the cable connector from both the rubber/plastic panel and the mainboard.
-
-
-
-
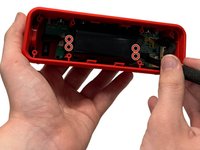
Remove the four 10 mm screws that secure the battery with a Phillips #00 screwdriver.
-
Firmly grasp the connector cable and gently pull up to remove it from the mainboard.
-
Remove the battery.
-
-
-
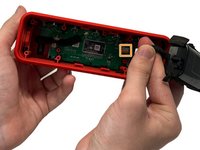
Remove the two 10 mm screws that secure the charging port with a Phillips #00 screwdriver.
-
Using a metal spudger, remove any glue that may be holding the charging cable in place.
-
Firmly grasp the cable and disconnect it from the charging port.
-
Remove the charging port.
-


To reassemble your device, follow these instructions in reverse order.

crwdns2935287:0crwdne2935287:0

University of North Texas, Team 5-3, Kilpatrick Fall 2024 crwdns2935289:0University of North Texas, Team 5-3, Kilpatrick Fall 2024crwdne2935289:0
UNT-KILPATRICK-F24S5G3
crwdns2931471:04crwdne2931471:0
crwdns2935297:05crwdne2935297:0
crwdns2947410:01crwdne2947410:0
Excelent guide!
Where would I get such a replacement charging board?