crwdns2915892:0crwdne2915892:0
This guide provides essential information and steps on how to replace a faulty camera, including a step by step disassembling and removing instructions. Follow steps 1-3 to open the device. Ignore steps 4 and 5 and go straight to step 6 after doing so.
crwdns2942213:0crwdne2942213:0
-
-
Remove the two 00 Phillips screws located in the right hand side of the tablet.
-
-
-
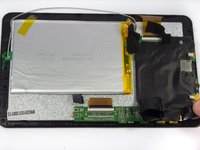
Use plastic opening tools to loosen and pry off the back plate (pink piece).
-
-
-
-
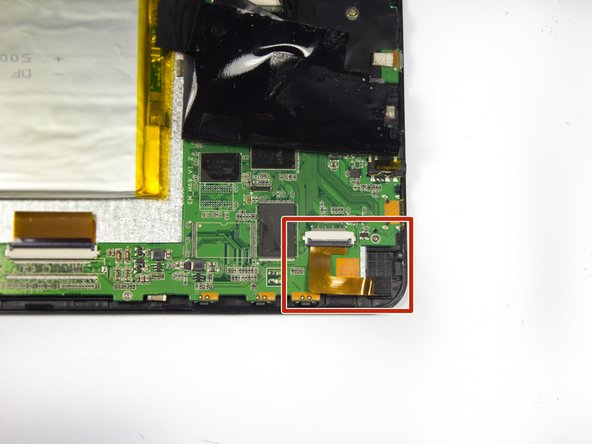
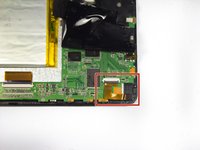
Start by removing the electrical tape covering the camera, located at the top left corner of the device.
-
-
crwdns2935267:0crwdne2935267:0Tweezers$4.99
-
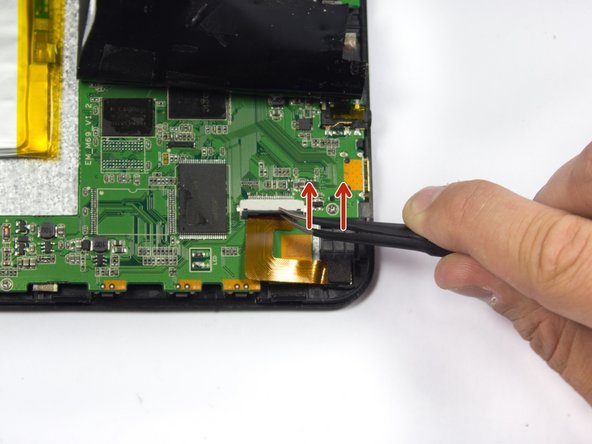
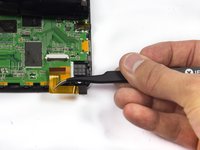
Lift up the black plastic lock on the ZIF connector with tweezers.
-
-
-
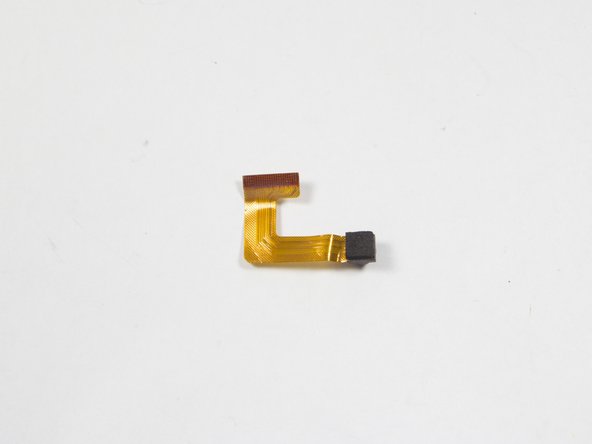
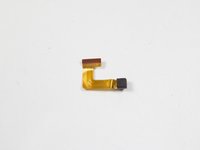
Gently remove the camera by removing the power cord with tweezers. The camera should release easily: do not twist or pull too hard.
-
Replace the camera with a new one.
-


To reassemble your device, follow these instructions in reverse order. Do not forget to put electrical tape back in place.
crwdns2935221:0crwdne2935221:0
crwdns2935227:0crwdne2935227:0
crwdns2935287:0crwdne2935287:0

UMass Dartmouth, Team 7-1, Cichon Spring 2015 crwdns2935289:0UMass Dartmouth, Team 7-1, Cichon Spring 2015crwdne2935289:0
UMASSD-CICHON-S15S7G1
crwdns2931471:04crwdne2931471:0
crwdns2935297:012crwdne2935297:0