crwdns2915892:0crwdne2915892:0
If the joystick thumbstick on your Amazon Luna Controller is worn out, unresponsive, or dirty, it can hinder your gaming experience and impact control precision. Replacing or cleaning the thumbstick is a simple process that requires minimal technical expertise. This guide will walk you through the steps to safely remove and replace the thumbstick, ensuring your controller performs optimally.
crwdns2942213:0crwdne2942213:0
-
-
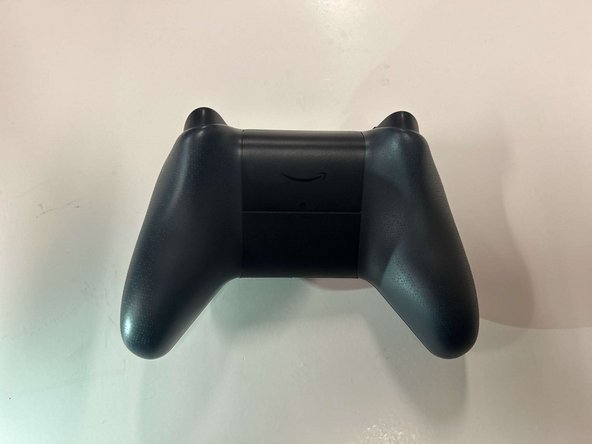
Flip the controller over so that the back panel is facing up.
-
-
-
Locate the latch on the back panel.
-
Pull down gently to open the compartment and expose the battery slots.
-
Remove batteries.
-
-
-
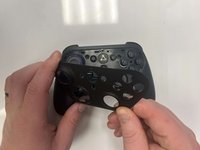
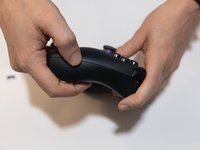
Flip the controller over to its front and locate the seam where the front plate connects to the rest of the body.
-
-
-
-
Hold the controller firmly.
-
Insert the thin edge of an iFixit opening tool into the seam at the edge of the front plate close to the A button.
-
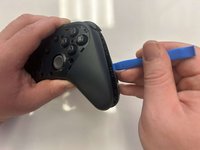
Work slowly and carefully around all sides to avoid snapping the clips.
-
-
-
Once all clips are released, lift the front plate away from the controller.
-
-
-
Remove the six 8 mm screws securing the controller's body using a TR9 Torx screwdriver.
-
-
-
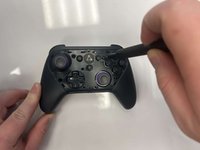
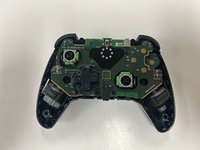
Gently pry along the seam that separates the two halves of the controller using an opening tool.
-
Work your way around the perimeter to carefully release the clips securing the two halves.
-
-
-
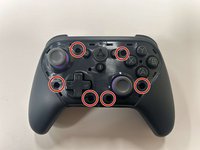
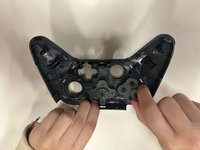
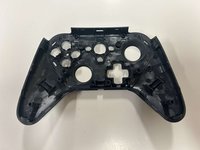
Lay the front of the controller shell downward.
-
Remove the rubber padding that keeps the buttons in place.
-
Remove the buttons from the shell housing.
-
-
-
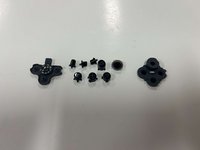
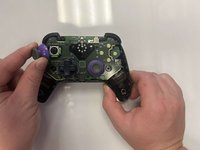
Gently pull the joystick thumbstick straight up to remove it from the controller.
-


To reassemble your device, follow these instructions in reverse order.
crwdns2935221:0crwdne2935221:0
crwdns2935227:0crwdne2935227:0

crwdns2935287:0crwdne2935287:0

Western Carolina University, Team 1-4, Virtue Fall 2024 crwdns2935289:0Western Carolina University, Team 1-4, Virtue Fall 2024crwdne2935289:0
WCU-VIRTUE-F24S1G4
crwdns2931471:03crwdne2931471:0
crwdns2935297:05crwdne2935297:0