crwdns2915892:0crwdne2915892:0
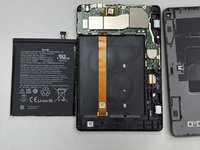
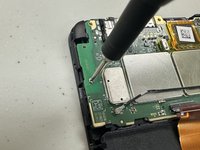
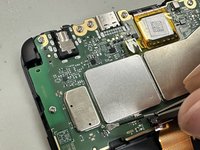
If your Kindle Fire HD 8 12th gen is having issues charging, but you know your battery is healthy, try using another cable. If no cable works then this may be caused by a faulty USB port. To replace the USB port, follow these steps below.
crwdns2942213:0crwdne2942213:0
-
-
Insert an opening pick into the seam between the rear case and the screen assembly.
-
Slide the opening pick around the perimeter, prying periodically, until the screen assembly begins to release.
-
Insert an opening tool into the gap you created, and continue to pry periodically around the entire perimeter until the screen assembly fully releases.
-
-
-
Use an opening tool to lift the battery connector until it disconnects.
-
-
-
Gently and slowly grip and pull the three white adhesive tabs that secure the battery until they fully release.
-
-
-
-
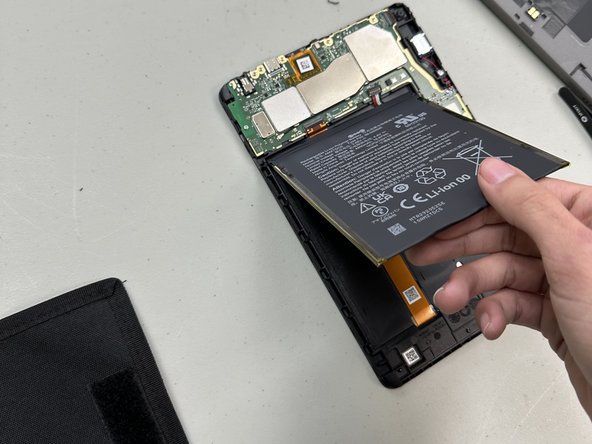
Gently pry around the entire perimeter of the battery with an opening tool until the adhesive releases.
-
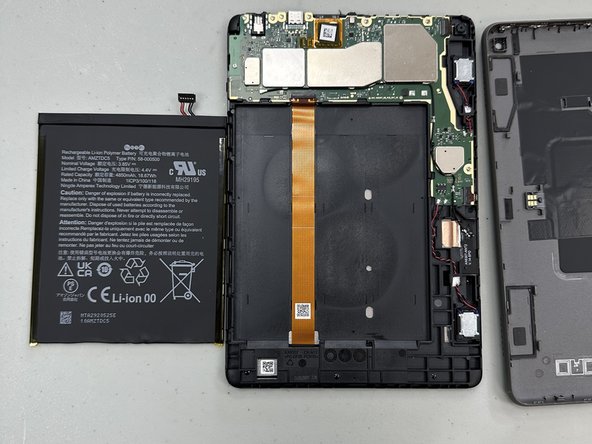
Remove the battery.
-
-
-
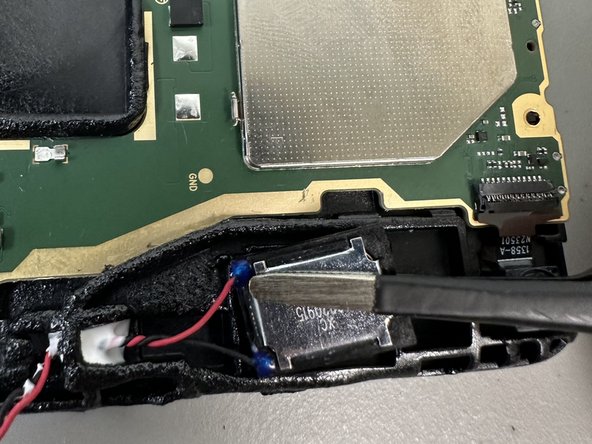
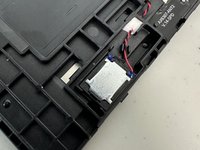
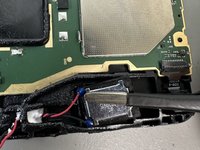
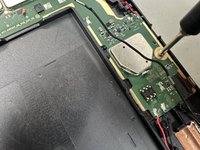
Desolder the speaker motherboard connections.
-
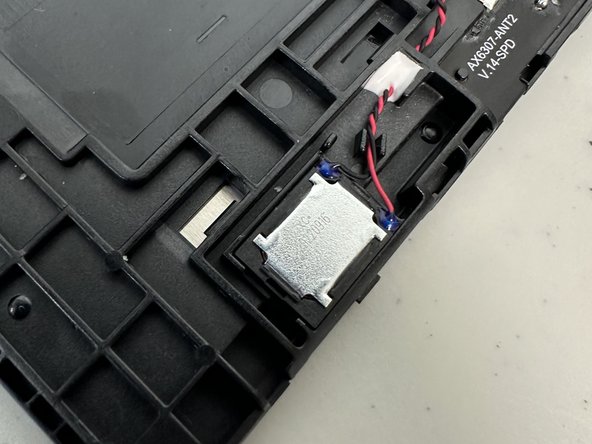
Lift the speaker up and out of the chassis.
-
-
-
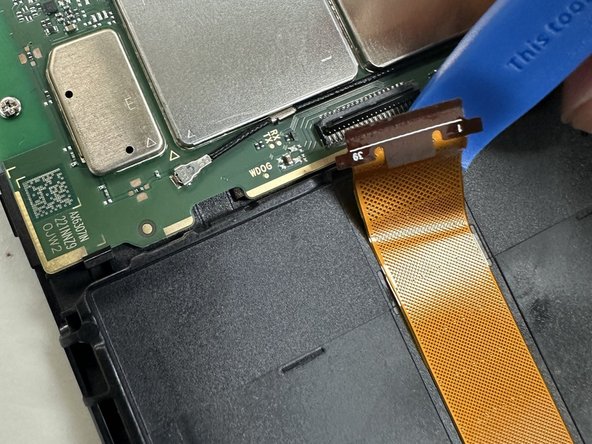
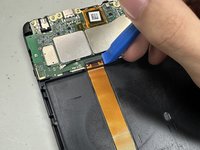
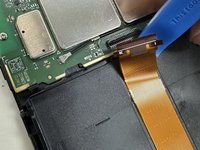
Lift the black ZIF locking flap.
-
Disconnect the orange ribbon cable.
-
-
-
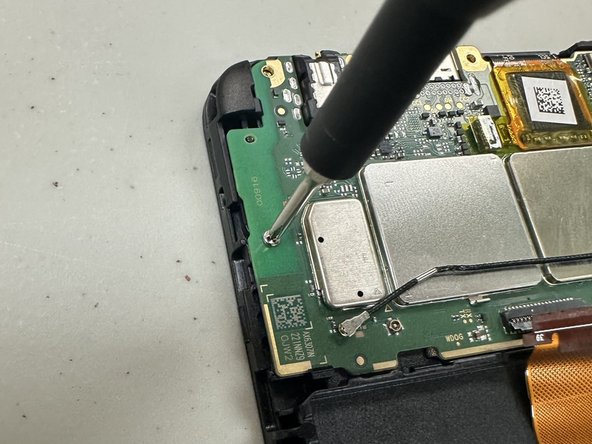
Remove all of the Phillips screws that secure the motherboard.
-
-
-
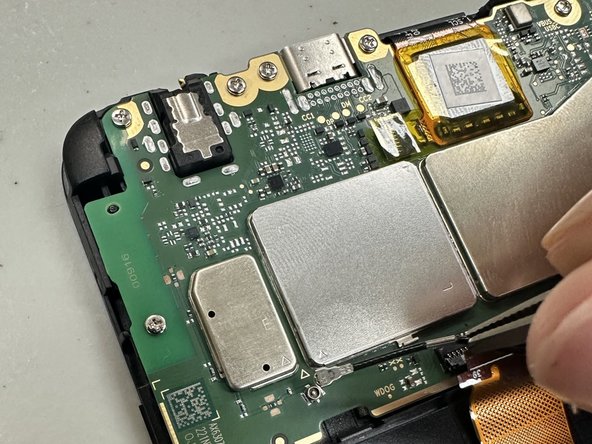
Once the motherboard is fully disconnected from the device lift the motherboard out of the chassis with an opening tool.
-
-
-
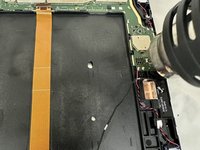
Desolder the USB port.
-
Remove the orange film.
-
To reassemble your device, follow these instructions in reverse order.


