crwdns2915892:0crwdne2915892:0
You will need to use the screen replacement guide as a prerequisite.
crwdns2942213:0crwdne2942213:0
-
-
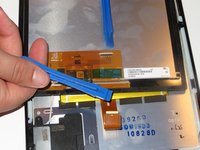
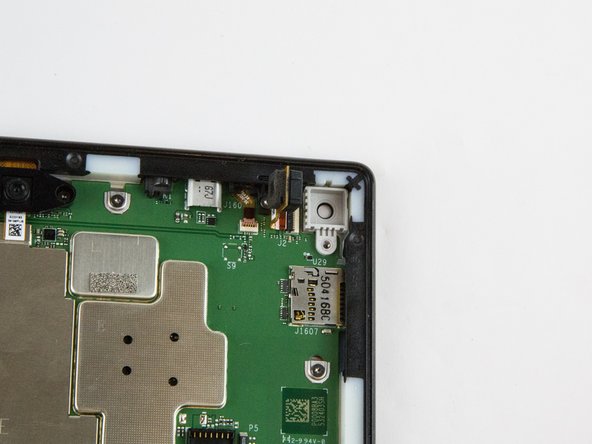
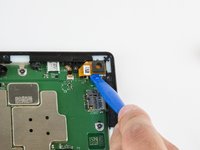
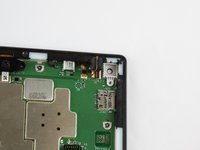
Use a plastic opening tool to pry the screen up in the right hand corner.
-
-
-
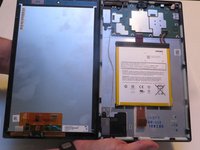
Lift the screen and digitizer from the case.
-
-
-
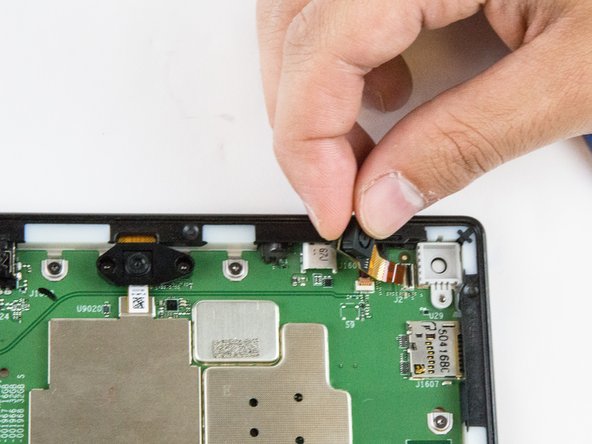
Disconnect the ribbon connector from the digitizer side using your hands or the plastic opening tool.
-
-
-
-
Remove the screen and digitizer from the case completely.
-
-
-
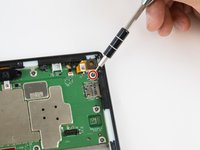
Remove the single T5 Torx screw at the base of the camera.
-
-
-
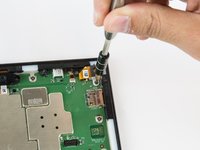
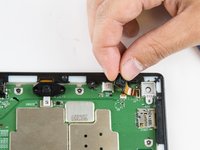
Lift the camera from the case using the plastic opening tool.
-
-
-
Gently grab the camera and pull to remove.
-
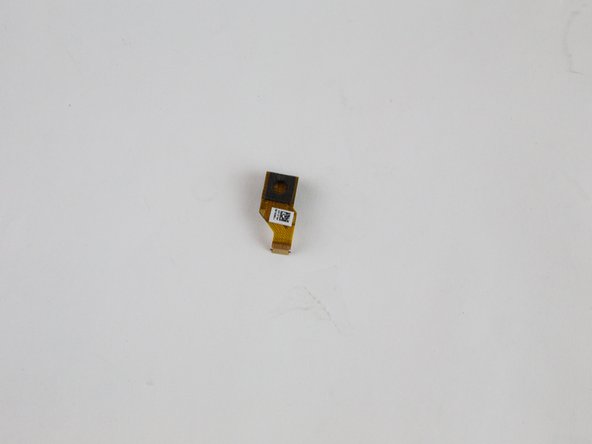
The camera is now free from the motherboard.
-
To reassemble your device, follow these instructions in reverse order.
crwdns2935221:0crwdne2935221:0
crwdns2935229:02crwdne2935229:0


