crwdns2915892:0crwdne2915892:0
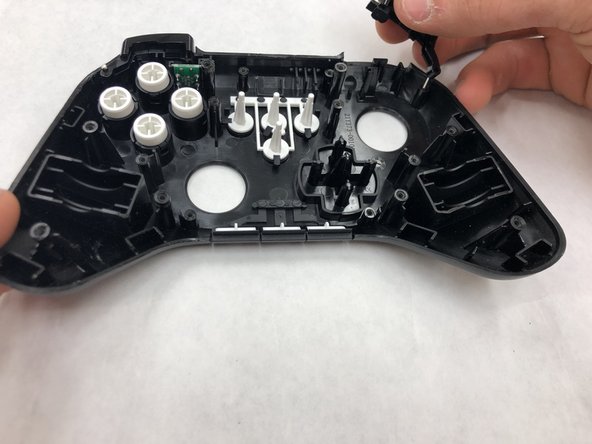
This guide will show you how to properly replace the outer shell of the Amazon Fire game controller. This procedure may be necessary when a part of the outer shell becomes damaged, and will remedy both functionality and cosmetic issues.
crwdns2942213:0crwdne2942213:0
-
-
Use a Triangle #2 screwdriver to remove the six 10 mm screws from the back of the controller.
-
-
-
Pry the two shell pieces from one another from the top orientation with a plastic opening tool.
-
-
-
Disconnect the battery terminal wires and the play, pause, and stop wires from the motherboard.
-
-
-
-
Use a J1 screwdriver to unscrew the four 7 mm screws from the motherboard.
-
-
-
Lift the motherboard out of the controller casing.
-
-
-
Use a JIS #0 screwdriver to remove the two 7 mm screws from the retaining bracket that secures the play, stop, and pause button wiring.
-
-
-
Use a JIS #0 screwdriver to unscrew the 5 mm screws from the LED indicator assembly.
-
To reassemble your device, follow these instructions in reverse order.
crwdns2935221:0crwdne2935221:0
crwdns2935227:0crwdne2935227:0


