crwdns2915892:0crwdne2915892:0
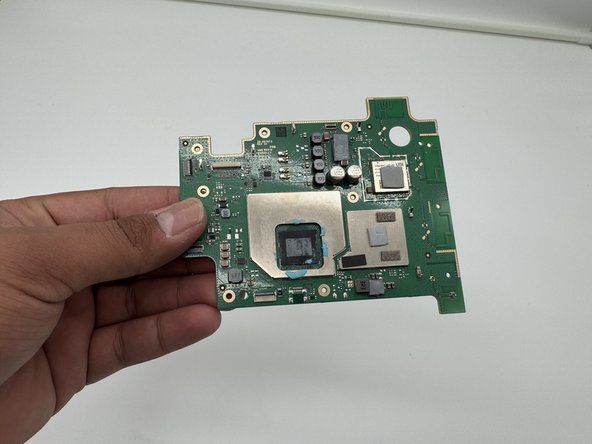
The motherboard is the most important part of your Echo Show, as it is responsible for all operations the device does. If you believe that your Echo Show may have a faulty motherboard (e.g. no power, graphical glitches), then follow this guide to replace it.
crwdns2942213:0crwdne2942213:0
-
-
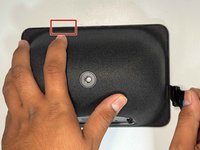
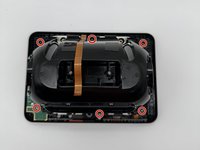
Use a prying tool to remove the rubber foot at the bottom.
-
Use an opening pick to remove the screw cover.
-
-
-
Use a Torx TR8 screwdriver to remove the two 2 cm screws.
-
-
-
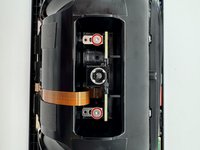
Insert a jimmy in the gap between the display and chassis.
-
Pry around the perimeter until the back case releases.
-
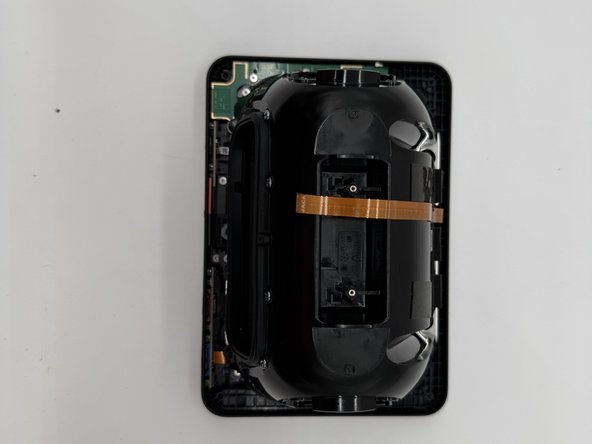
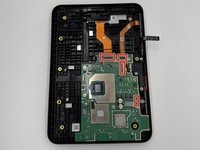
Remove the back case.
-
-
-
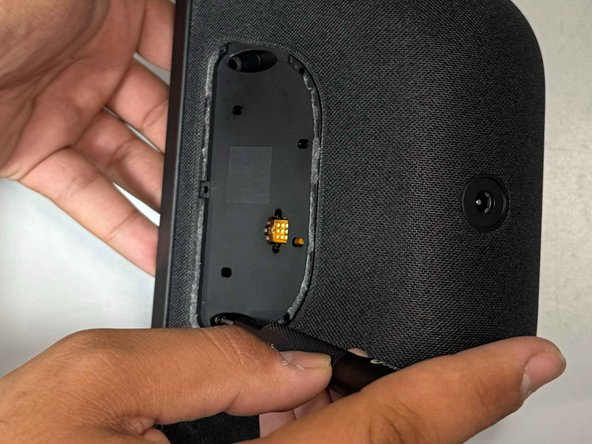
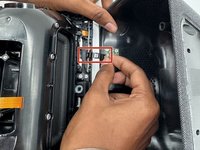
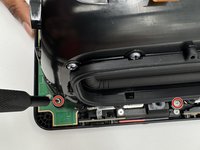
Use a Torx TR6 screwdriver to remove the two 5 mm screws that secure the power board.
-
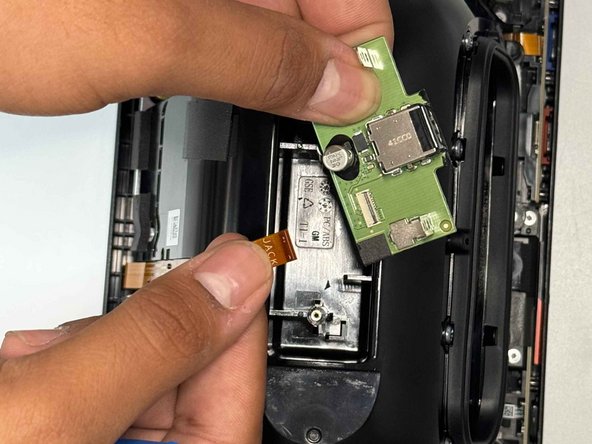
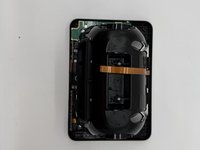
Carefully lift the board without straining the ribbon cable.
-
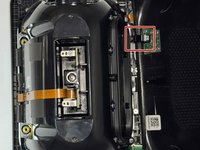
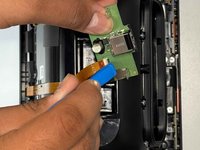
Using an opening tool, carefully flip up the black ZIF locking flap that secures the ribbon cable.
-
Disconnect the ribbon cable.
-
-
-
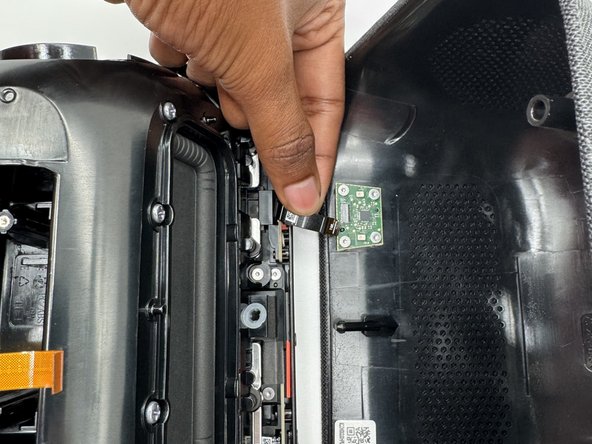
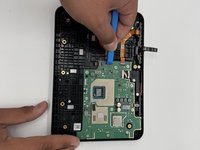
Gently tilt the shell towards the top of the device and disconnect the ribbon cable from the board on the case.
-
-
-
-
Use a TR6 screwdriver to remove the six 7mm screws located around the speaker assembly.
-
Gently tilt the speaker assembly towards the ribbon cable.
-
Flip open the black tab on the connector towards the cable and gently pull.
-
-
-
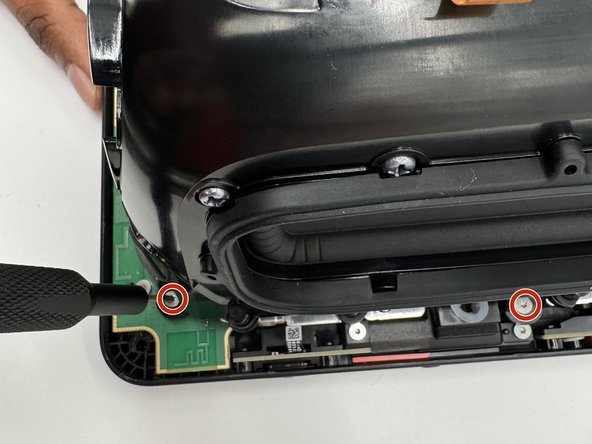
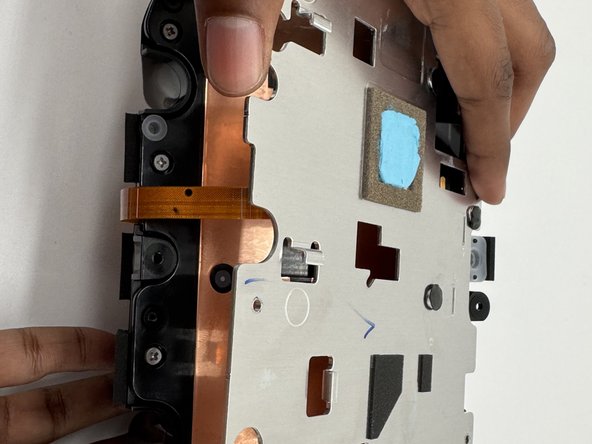
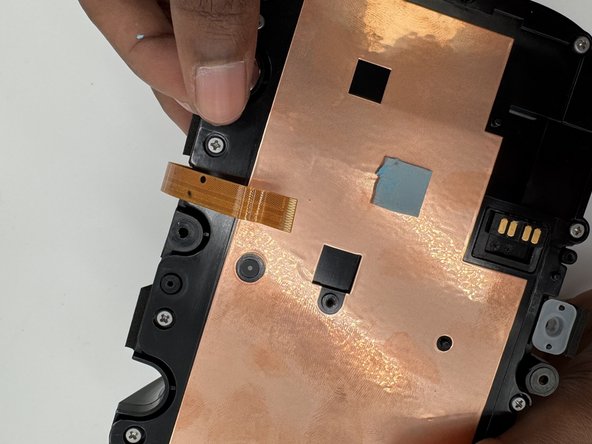
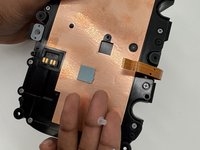
Use a TR6 Torx screwdriver to remove the eight 9 mm screws holding the metal bracket.
-
Gently lift off the metal bracket.
-
-
-
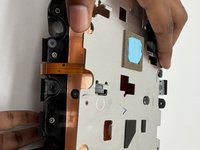
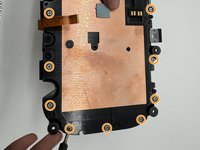
Remove the 2 rubber stoppers.
-
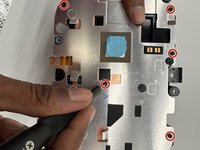
Remove all 14 screws with a Phillips #1 screwdriver.
-
-
-
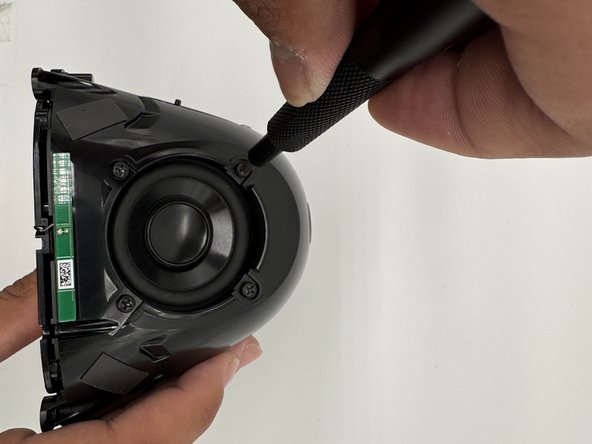
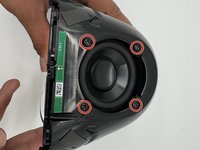
Use a Phillips #1 screwdriver to remove the four 1.3 cm screws holding down each driver.
-
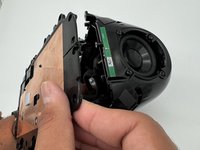
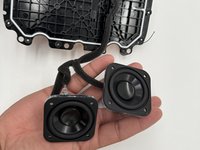
Gently pull the plastic plate towards the antenna cable.
-
-
-
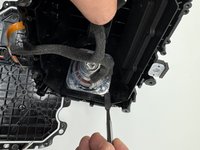
Pry the speakers from the housing with a spudger.
-
-
-
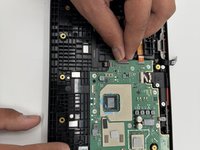
Use an opening tool to flip up the black ZIF locking flap that secure the four ribbon cables.
-
-
-
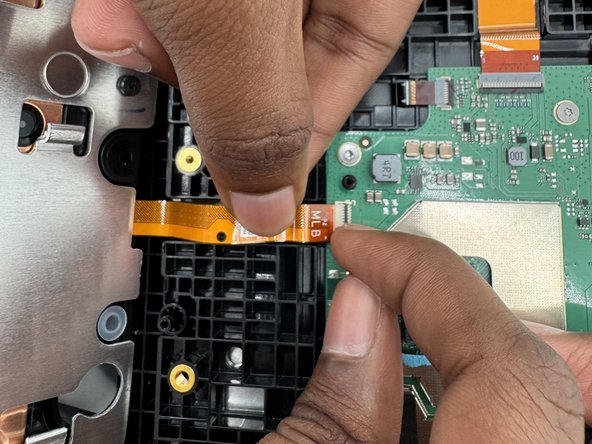
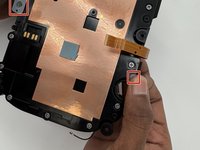
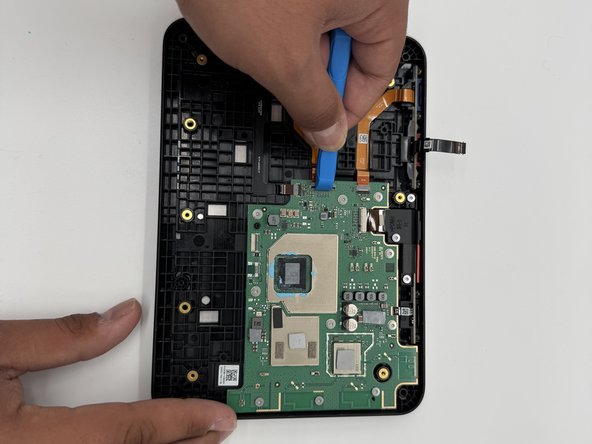
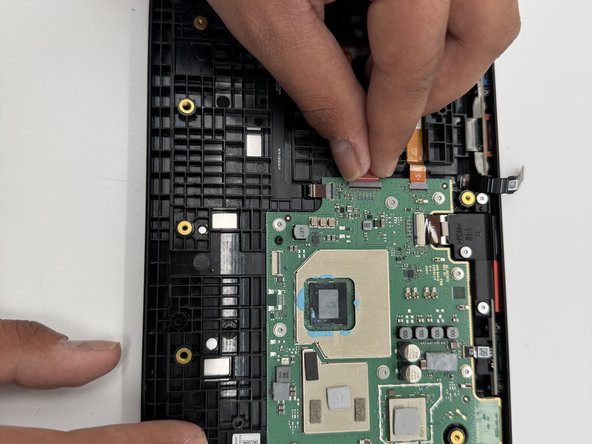
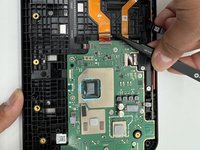
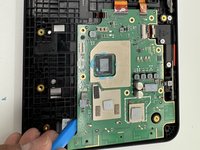
Use angled tweezers to disconnect all the ribbon cables from their motherboard sockets.
-
-
-
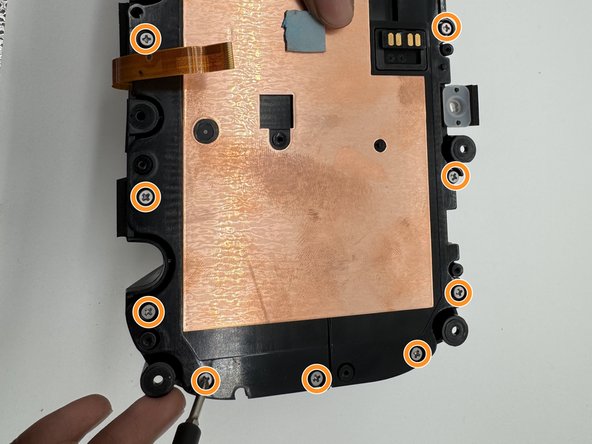
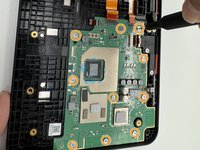
Remove all 10 5 mm screws on the motherboard using a TR6 Torx screwdriver.
-


To reassemble your device, follow these instructions in reverse order.
crwdns2935221:0crwdne2935221:0
crwdns2935227:0crwdne2935227:0

crwdns2935287:0crwdne2935287:0

University of North Texas, Team 6-5, Kilpatrick Fall 2024 crwdns2935289:0University of North Texas, Team 6-5, Kilpatrick Fall 2024crwdne2935289:0
UNT-KILPATRICK-F24S6G5
crwdns2931471:03crwdne2931471:0
crwdns2935297:010crwdne2935297:0