crwdns2915892:0crwdne2915892:0
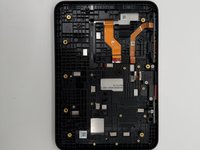
The Echo Show's main feature is the ability to interact with it using the display, so if your screen is broken, displaying random lines, or it just doesn't work, then follow our guide to replace your display.
crwdns2942213:0crwdne2942213:0
-
-
Use a prying tool to remove the rubber foot at the bottom.
-
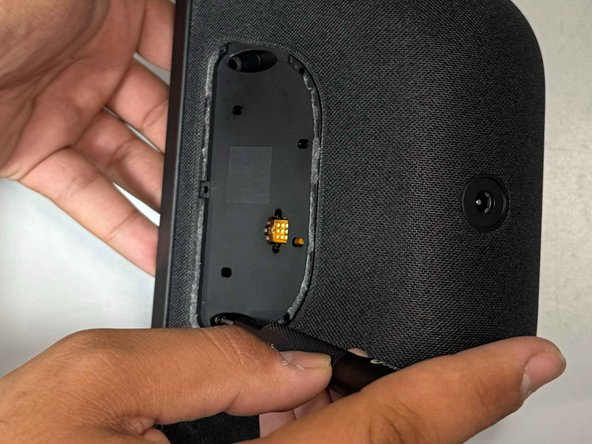
Use an opening pick to remove the screw cover.
-
-
-
Use a Torx TR8 screwdriver to remove the two 2 cm screws.
-
-
-
Insert a jimmy in the gap between the display and chassis.
-
Pry around the perimeter until the back case releases.
-
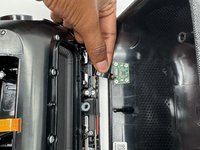
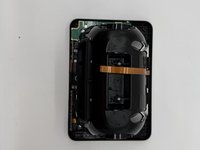
Remove the back case.
-
-
-
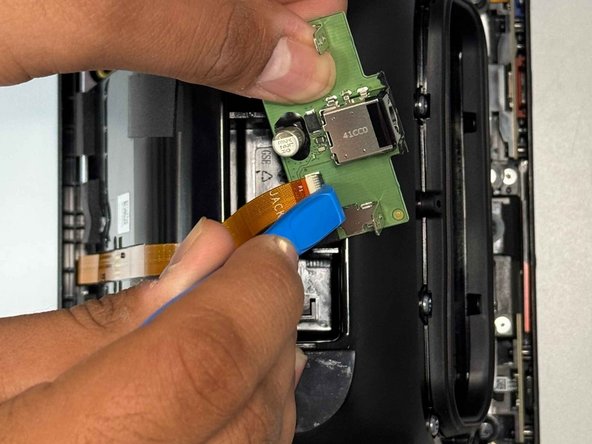
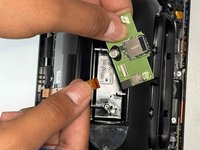
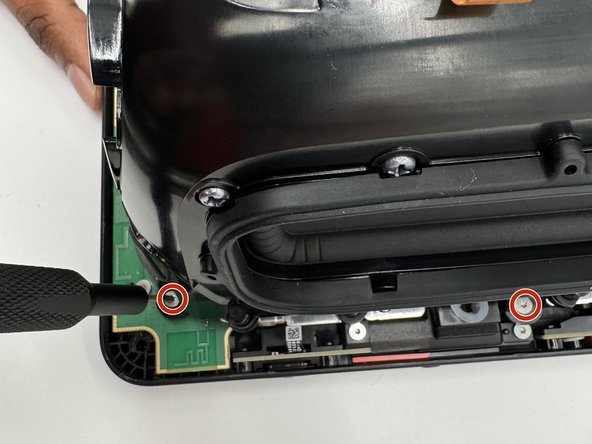
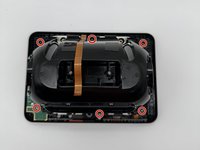
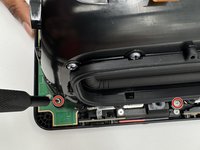
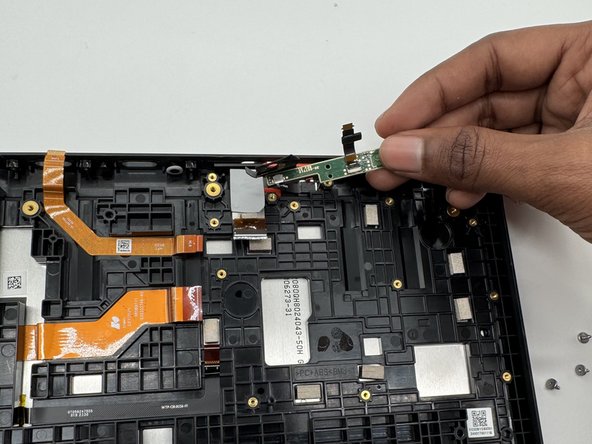
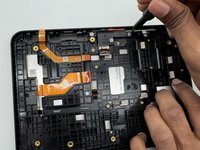
Use a Torx TR6 screwdriver to remove the two 5 mm screws that secure the power board.
-
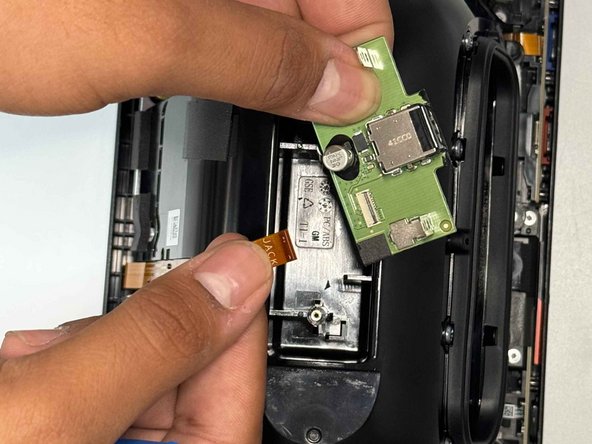
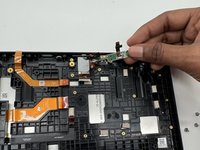
Carefully lift the board without straining the ribbon cable.
-
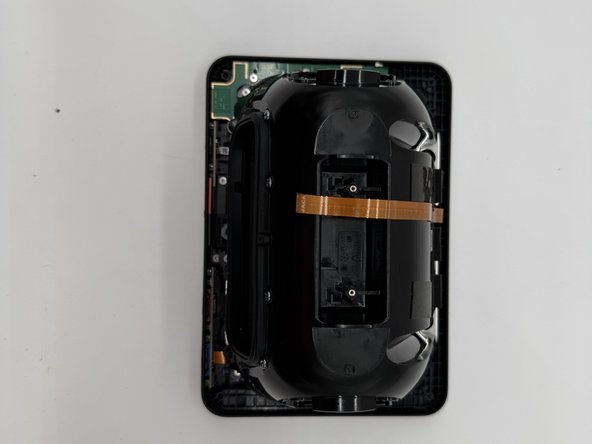
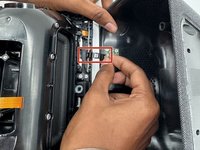
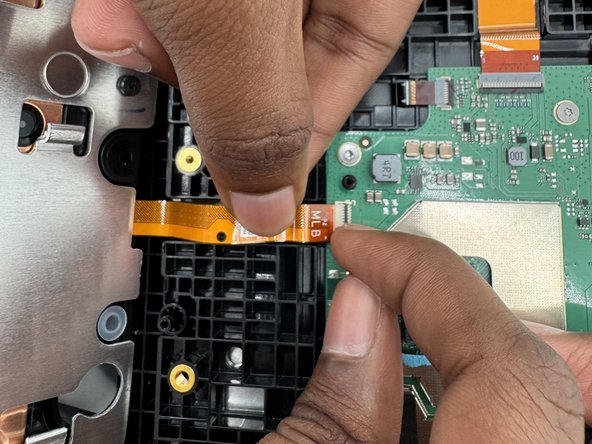
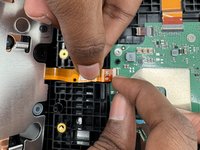
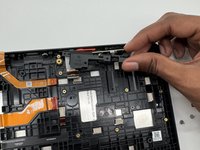
Using an opening tool, carefully flip up the black ZIF locking flap that secures the ribbon cable.
-
Disconnect the ribbon cable.
-
-
-
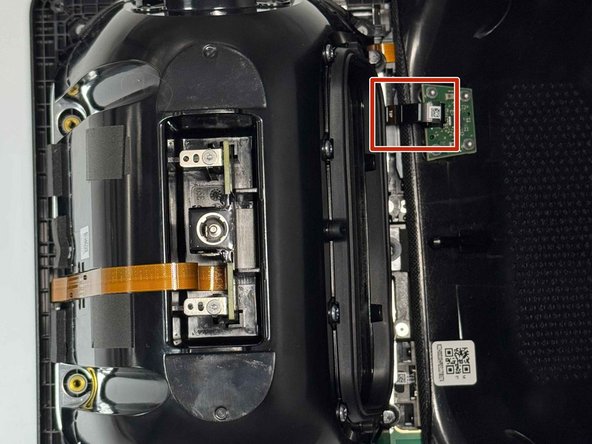
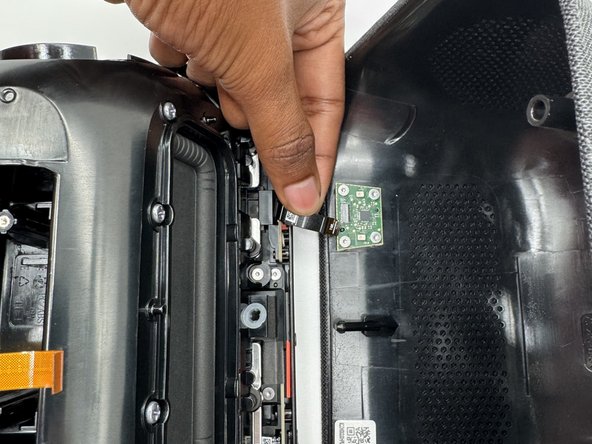
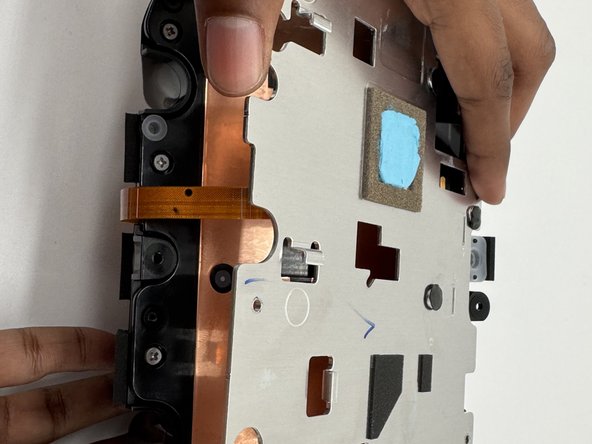
Gently tilt the shell towards the top of the device and disconnect the ribbon cable from the board on the case.
-
-
-
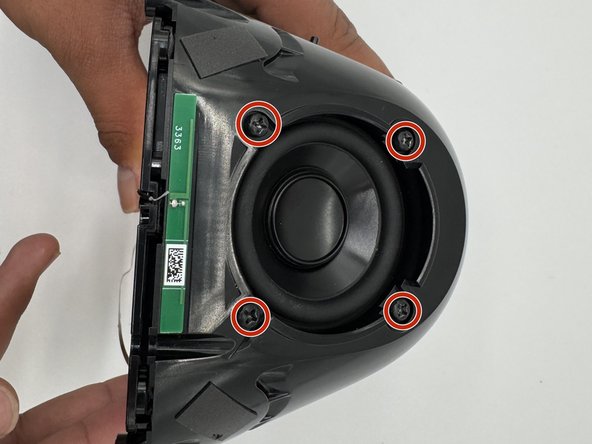
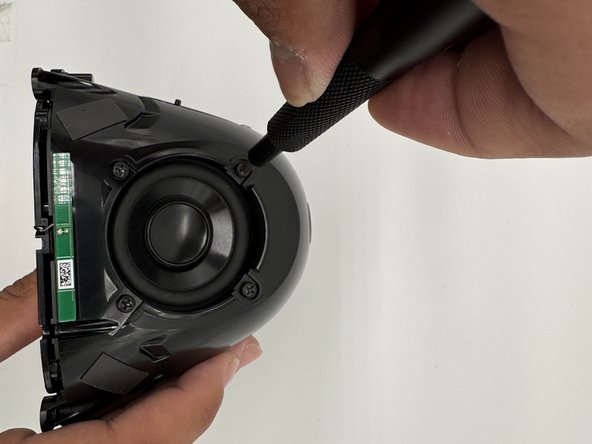
Use a TR6 screwdriver to remove the six 7mm screws located around the speaker assembly.
-
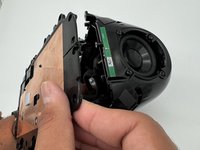
Gently tilt the speaker assembly towards the ribbon cable.
-
Flip open the black tab on the connector towards the cable and gently pull.
-
-
-
-
Use a TR6 Torx screwdriver to remove the eight 9 mm screws holding the metal bracket.
-
Gently lift off the metal bracket.
-
-
-
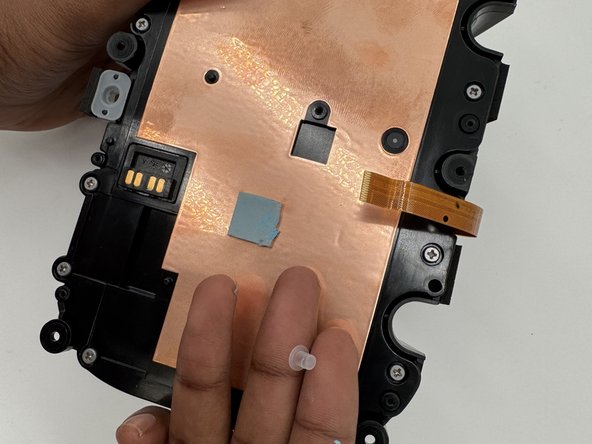
Remove the 2 rubber stoppers.
-
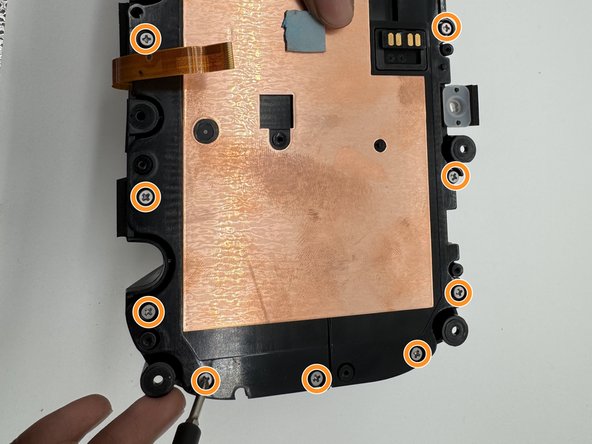
Remove all 14 screws with a Phillips #1 screwdriver.
-
-
-
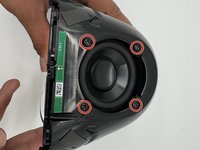
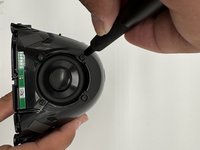
Use a Phillips #1 screwdriver to remove the four 1.3 cm screws holding down each driver.
-
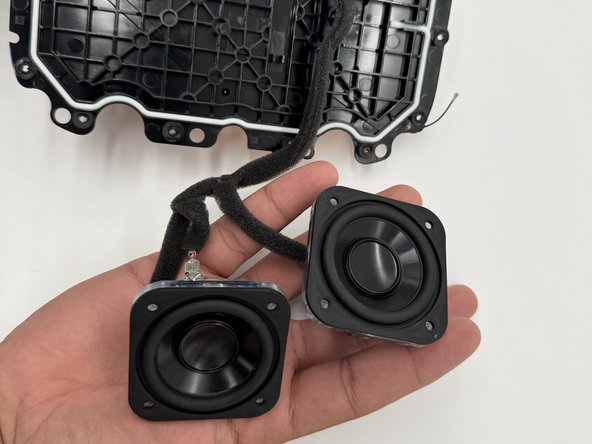
Gently pull the plastic plate towards the antenna cable.
-
-
-
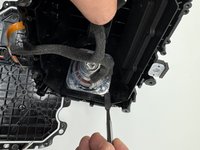
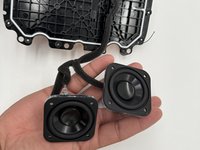
Pry the speakers from the housing with a spudger.
-
-
-
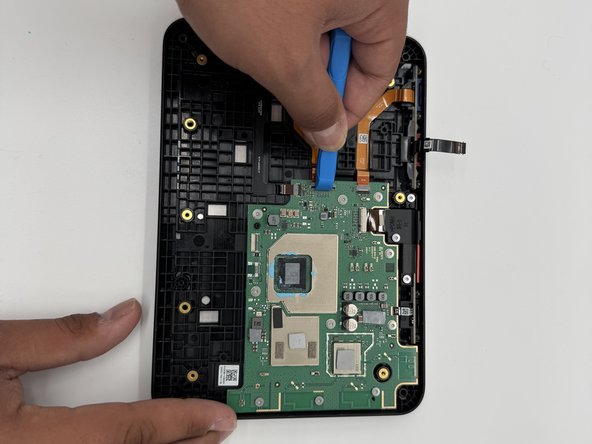
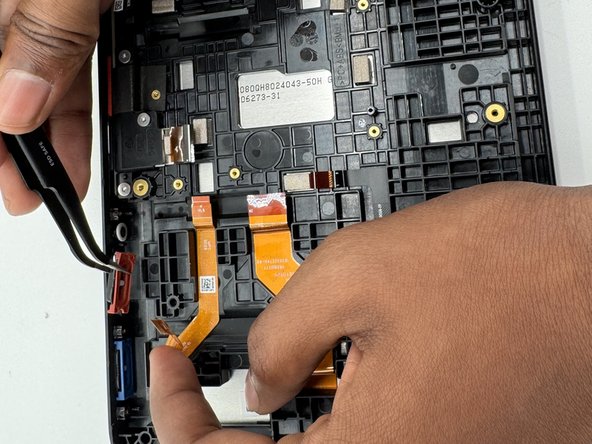
Use an opening tool to flip up the black ZIF locking flap that secure the four ribbon cables.
-
-
-
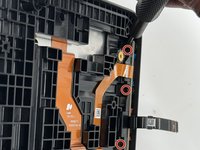
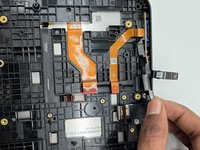
Use angled tweezers to disconnect all the ribbon cables from their motherboard sockets.
-
-
-
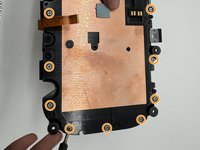
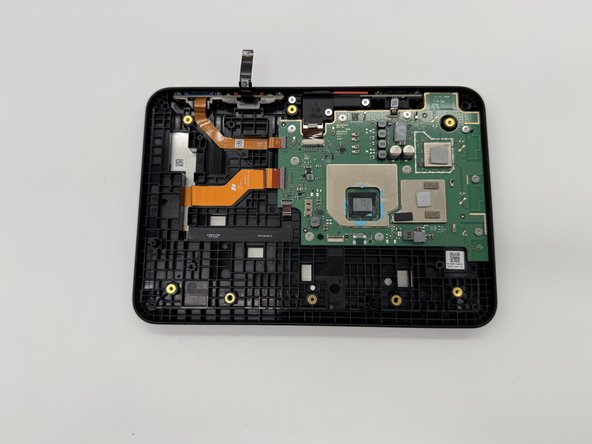
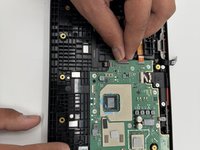
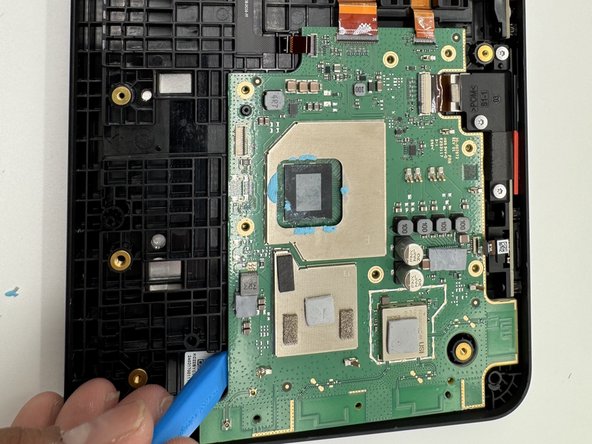
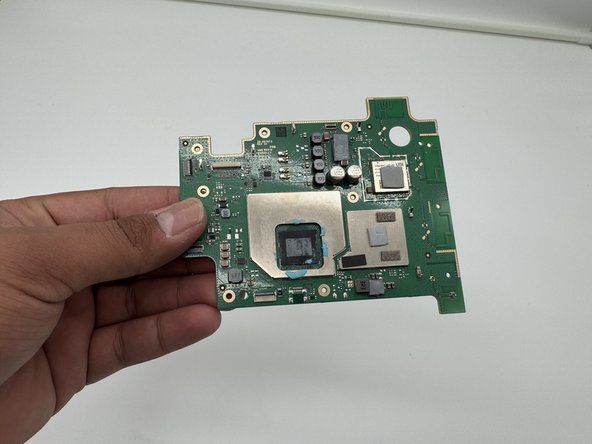
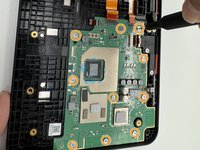
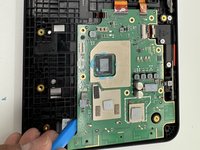
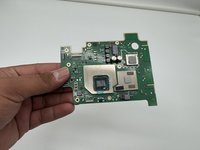
Remove all 10 5 mm screws on the motherboard using a TR6 Torx screwdriver.
-
-
-
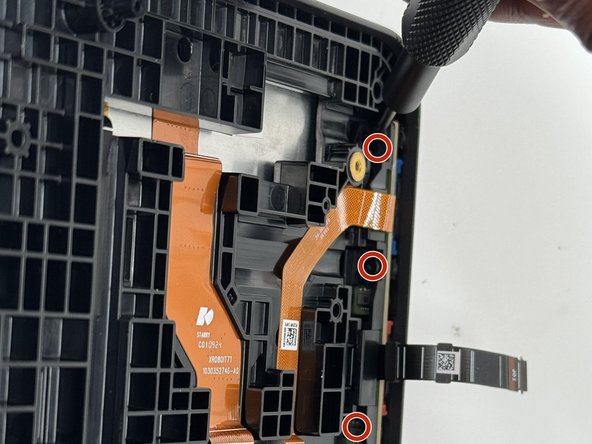
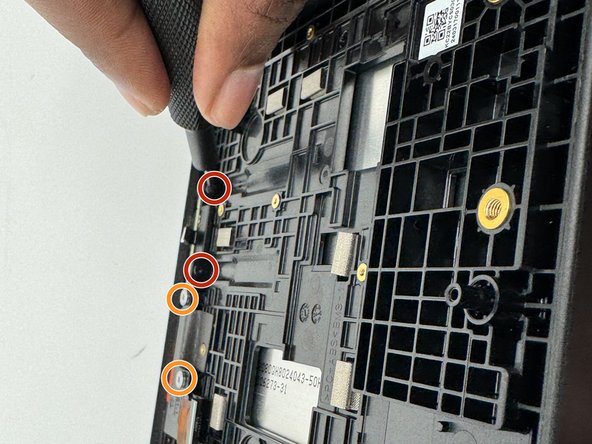
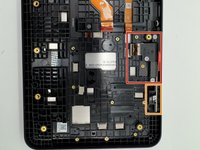
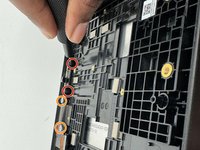
Remove the three 6 mm screws that secure the board using a TR4 Torx screwdriver.
-
-
-
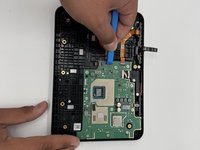
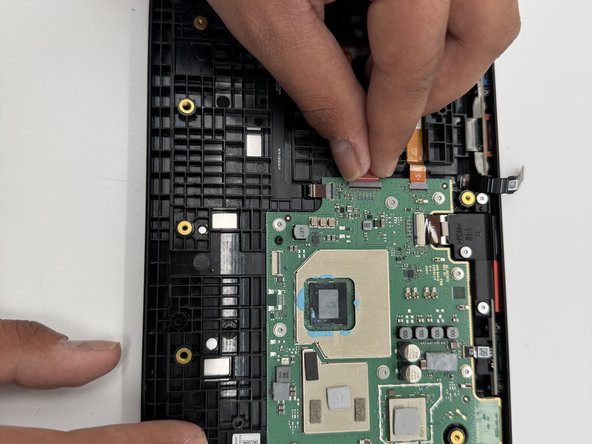
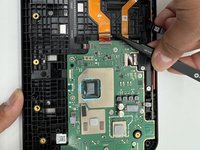
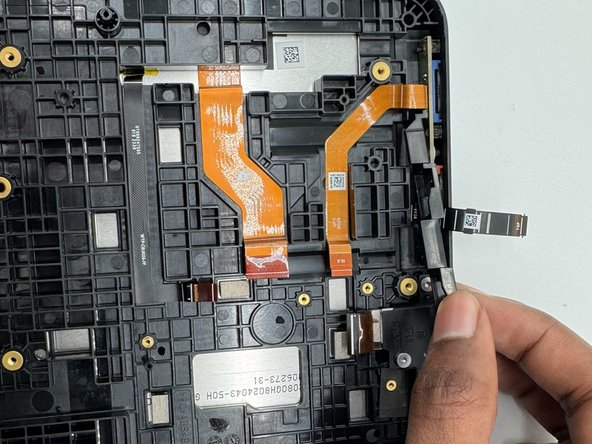
Use an opening tool to flip open the black ZIF locking flap that secures the ribbon cable.
-
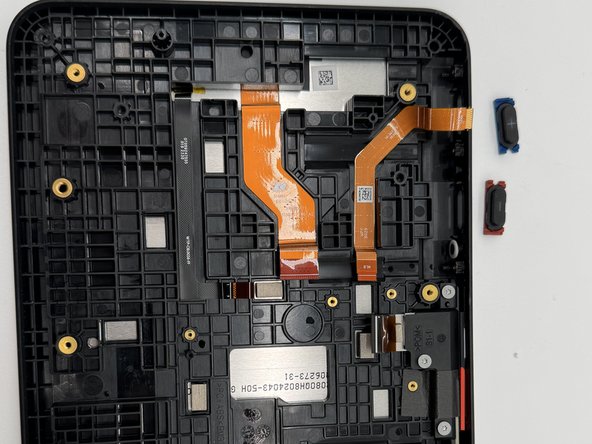
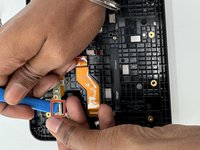
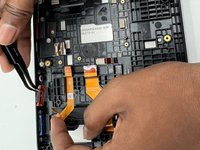
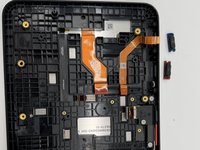
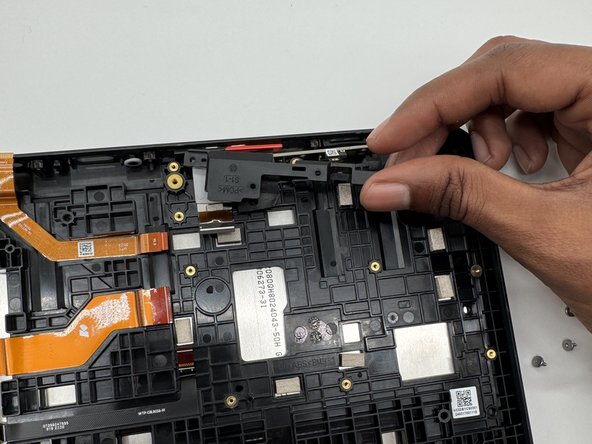
Use tweezers to remove both buttons from the case.
-
-
-
Remove the three 6 mm screws with a TR4 Torx screwdriver; remove the top buttons.
-
Remove the two 7 mm screws with a TR6 Torx screwdriver; remove the camera.
-
-
-
Remove the plastic cover.
-
Remove the button and camera.
-
To reassemble your device, follow these instructions in reverse order.
To reassemble your device, follow these instructions in reverse order.


