crwdns2933423:0crwdne2933423:0

Amazon Echo Show 15 Buttons Replacement

crwdns2942213:0crwdne2942213:0

  1. Amazon Echo Show 15 Buttons Replacement, Back Panel: crwdns2935265:01crwdnd2935265:01crwdnd2935265:03crwdne2935265:0 Amazon Echo Show 15 Buttons Replacement, Back Panel: crwdns2935265:01crwdnd2935265:02crwdnd2935265:03crwdne2935265:0 Amazon Echo Show 15 Buttons Replacement, Back Panel: crwdns2935265:01crwdnd2935265:03crwdnd2935265:03crwdne2935265:0
    • Remove the four white stickers on your device's back panel.

    • Due to the strong adhesive supporting the stickers, we recommend heating them up to make removal easier.

    • A hair dryer may work best for this step.

  2. Amazon Echo Show 15 Buttons Replacement: crwdns2935265:02crwdnd2935265:01crwdnd2935265:03crwdne2935265:0 Amazon Echo Show 15 Buttons Replacement: crwdns2935265:02crwdnd2935265:02crwdnd2935265:03crwdne2935265:0 Amazon Echo Show 15 Buttons Replacement: crwdns2935265:02crwdnd2935265:03crwdnd2935265:03crwdne2935265:0
    • Unscrew the four 50 mm screws with a T3 Torx screwdriver.

    • Pop the sides and remove the back panel of the device.

  3. Amazon Echo Show 15 Buttons Replacement, Inner Black Panel: crwdns2935265:03crwdnd2935265:01crwdnd2935265:03crwdne2935265:0 Amazon Echo Show 15 Buttons Replacement, Inner Black Panel: crwdns2935265:03crwdnd2935265:02crwdnd2935265:03crwdne2935265:0 Amazon Echo Show 15 Buttons Replacement, Inner Black Panel: crwdns2935265:03crwdnd2935265:03crwdnd2935265:03crwdne2935265:0
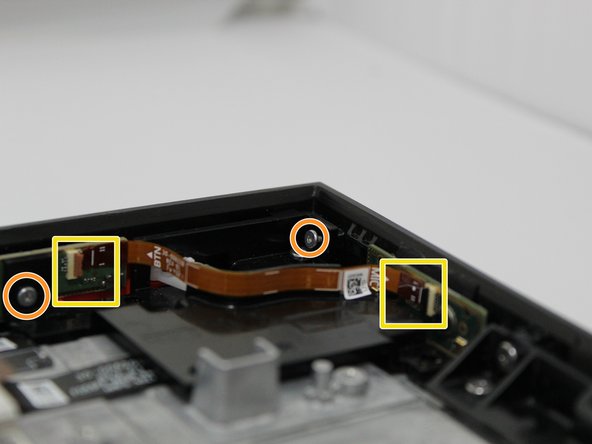
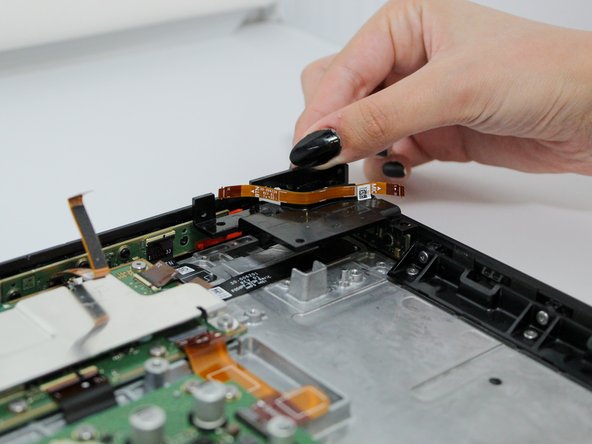
    • In the top right corner you will find a small black panel.

    • Remove the five 2 mm screws with a Torx T5 screwdriver.

    • Remove the two 5 mm with a Torx T3 screwdriver.

    • Remove both ends of the connector from the main device.

    • Remove the black panel.

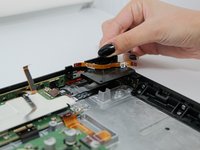
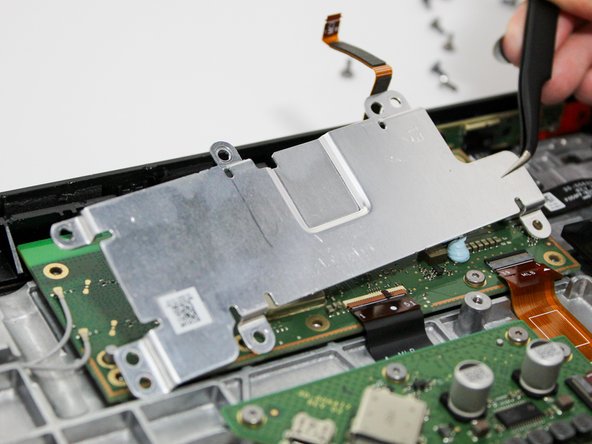
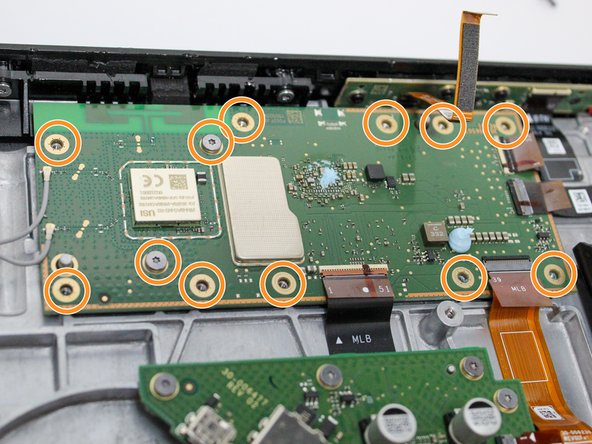
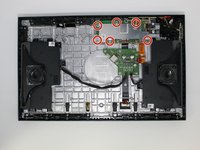
  4. Amazon Echo Show 15 Buttons Replacement, Motherboard: crwdns2935265:04crwdnd2935265:01crwdnd2935265:03crwdne2935265:0 Amazon Echo Show 15 Buttons Replacement, Motherboard: crwdns2935265:04crwdnd2935265:02crwdnd2935265:03crwdne2935265:0 Amazon Echo Show 15 Buttons Replacement, Motherboard: crwdns2935265:04crwdnd2935265:03crwdnd2935265:03crwdne2935265:0
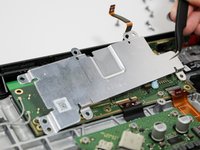
    • Remove the five 3 mm screws from the metal protector using a Torx T5 screwdriver.

    • Take off the metal protector.

    • The metal protector is connected to the motherboard with adhesive. More force may be necessary.

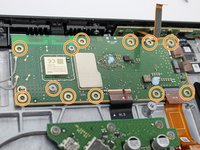
    • Remove the twelve 3 mm screws from the motherboard using the Torx T5 screwdriver.

  5. Amazon Echo Show 15 Buttons Replacement: crwdns2935265:05crwdnd2935265:01crwdnd2935265:03crwdne2935265:0 Amazon Echo Show 15 Buttons Replacement: crwdns2935265:05crwdnd2935265:02crwdnd2935265:03crwdne2935265:0 Amazon Echo Show 15 Buttons Replacement: crwdns2935265:05crwdnd2935265:03crwdnd2935265:03crwdne2935265:0
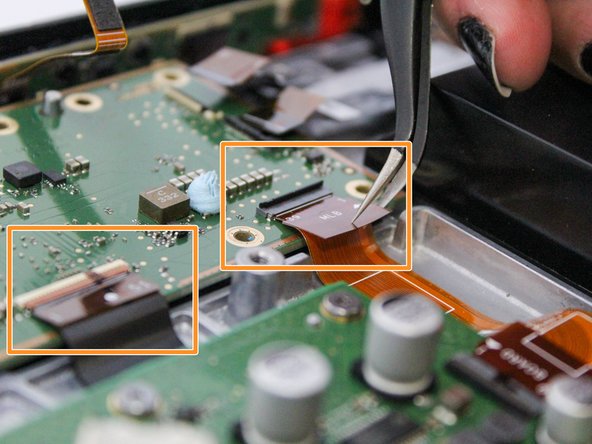
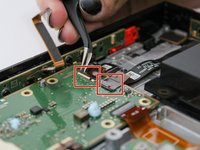
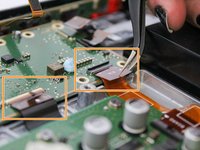
    • Detach the connectors for the camera and buttons from the motherboard.

    • Detach the connectors for the power station and speakers from the motherboard.

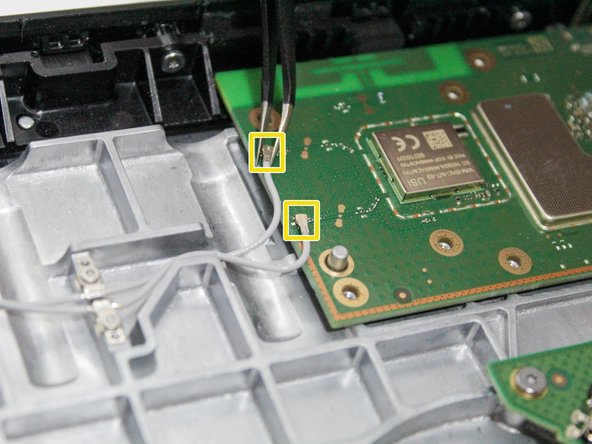
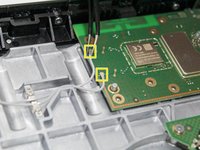
    • Detach the small white coaxial cables from the motherboard.

    • These connectors will be reused, so be very careful with them. The small white connectors come off by being pulled up.

  6. Amazon Echo Show 15 Buttons Replacement: crwdns2935265:06crwdnd2935265:01crwdnd2935265:01crwdne2935265:0
    • Remove the motherboard from the main device.

  7. Amazon Echo Show 15 Buttons Replacement, Buttons: crwdns2935265:07crwdnd2935265:01crwdnd2935265:03crwdne2935265:0 Amazon Echo Show 15 Buttons Replacement, Buttons: crwdns2935265:07crwdnd2935265:02crwdnd2935265:03crwdne2935265:0 Amazon Echo Show 15 Buttons Replacement, Buttons: crwdns2935265:07crwdnd2935265:03crwdnd2935265:03crwdne2935265:0
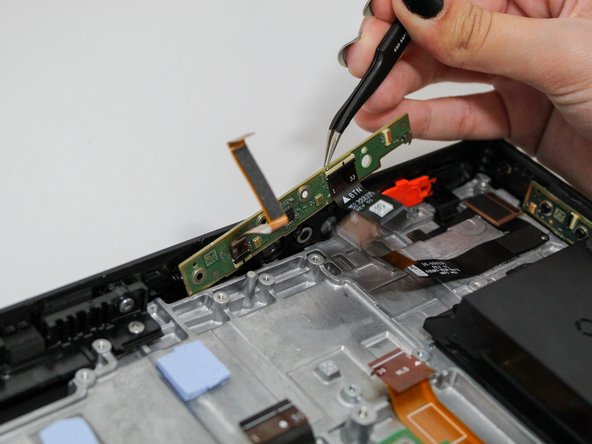
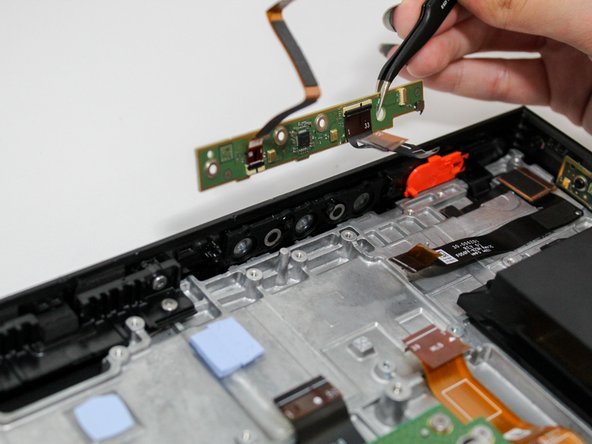
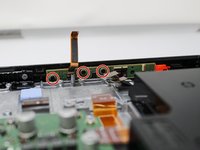
    • Remove the three 3 mm screws from the green panel in the top right-hand corner of the device using a Phillips #1 screwdriver.

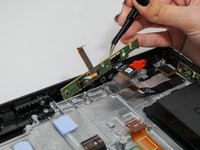
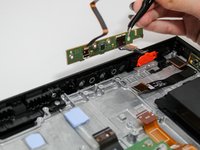
    • Remove the green panel.

    • The green panel is connected to the main device with adhesive. You will need to use a bit more force to get it out.

  8. Amazon Echo Show 15 Buttons Replacement: crwdns2935265:08crwdnd2935265:01crwdnd2935265:01crwdne2935265:0
    • Remove the rubber part of the buttons.

crwdns2915888:0crwdne2915888:0

To reassemble your device, follow these instructions in reverse order.

crwdns2935229:02crwdne2935229:0

Julia Silvestrin

crwdns2935283:009/20/23crwdne2935283:0

267 crwdns2915208:0crwdne2915208:0

crwdns2935297:02crwdne2935297:0

crwdns2915084:0crwdne2915084:0

Utah Tech University, Team 1-4, McMurrin Fall 2023 crwdns2935289:0Utah Tech University, Team 1-4, McMurrin Fall 2023crwdne2935289:0

UTAHTECH-MCMURRIN-F23S1G4

crwdns2931471:03crwdne2931471:0

crwdns2935297:07crwdne2935297:0

crwdns2947410:01crwdne2947410:0

I bet this is what I need to do, I’ve cleaned motherboards with the rubber push pads on snow plow controls I’ve had my pickup. Like Red Bull, coffee, spills that snuck their way in( gross) but after cleaning and or letting things air out, back in biz.buying the driver kit tomorrow thank you very much for being so clever two yrs ago! And the heads up about adhesive thanks. I miss my Show 15

All my daughter’s pics and all that jazz, miss seeing it everyday. Thank You !!🌳

Treeman - crwdns2934203:0crwdne2934203:0

crwdns2917038:0crwdne2917038:0

crwdns2936625:0crwdne2936625:0:

crwdns2936751:024crwdne2936751:0 2

crwdns2936753:07crwdne2936753:0 5

crwdns2936753:030crwdne2936753:0 18

crwdns2942667:0crwdne2942667:0 239