crwdns2915892:0crwdne2915892:0
This guide will walk you through replacing it step-by-step if your Amazon Echo Show 10 (3rd Gen) camera is experiencing poor image qualty, malfunctioning during video calls, or even not working at all. Replacing the camera can restore proper video and face-tracking functionality to your Echo Show.
Before you begin:
This repair requires moderate disassembly of the device, so take your time and keep track of small screws and cables.
crwdns2942213:0crwdne2942213:0
crwdns2936621:0crwdne2936621:0
-
-
Insert a Jimmy along the seam of the screen and the shell and slide it along the length to separate the two sides.
-
-
-
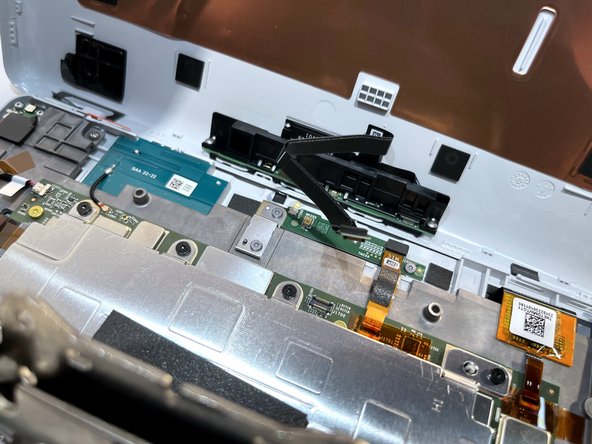
Gently separate the display from the base.
-
-
-
Hold the display away from the board at an angle to ensure a clear view while keeping the ribbon cable slack.
-
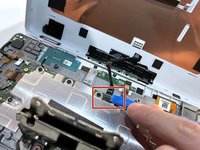
Place the tip of your opening tool under the edge of the display connector, and pry the connector straight up from its socket.
-
Set aside the display.
-
-
-
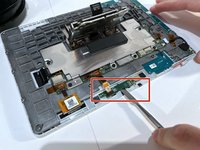
Place the tip of your opening tool under the edge of the orange connector, and pry it straight up from its socket.
-
-
-
Use the T5 Torx screwdriver to remove the two 4 mm screws from the bracket covering the microphone board and the one 4 mm screw holding down the board itself.
-
-
-
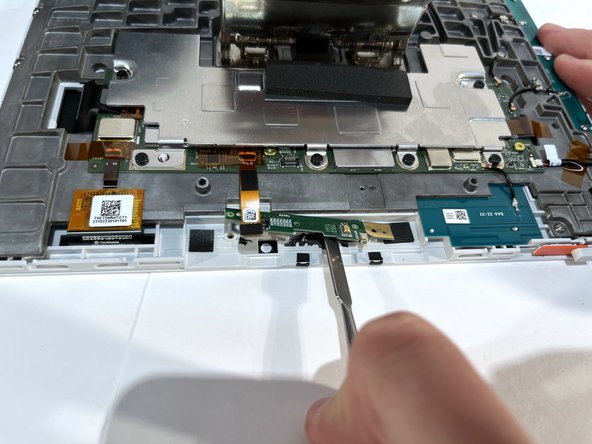
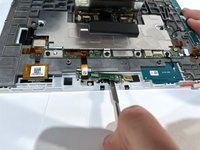
Use a spudger to pry under the microphone board. and gently wear away at the connecting glue.
-
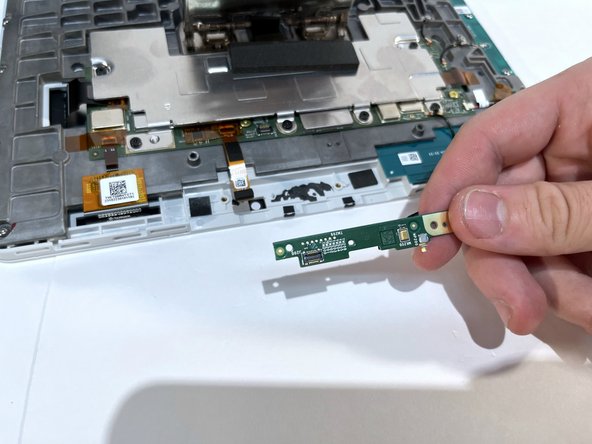
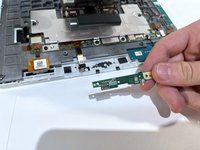
After the adhesive seal has been broken, gently lift and remove the microphone board.
-
-
-
Remove the silver pannel's eight T5 Torx screws:
-
Eight 7.8mm black screws
-
-
-
Remove the mounting screws using a T10 Torx screwdriver:
-
Four 7.7 mm screws
-
-
-
Remove the board's three T5 Torx screws:
-
Three 3.9 mm screws
-
-
-
Remove the panels seventeen T5 Torx screws
-
Seventeen 5.6 mm silver screws
-
-
-
Carefully disconnect the ribbon cables using Heavy-Duty Spudger.
-
-
-
Remove the panel's three T5 Torx screwdriver:
-
Three 6.9 mm gold screws
-
-
-
Remove the backing layer
-
Remove loose PCB's (printed circuit boards)
-
You now have access to the camera.
-
To reassemble your device, reverse the steps outlined in this guide.


