crwdns2933423:0crwdne2933423:0

Amazfit T-Rex Pro Battery Replacement

crwdns2942213:0crwdne2942213:0

  1. Amazfit T-Rex Pro Battery Replacement, Battery: crwdns2935265:01crwdnd2935265:01crwdnd2935265:02crwdne2935265:0 Amazfit T-Rex Pro Battery Replacement, Battery: crwdns2935265:01crwdnd2935265:02crwdnd2935265:02crwdne2935265:0
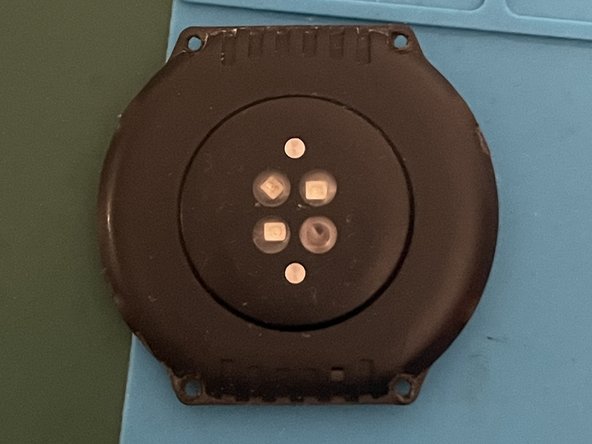
    • Remove the 4 Torx screws of the back cover.

  2. Amazfit T-Rex Pro Battery Replacement: crwdns2935265:02crwdnd2935265:01crwdnd2935265:01crwdne2935265:0
    • Pry on the side of the case to pop it open.

    • The back cover snaps into place, so it takes a bit of force and fidling to open.

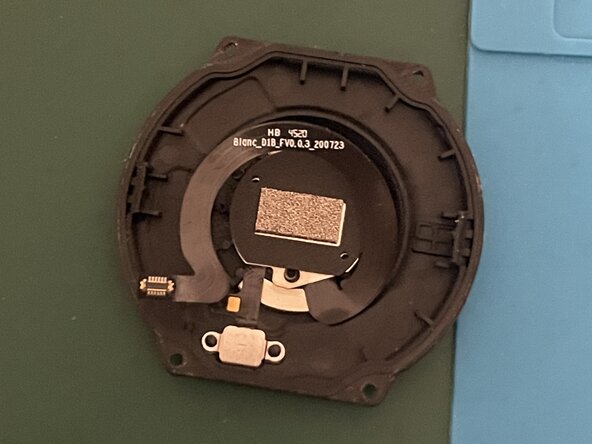
    • DO NOT pull on the back cover after separating the two. There is still a ribbon cable connected.

  3. Amazfit T-Rex Pro Battery Replacement: crwdns2935265:03crwdnd2935265:01crwdnd2935265:02crwdne2935265:0 Amazfit T-Rex Pro Battery Replacement: crwdns2935265:03crwdnd2935265:02crwdnd2935265:02crwdne2935265:0
    • Remove the metal cover of the ribbon connectors in order do disconnect the back case.

    • Pay attention to where the screws came from. They are either black or silver, with the latter being shorter. Refer to the image when reassembling your watch.

  4. Amazfit T-Rex Pro Battery Replacement: crwdns2935265:04crwdnd2935265:01crwdnd2935265:02crwdne2935265:0 Amazfit T-Rex Pro Battery Replacement: crwdns2935265:04crwdnd2935265:02crwdnd2935265:02crwdne2935265:0
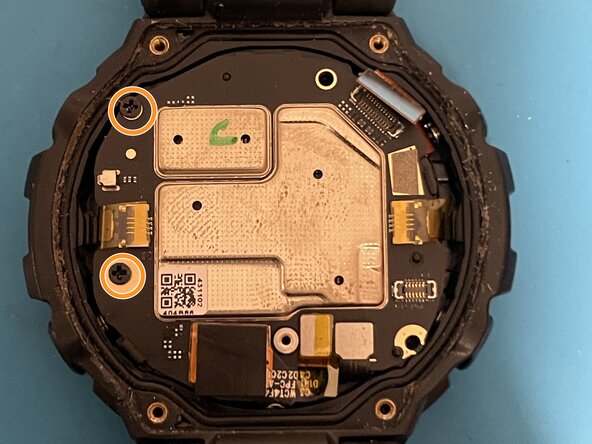
    • Disconnect the four highlighted ribbon cables.

    • Remove the 2 screws holding the main board in place.

  5. Amazfit T-Rex Pro Battery Replacement: crwdns2935265:05crwdnd2935265:01crwdnd2935265:02crwdne2935265:0 Amazfit T-Rex Pro Battery Replacement: crwdns2935265:05crwdnd2935265:02crwdnd2935265:02crwdne2935265:0
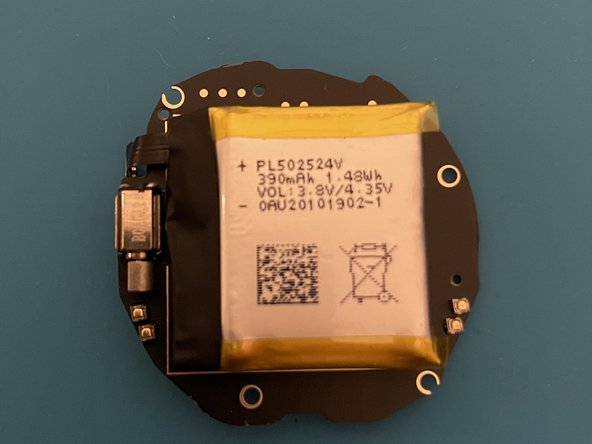
    • Remove the PCB by gently prying on it while pushing the holding tabs back.

    • Exercise caution when handling these tabs, as they are plastic and can easily break.

  6. Amazfit T-Rex Pro Battery Replacement: crwdns2935265:06crwdnd2935265:01crwdnd2935265:01crwdne2935265:0
    • Gently pry between the pcb and the battery to separate the two.

    • Use plastic tools and avoid excessive force to prevent piercing the lithium battery. Metal tools can cause it to react and potentially leak or explode.

crwdns2915888:0crwdne2915888:0

To reassemble your device, follow the above steps in reverse order.

crwdns2935227:0crwdne2935227:0

Tiago Rodrigues

crwdns2935283:001/24/25crwdne2935283:0

195 crwdns2915208:0crwdne2915208:0

crwdns2935295:0crwdne2935295:0

crwdns2947412:00crwdne2947412:0

crwdns2917038:0crwdne2917038:0

crwdns2936625:0crwdne2936625:0:

crwdns2936751:024crwdne2936751:0 0

crwdns2936753:07crwdne2936753:0 3

crwdns2936753:030crwdne2936753:0 12

crwdns2942667:0crwdne2942667:0 103