crwdns2933423:0crwdne2933423:0

Altair WBP-210 Full Disassembly

crwdns2942213:0crwdne2942213:0

  1. Altair WBP-210 Full Disassembly, Remove Mini-XLR nut: crwdns2935265:01crwdnd2935265:01crwdnd2935265:01crwdne2935265:0
    • Remove nut on mini-XLR connector.

  2. Altair WBP-210 Full Disassembly, Remove rubber panels: crwdns2935265:02crwdnd2935265:01crwdnd2935265:02crwdne2935265:0 Altair WBP-210 Full Disassembly, Remove rubber panels: crwdns2935265:02crwdnd2935265:02crwdnd2935265:02crwdne2935265:0
    • Slide off rubber panels on all four corners.

    • If there are screws underneath, remove those as well.

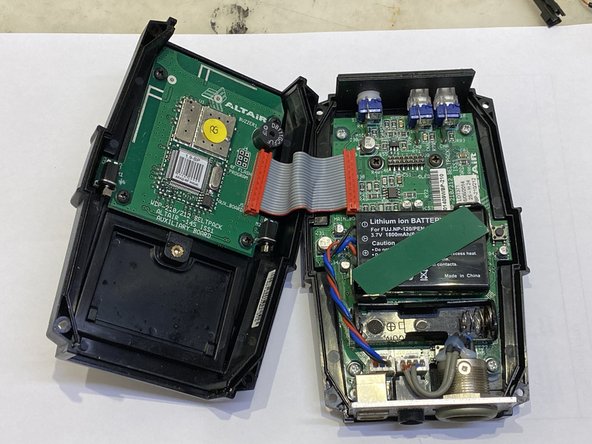
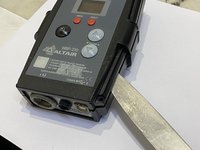
  3. Altair WBP-210 Full Disassembly, Open case: crwdns2935265:03crwdnd2935265:01crwdnd2935265:02crwdne2935265:0 Altair WBP-210 Full Disassembly, Open case: crwdns2935265:03crwdnd2935265:02crwdnd2935265:02crwdne2935265:0
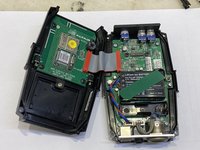
    • Open the case using a suitable tool to help separate the two halves.

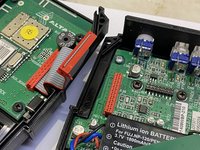
    • Watch out for the ribbon cable.

  4. Altair WBP-210 Full Disassembly, Remove back case.: crwdns2935265:04crwdnd2935265:01crwdnd2935265:02crwdne2935265:0 Altair WBP-210 Full Disassembly, Remove back case.: crwdns2935265:04crwdnd2935265:02crwdnd2935265:02crwdne2935265:0
    • Disconnect the back half of the case.

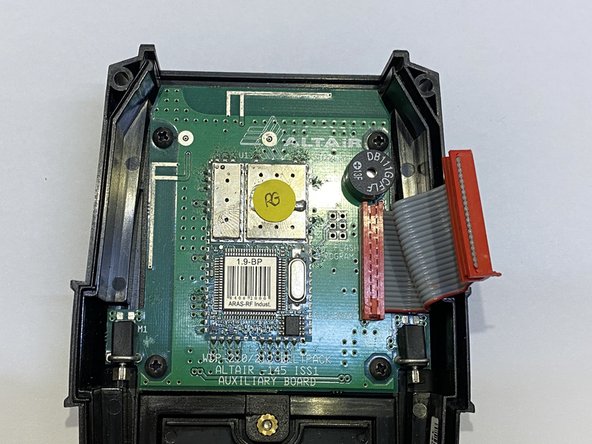
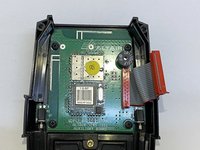
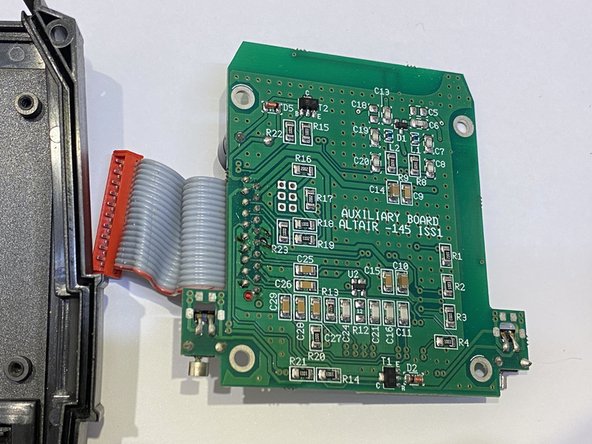
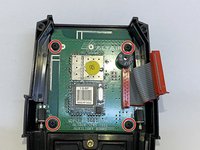
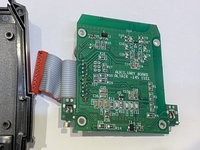
  5. Altair WBP-210 Full Disassembly, Remove Auxiliary Board: crwdns2935265:05crwdnd2935265:01crwdnd2935265:02crwdne2935265:0 Altair WBP-210 Full Disassembly, Remove Auxiliary Board: crwdns2935265:05crwdnd2935265:02crwdnd2935265:02crwdne2935265:0
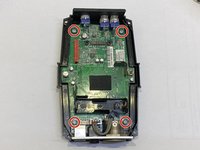
    • There are four screws holding the Auxiliary Board in place.

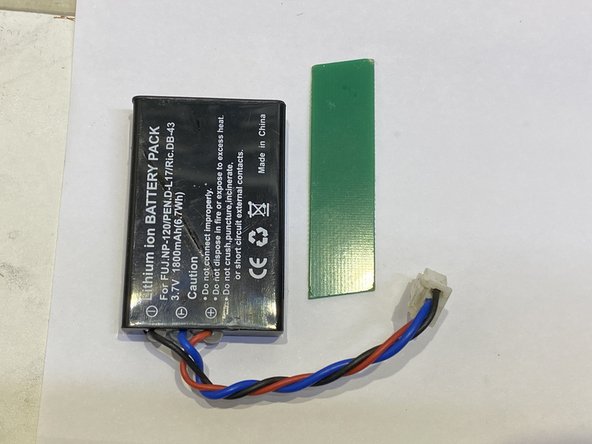
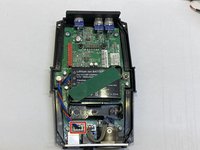
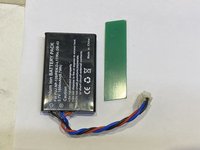
  6. Altair WBP-210 Full Disassembly, Remove Battery: crwdns2935265:06crwdnd2935265:01crwdnd2935265:02crwdne2935265:0 Altair WBP-210 Full Disassembly, Remove Battery: crwdns2935265:06crwdnd2935265:02crwdnd2935265:02crwdne2935265:0
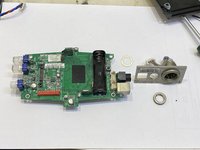
    • The battery is held in place by a flexible bit of PCB, which can be carefully removed.

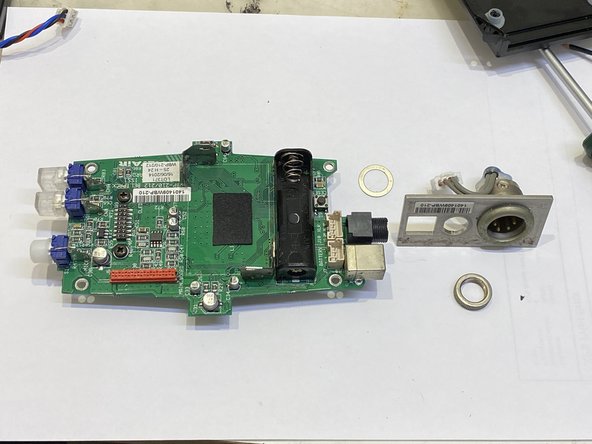
  7. Altair WBP-210 Full Disassembly, Remove main board: crwdns2935265:07crwdnd2935265:01crwdnd2935265:02crwdne2935265:0 Altair WBP-210 Full Disassembly, Remove main board: crwdns2935265:07crwdnd2935265:02crwdnd2935265:02crwdne2935265:0
    • The main PCB is held in place by four screws.

crwdns2915888:0crwdne2915888:0

To reassemble your device, follow these instructions in reverse order.

crwdns2935227:0crwdne2935227:0
raven

crwdns2935283:009/02/15crwdne2935283:0

1.080 crwdns2915208:0crwdne2915208:0

crwdns2935297:04crwdne2935297:0

crwdns2944067:00crwdne2944067:0

crwdns2917038:0crwdne2917038:0

crwdns2936625:0crwdne2936625:0:

crwdns2936751:024crwdne2936751:0 0

crwdns2936753:07crwdne2936753:0 0

crwdns2936753:030crwdne2936753:0 10

crwdns2942667:0crwdne2942667:0 24