crwdns2915892:0crwdne2915892:0
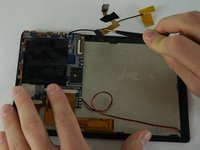
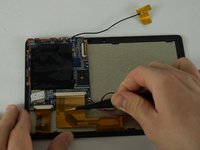
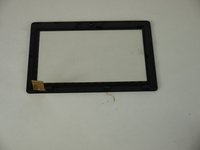
The Alldaymall A88X features a capacitive touch sensor that is mounted in front of the LCD Screen . This guide will walk you through the process of removing the existing touch sensor and installing a new one.
crwdns2942213:0crwdne2942213:0
-
-
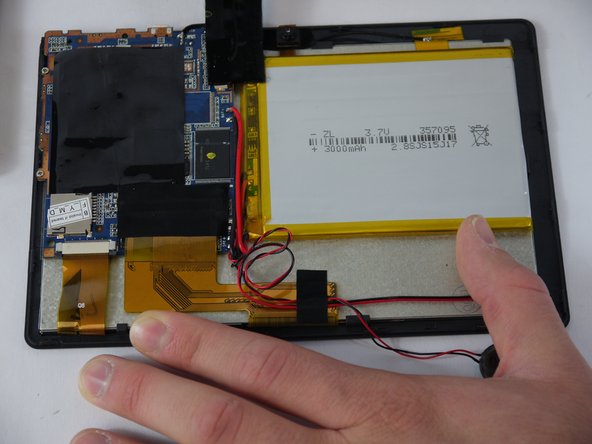
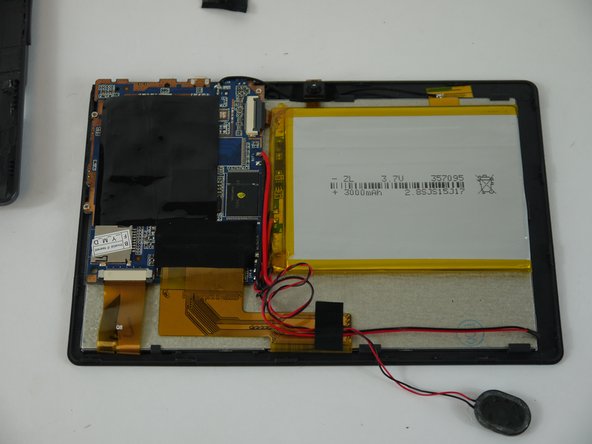
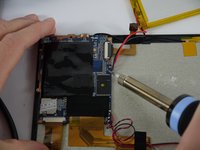
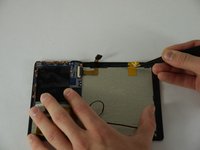
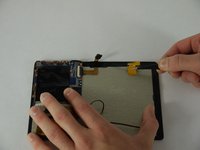
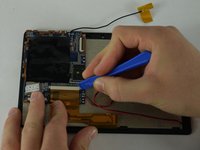
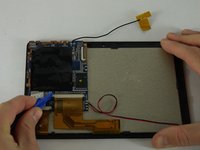
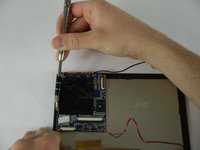
Using a plastic opening tool, carefully pry the device apart. Make your way around the entire perimeter of the device and carefully place the two panels next to each other.
 crwdns2952109:0crwdne2952109:0
-
-
crwdns2935267:0crwdne2935267:0Tweezers$4.99
-
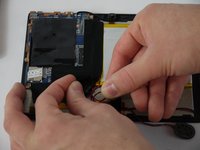
Grip the speaker from the sides with your fingers or a pair of tweezers and slowly begin to remove it from the rear panel.
-
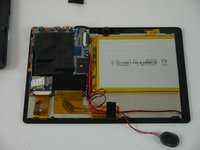
After the speaker has been removed, place the rear panel aside.
-
-
-
Carefully separate the speaker wire from the tape and proceed to peel the tape off in an upwards direction.
-
-
crwdns2935267:0crwdne2935267:0Tweezers$4.99
-
Using a pair of tweezers, begin separating the tape downwards from the back panel.
-
Pull the tape away from the wire bundle beneath.
-
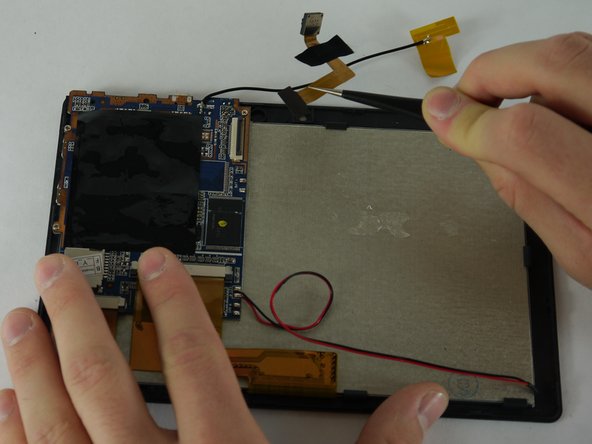
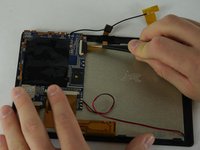
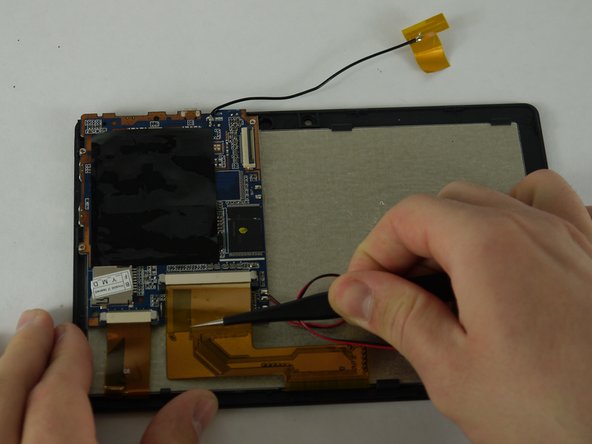
Isolate the wire running from the speaker to the motherboard.
-
-
-
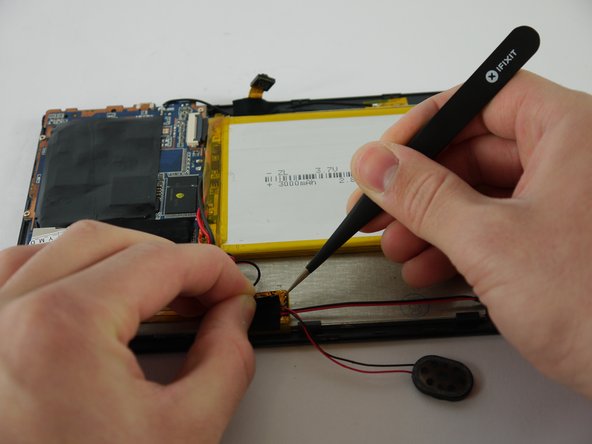
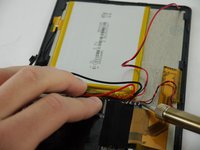
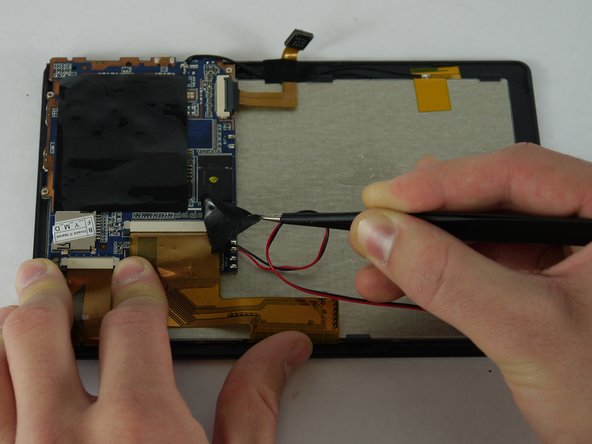
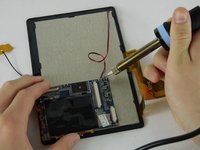
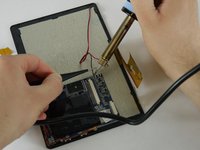
Desolder the speaker wires from the motherboard.
-
-
-
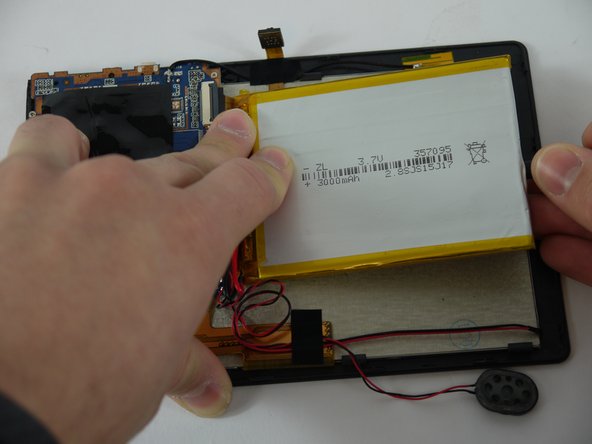
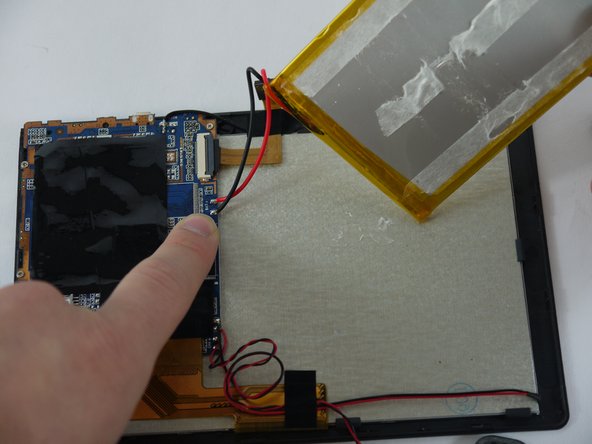
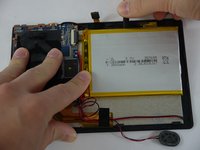
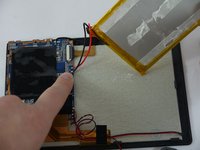
Using a nylon spudger, slowly work your way underneath the battery separating it from the panel beneath.
-
After the battery is separated from the panel make sure to place it face down above the tablet itself.
-
-
-
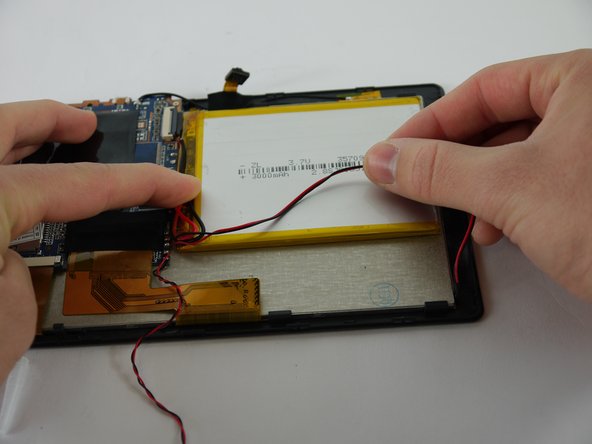
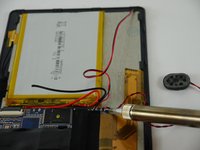
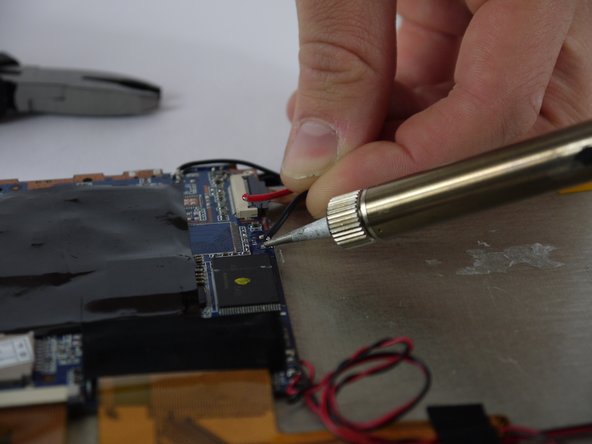
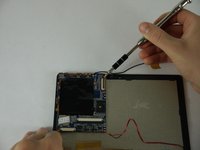
Desolder the wires that connect the battery to the motherboard.
-
-
-
crwdns2935267:0crwdne2935267:0Tweezers$4.99
-
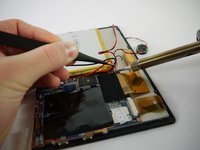
Using a pair of tweezers begin to peel the tape covering the ribbon cable on the motherboard.
-
-
-
Using a pair of tweezers begin to peel the antenna from the metal panel.
-
Work your way down until the antenna is completely removed.
-
-
-
Using a pair of tweezers remove the tape securing the cameras to the back panel.
-
-
-
Using a plastic opening tool lift up the flap on the ribbon cable receptacle.
-
-
-
Using a pair of tweezers remove the camera assembly from its housing and its receptacles.
-
-
crwdns2935267:0crwdne2935267:0Tweezers$4.99
-
Use a plastic opening tool to pull out the black knobs on both sides of the ribbon cable receptacle.
-
Using a pair of tweezers remove the ribbon cable from its receptacle.
-
-
-
Now on the left ribbon cable use a plastic opening tool to pull out the black knobs on both sides of the ribbon cable receptacle.
-
Using a pair of tweezers remove the ribbon cable from its receptacle.
-
-
-
Desolder the wires that connect the backlight to the motherboard.
-
-
-
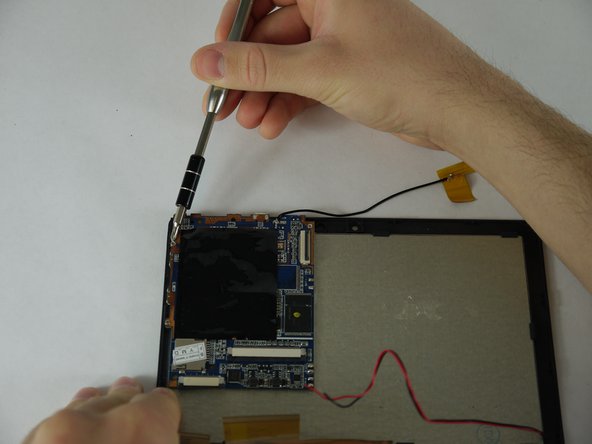
Using a PH0 screw bit unscrew the three 3mm screws securing the motherboard to the back panel.
-
-
-
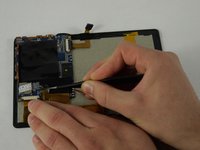
Carefully lift up on the motherboard from its housing.
-
-
-
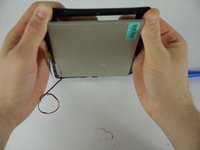
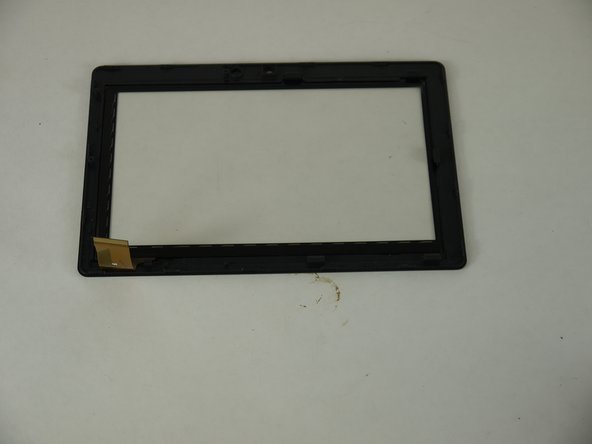
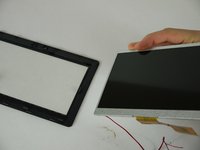
Gently pry the brackets holding the touch sensor to the LCD Screen
-
-
-
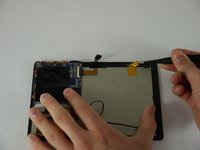
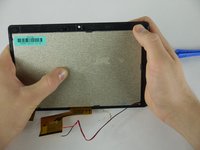
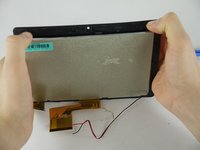
Set the LCD Screen aside.
-


To reassemble your device, follow these instructions in reverse order.
crwdns2935221:0crwdne2935221:0
crwdns2935229:02crwdne2935229:0

crwdns2935287:0crwdne2935287:0

USF Tampa, Team 4-1, Lacy Spring 2016 crwdns2935289:0USF Tampa, Team 4-1, Lacy Spring 2016crwdne2935289:0
USFT-LACY-S16S4G1
crwdns2931471:04crwdne2931471:0
crwdns2935297:016crwdne2935297:0
crwdns2947412:02crwdne2947412:0
Fantastic guide!
Corey - crwdns2934203:0crwdne2934203:0 crwdns2950251:0crwdne2950251:0
Great work on me snaping the clips
Ecocat - crwdns2934203:0crwdne2934203:0 crwdns2950251:0crwdne2950251:0