crwdns2915892:0crwdne2915892:0
This guide will demonstrate removing an old CPU fan and installing a new CPU fan in the Alienware x51 r3 desktop computer. This should be done if the user notices excessive heat coming from the computer.
This guide will require the use of a #0 Phillips screwdriver. A set of needle nose pliers may also be necessary for some steps.
Before beginning, user should ensure that the computer is powered down and unplugged from any power source.
crwdns2942213:0crwdne2942213:0
-
-
Lay down the case so that the power button is on the far right corner and is facing your right.
-
Unlock the side panel on the bottom edge by pushing its ridgeline towards the top edge. Lift the panel off of the case.
-
-
-
Use either your hands or the needle nose pliers to disconnect the cable from its port on the desktop. The lighting cable will still be attached to the case.
-
Safely set down the case lid when ready to move on.
-
-
-
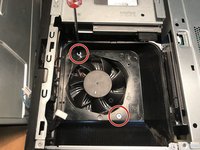
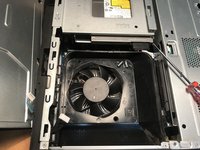
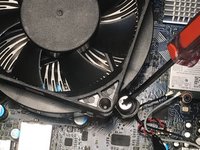
Using a #0 Phillips screwdriver, remove the screws connecting the fan cover to the fan by rotating the screwdriver counter-clockwise. Lift the fan cover out of the desktop and place to the side.
-
-
-
-
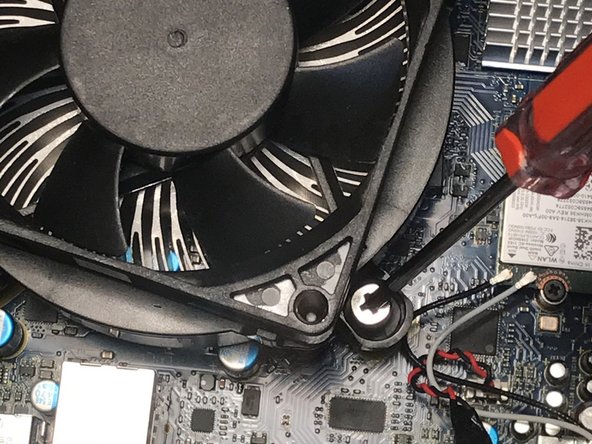
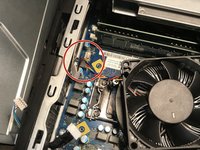
Using a #0 Phillips screwdriver, remove the screws connecting the fan to the motherboard by rotating the screwdriver counter-clockwise.
-
-
-
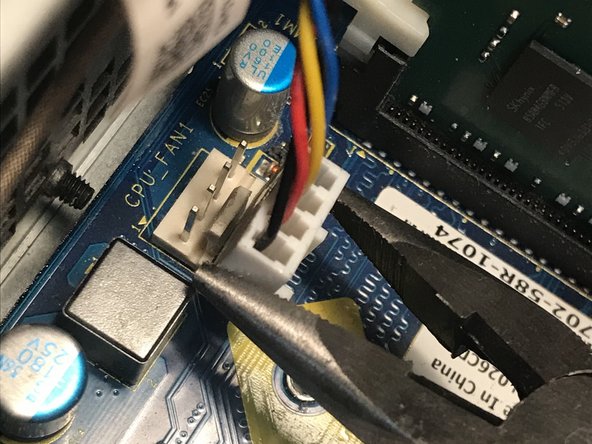
Using either your hands or a small needle nose plier, carefully remove cable connecting the fan to the desktop.
-
-
-
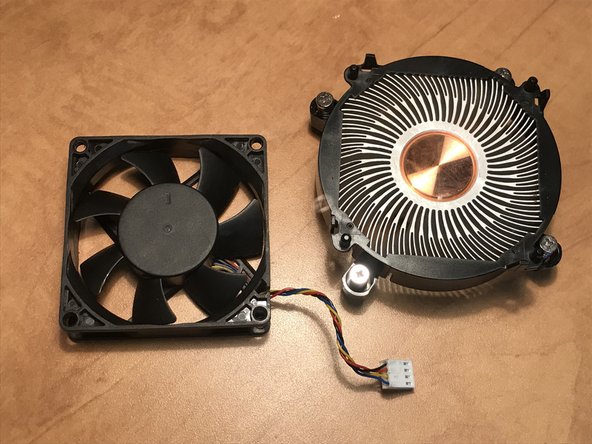
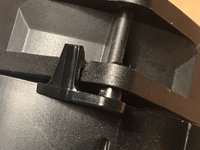
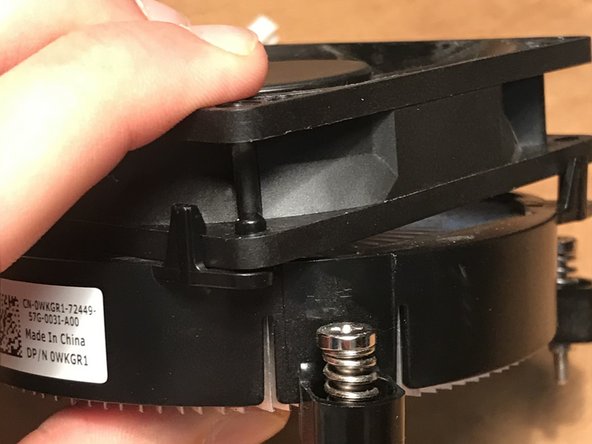
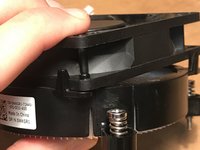
Using your thumb and forefinger, pry off the four clips holding the fan to the heatsink.
-
-
-
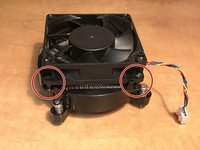
Place the new or cleaned fan onto the heatsink, and press down on the corners to lock the fan onto the heatsink.
-


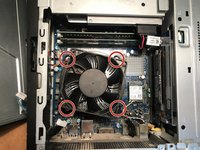


After installation of the new CPU fan, the user’s computer should run more efficiently.
crwdns2935221:0crwdne2935221:0
crwdns2935229:02crwdne2935229:0

crwdns2935287:0crwdne2935287:0

Embry-Riddle Aeronautical University, Team S7-G4, Rauch Spring 2021 crwdns2935289:0Embry-Riddle Aeronautical University, Team S7-G4, Rauch Spring 2021crwdne2935289:0
ERAU-RAUCH-S21S7G4
crwdns2934841:01crwdne2934841:0
crwdns2935303:01crwdne2935303:0
crwdns2947410:01crwdne2947410:0
I wish you had the heatsink for the Alienware X51 R3 desktop available.