crwdns2933423:0crwdne2933423:0

Alienware M17x RAM Replacement

crwdns2942213:0crwdne2942213:0

  1. Alienware M17x RAM Replacement, Battery: crwdns2935265:01crwdnd2935265:01crwdnd2935265:02crwdne2935265:0 Alienware M17x RAM Replacement, Battery: crwdns2935265:01crwdnd2935265:02crwdnd2935265:02crwdne2935265:0
    • Turn off your laptop before starting.

    • Flip the laptop over so the model stickers face the ceiling.

  2. Alienware M17x RAM Replacement: crwdns2935265:02crwdnd2935265:01crwdnd2935265:01crwdne2935265:0
    • Remove the two 3.5 mm Phillips #0 screws holding the cover in place.

    • Slide cover forward then carefully lift up.

  3. Alienware M17x RAM Replacement: crwdns2935265:03crwdnd2935265:01crwdnd2935265:01crwdne2935265:0
    • Remove the two 5.5 mm Phillips #0 screws holding the battery in place.

  4. Alienware M17x RAM Replacement: crwdns2935265:04crwdnd2935265:01crwdnd2935265:02crwdne2935265:0 Alienware M17x RAM Replacement: crwdns2935265:04crwdnd2935265:02crwdnd2935265:02crwdne2935265:0
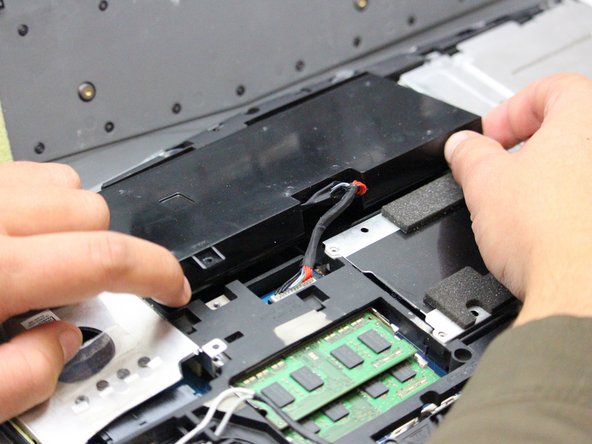
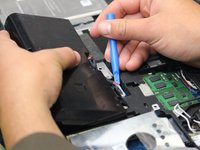
    • Carefully use the Plastic Opening Tool to unplug the battery.

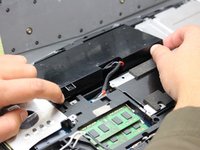
    • Lift the battery up and out to remove.

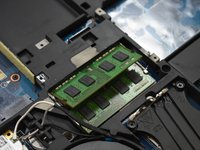
  5. Alienware M17x RAM Replacement, RAM: crwdns2935265:05crwdnd2935265:01crwdnd2935265:02crwdne2935265:0 Alienware M17x RAM Replacement, RAM: crwdns2935265:05crwdnd2935265:02crwdnd2935265:02crwdne2935265:0
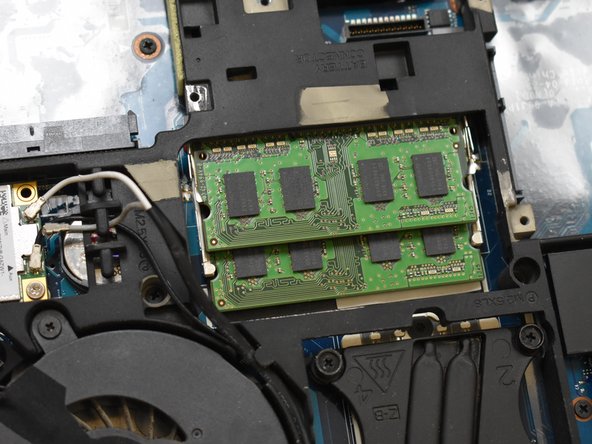
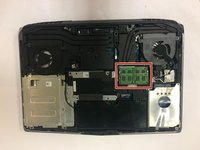
    • With the laptop flipped over, cover removed, and battery removed; continue by locating your RAM cards.

  6. Alienware M17x RAM Replacement: crwdns2935265:06crwdnd2935265:01crwdnd2935265:02crwdne2935265:0 Alienware M17x RAM Replacement: crwdns2935265:06crwdnd2935265:02crwdnd2935265:02crwdne2935265:0
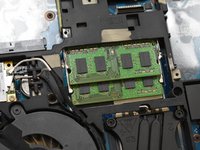
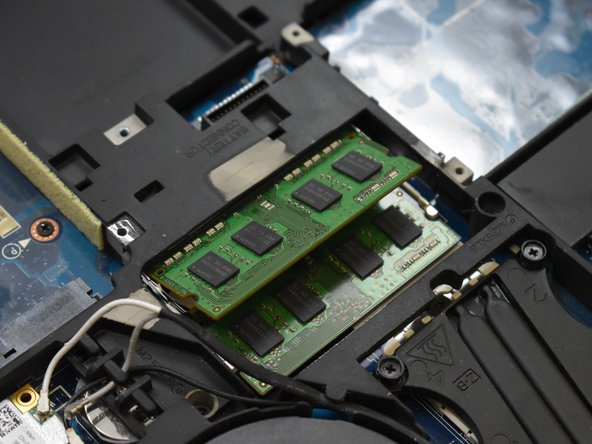
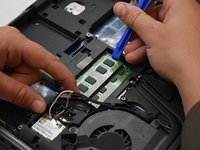
    • Remove the top RAM card by pressing the tabs to the sides using the Plastic Opening Tool.

    • Once the top card has popped up, carefully remove it by holding the sides and sliding it out.

  7. Alienware M17x RAM Replacement: crwdns2935265:07crwdnd2935265:01crwdnd2935265:01crwdne2935265:0
    • Remove the bottom RAM card in a similar manner.

crwdns2915888:0crwdne2915888:0

To reassemble your device, follow these instructions in reverse order.

crwdns2935227:0crwdne2935227:0

Mosier Locke

crwdns2935283:009/27/18crwdne2935283:0

729 crwdns2915208:0crwdne2915208:0

crwdns2935297:05crwdne2935297:0

crwdns2915084:0crwdne2915084:0

Oregon Institute of Technology, Team S1-G2, Lancaster Fall 2018 crwdns2935289:0Oregon Institute of Technology, Team S1-G2, Lancaster Fall 2018crwdne2935289:0

OIT-LANCASTER-F18S1G2

crwdns2931471:03crwdne2931471:0

crwdns2935297:05crwdne2935297:0

crwdns2917034:0crwdne2917034:0

The only problem is that this laptop has 4 slots of ram there are 2 more under the keyboard that must also be accessed to update. If anyone wants to know how I know it’s because I have this laptop and I have seen where the next lot of ram is located

Neil Radtke - crwdns2934203:0crwdne2934203:0

crwdns2917038:0crwdne2917038:0

crwdns2936625:0crwdne2936625:0:

crwdns2936751:024crwdne2936751:0 0

crwdns2936753:07crwdne2936753:0 0

crwdns2936753:030crwdne2936753:0 9

crwdns2942667:0crwdne2942667:0 488