crwdns2915892:0crwdne2915892:0
If your screen is damaged or doesn't work like it used to, use this guide to remove and replace your display assembly.
crwdns2942213:0crwdne2942213:0
-
-
Flip the laptop over so the model stickers face the ceiling.
-
-
-
Remove the two 3.5 mm Phillips #0 screws holding the cover in place.
-
Slide cover forward then carefully lift up.
-
-
-
Remove the two 5.5 mm Phillips #0 screws holding the battery in place.
-
-
-
-
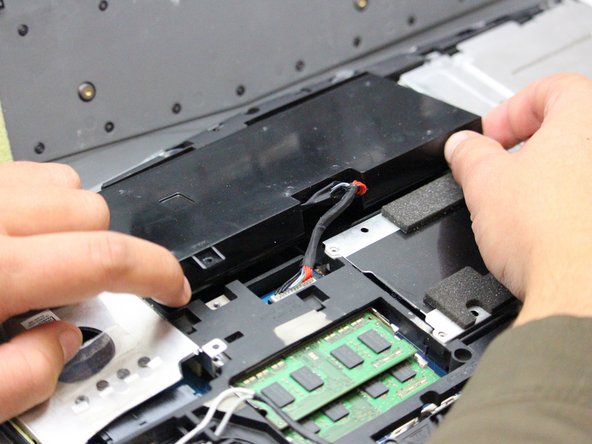
Carefully use the Plastic Opening Tool to unplug the battery.
-
Lift the battery up and out to remove.
-
-
-
Flip the laptop back over so that the Alienware logo faces the ceiling then open the lid to view the screen.
-
-
-
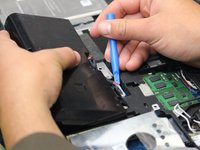
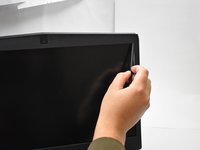
Use a spudger as a lever to pry the black plastic siding off of the frame starting on either of the top corners.
-
Use the spudger to remove the siding from the bottom of the frame near the hinges.
-
Carefully lift the black plastic siding up and out of the hinged area making sure not to break the fragile sides.
-
-
-
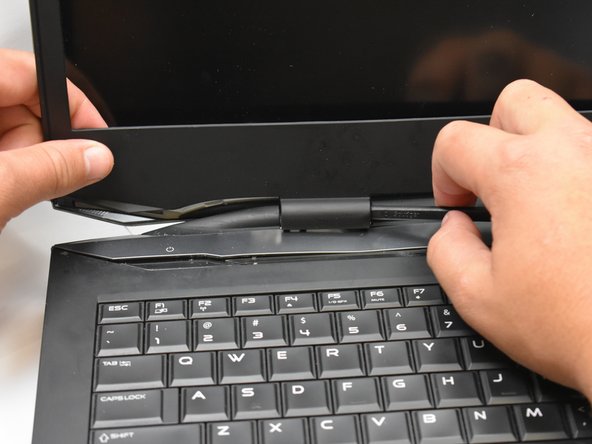
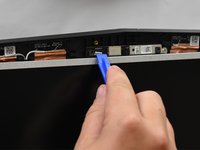
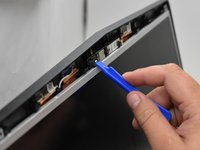
Use the plastic opening tool to disconnect the screen from the top mount.
-
-
-
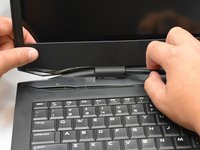
Tilt the screen forward to expose the connecting wires.
-
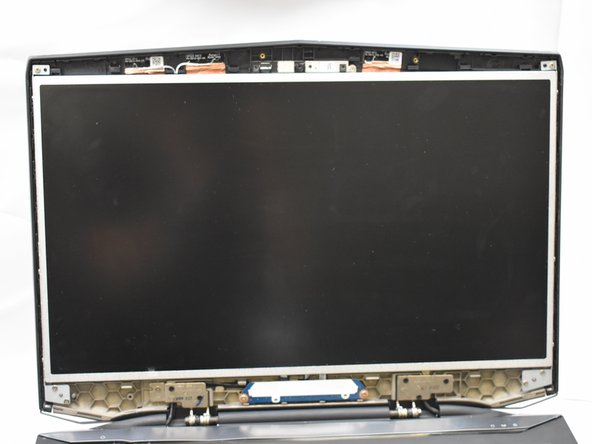
Disconnect said wires to then lift the display assembly out of the frame.
-


To reassemble your device, follow these instructions in reverse order.
To reassemble your device, follow these instructions in reverse order.
crwdns2935221:0crwdne2935221:0
crwdns2935227:0crwdne2935227:0
crwdns2915084:0crwdne2915084:0

Oregon Institute of Technology, Team S1-G2, Lancaster Fall 2018 crwdns2935289:0Oregon Institute of Technology, Team S1-G2, Lancaster Fall 2018crwdne2935289:0
OIT-LANCASTER-F18S1G2
crwdns2931471:03crwdne2931471:0
crwdns2935297:05crwdne2935297:0