crwdns2933423:0crwdne2933423:0
crwdns2947577:0crwdnd2947577:0crwdne2947577:0

Alienware 17 R2 Screen Replacement

crwdns2942213:0crwdne2942213:0

    1. Alienware 17 R2  Screen Replacement, Display: crwdns2935265:01crwdnd2935265:01crwdnd2935265:01crwdne2935265:0
      • Put the laptop on a hard surface.

      • Make sure that the Alienware is not plugged into any power source.

      • First, we need to unplug the battery.

      crwdns2952109:0crwdne2952109:0

      crwdns2917038:0crwdne2917038:0

    2. Alienware 17 R2  Screen Replacement: crwdns2935265:02crwdnd2935265:01crwdnd2935265:02crwdne2935265:0 Alienware 17 R2  Screen Replacement: crwdns2935265:02crwdnd2935265:02crwdnd2935265:02crwdne2935265:0
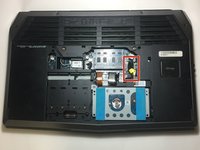
      • To unplug the battery, turn the computer upside down.

      • Remove the two 4mm screws from the plastic covering protecting the inner part of the laptop.

      crwdns2952109:0crwdne2952109:0

      crwdns2917038:0crwdne2917038:0

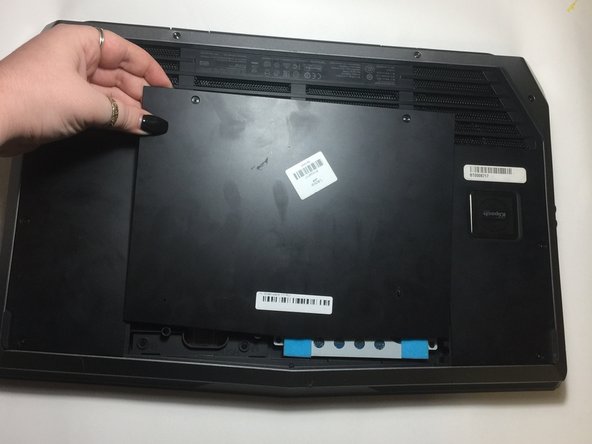
    3. Alienware 17 R2  Screen Replacement: crwdns2935265:03crwdnd2935265:01crwdnd2935265:02crwdne2935265:0 Alienware 17 R2  Screen Replacement: crwdns2935265:03crwdnd2935265:02crwdnd2935265:02crwdne2935265:0
      • Gently, pull the cover up and slide it off.

      crwdns2952109:0crwdne2952109:0

      crwdns2917038:0crwdne2917038:0

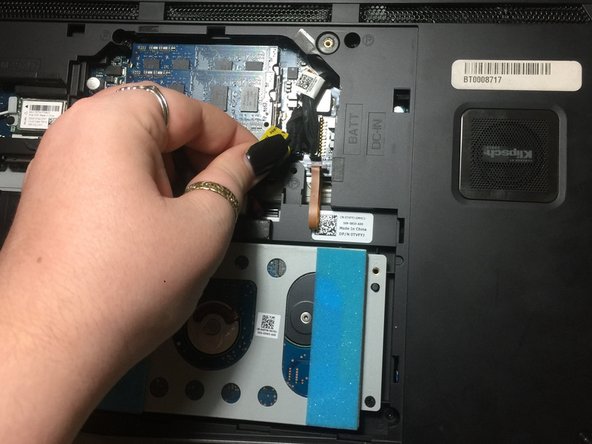
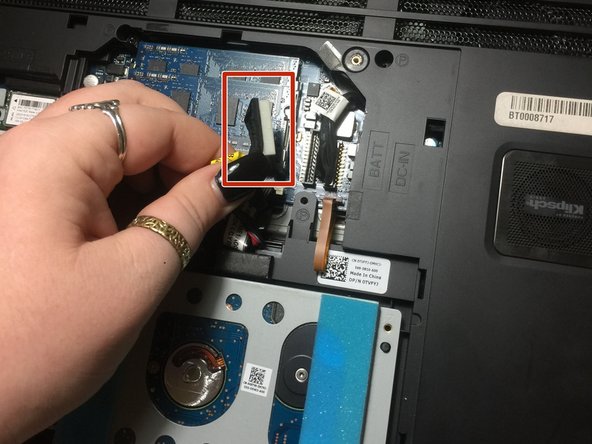
    4. Alienware 17 R2  Screen Replacement: crwdns2935265:04crwdnd2935265:01crwdnd2935265:03crwdne2935265:0 Alienware 17 R2  Screen Replacement: crwdns2935265:04crwdnd2935265:02crwdnd2935265:03crwdne2935265:0 Alienware 17 R2  Screen Replacement: crwdns2935265:04crwdnd2935265:03crwdnd2935265:03crwdne2935265:0
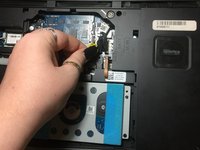
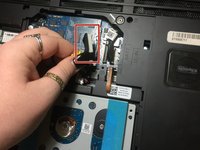
      • Now, you are going to look for a yellow tag.

      • Unplug the black wire that has the yellow tag.

      • This with successfully disconnect your battery.

      crwdns2952109:0crwdne2952109:0

      crwdns2917038:0crwdne2917038:0

    5. Alienware 17 R2  Screen Replacement: crwdns2935265:05crwdnd2935265:01crwdnd2935265:02crwdne2935265:0 Alienware 17 R2  Screen Replacement: crwdns2935265:05crwdnd2935265:02crwdnd2935265:02crwdne2935265:0
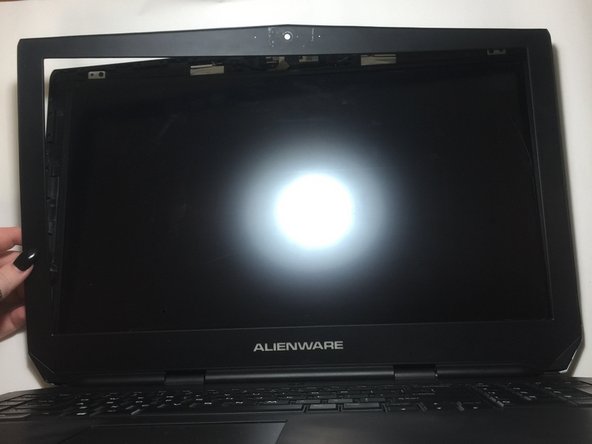
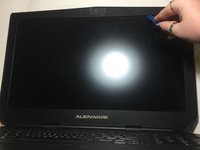
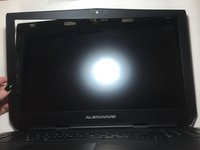
      • Using the plastic opening tool, gently remove the black plastic casing from the LCD screen.

      • Run the opening tool along the inner side of the computer where the screen and the plastic covering meet.

      crwdns2952109:0crwdne2952109:0

      crwdns2917038:0crwdne2917038:0

    6. Alienware 17 R2  Screen Replacement: crwdns2935265:06crwdnd2935265:01crwdnd2935265:01crwdne2935265:0
      • No you will unscrew the 2mm screws on the top and bottom side of the screen.

      crwdns2952109:0crwdne2952109:0

      crwdns2917038:0crwdne2917038:0

    7. Alienware 17 R2  Screen Replacement: crwdns2935265:07crwdnd2935265:01crwdnd2935265:01crwdne2935265:0
      • Tilt the screen forward towards the keyboard.

      • Disconnect the plug that is connecting the screen to the main body.

      crwdns2952109:0crwdne2952109:0

      crwdns2917038:0crwdne2917038:0

    8. Alienware 17 R2  Screen Replacement: crwdns2935265:08crwdnd2935265:01crwdnd2935265:01crwdne2935265:0
      • Gently, lift the display away from the laptop.

      crwdns2952109:0crwdne2952109:0

      crwdns2917038:0crwdne2917038:0

crwdns2915888:0crwdne2915888:0

To reassemble your device, follow these instructions in reverse order.

crwdns2935221:0crwdne2935221:0

Luis Garcia

crwdns2935283:009/20/17crwdne2935283:0

402 crwdns2915208:0crwdne2915208:0

crwdns2935297:04crwdne2935297:0

crwdns2935287:0crwdne2935287:0

University of North Texas, Team S6-G4, Thomas Fall 2017 crwdns2935289:0University of North Texas, Team S6-G4, Thomas Fall 2017crwdne2935289:0

UNT-THOMAS-F17S6G4

crwdns2931471:03crwdne2931471:0

crwdns2935297:048crwdne2935297:0

crwdns2947412:00crwdne2947412:0

crwdns2917038:0crwdne2917038:0

crwdns2936625:0crwdne2936625:0:

crwdns2936751:024crwdne2936751:0 0

crwdns2936753:07crwdne2936753:0 6

crwdns2936753:030crwdne2936753:0 47

crwdns2942667:0crwdne2942667:0 3,700