crwdns2915892:0crwdne2915892:0
This is just a general teardown guide for the cordless robotic pool cleaner Aiper Seagull Pro.
crwdns2942213:0crwdne2942213:0
-
-
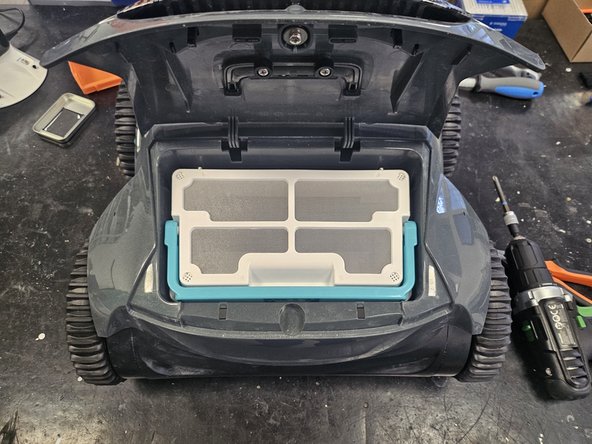
Start by removing the trash bin from the robot.
-
-
-
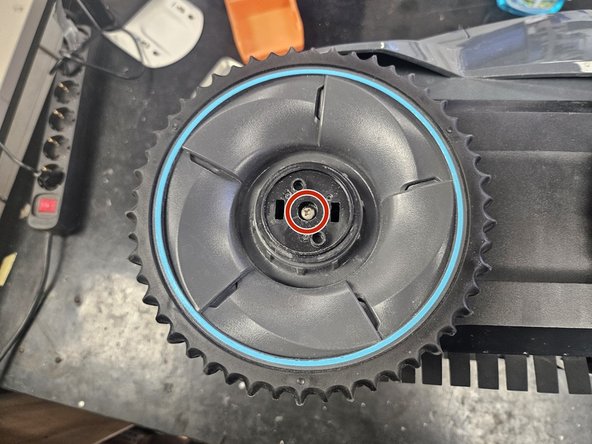
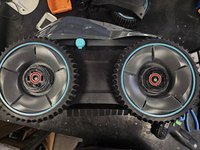
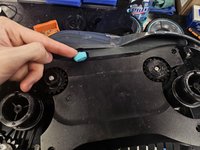
Put it on its side, then pry off the black plastic cap from the wheels.
-
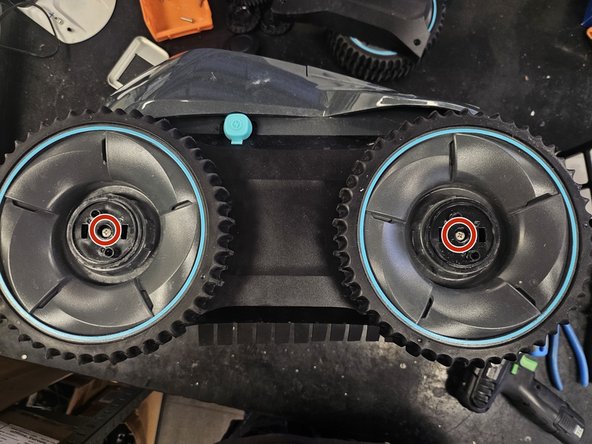
Once the cap is removed, remove the screw.
-
Then remove the wheels.
-
-
-
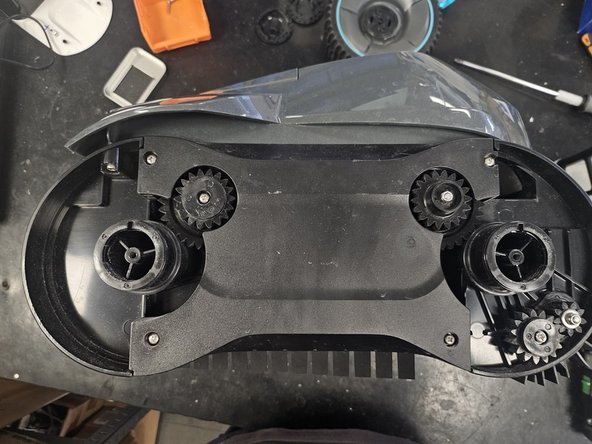
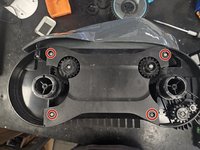
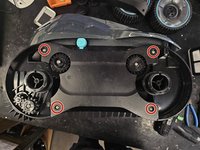
Remove the screws, then remove the plastic cover.
-
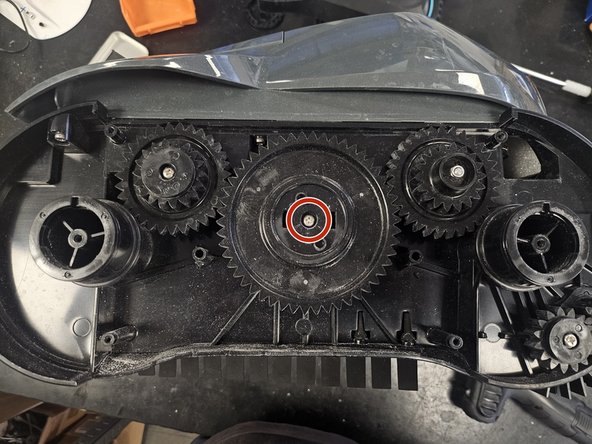
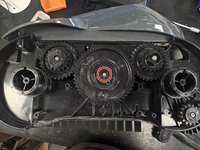
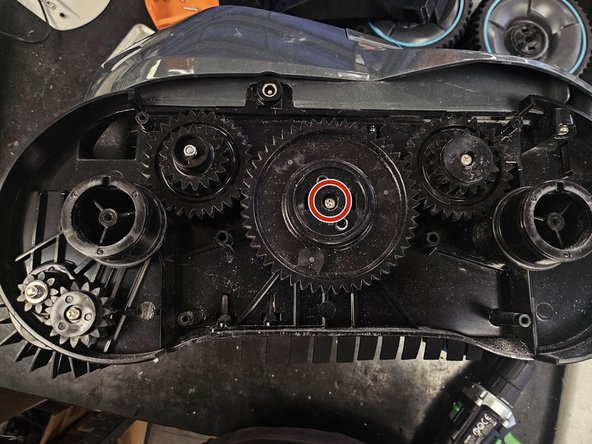
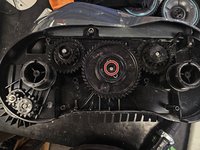
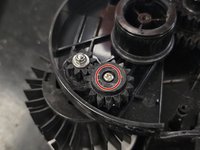
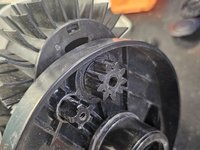
Remove the screw from the middle cog, then remove the cog.
-
-
-
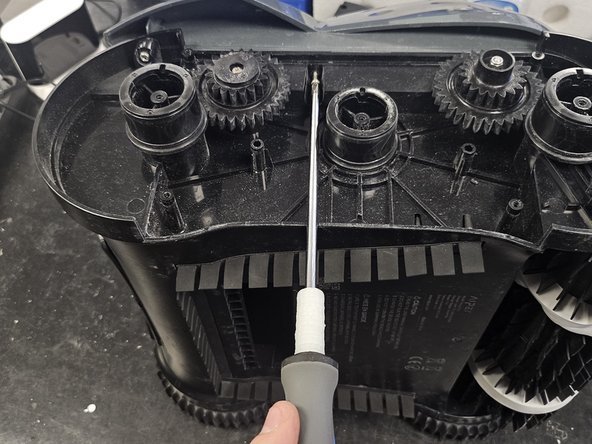
Remove the screws holding the chassis together.
-
-
-
Flip it over and remove the wheels.
-
Then remove the side cover screws.
-
-
-
-
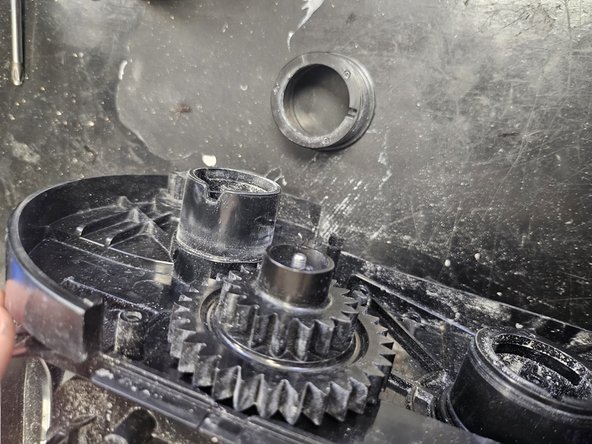
Remove the side cover and the middle cog.
-
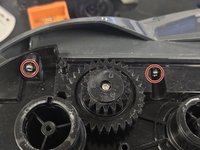
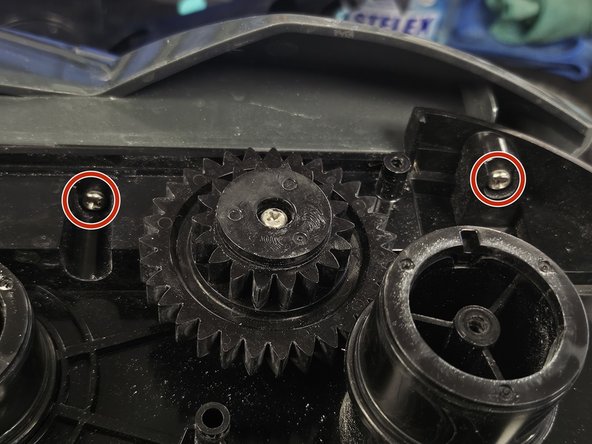
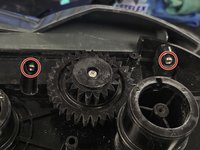
Remove the 2 screws holding the chassis together.
-
-
-
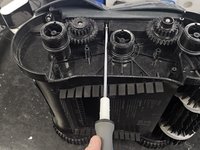
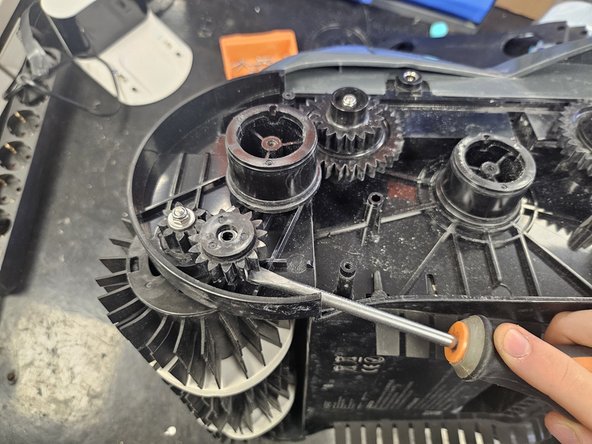
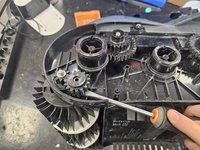
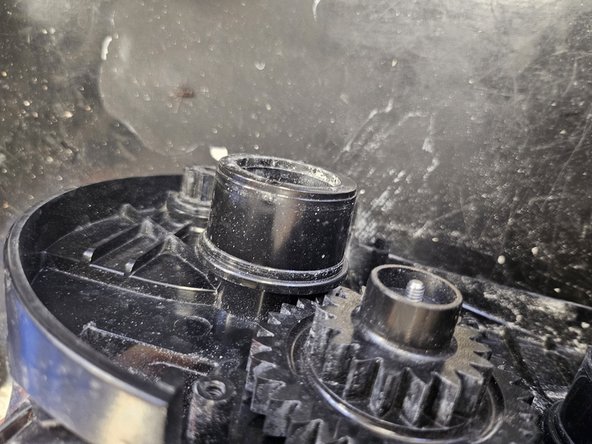
Remove the screw holding the side cog in place.
-
Use some leverage to remove the cog. It usually gets stuck in place due to limescale buildup.
-
Flip it on its back.
-
-
-
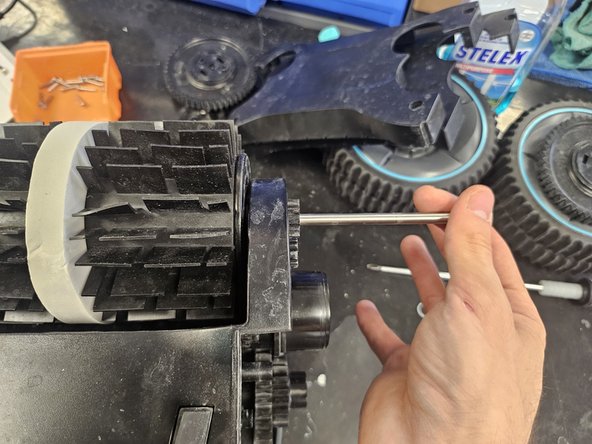
Use 2x 7mm wrenches to loosen the bolts on the rod going through the front brushes.
-
Remove the rod.
-
On the side that you removed the other cog, remove the now removable cog.
-
-
-
Remove the brushes by tilting them up on one side, then pulling them off.
-
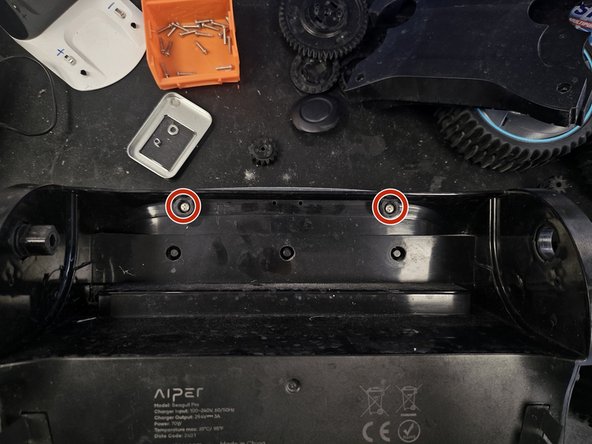
Remove the 2 screws that were covered by the brushes.
-
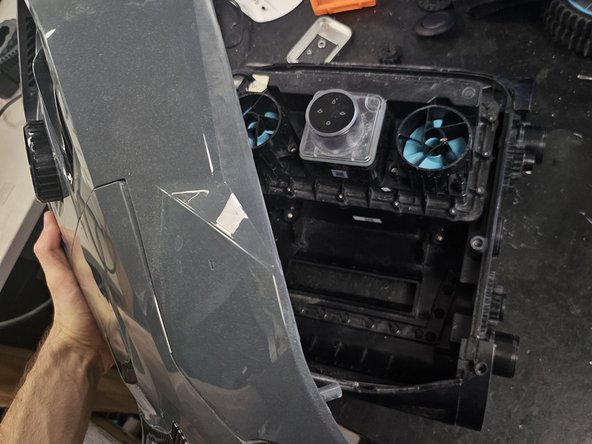
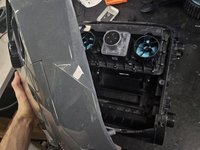
Remove the top half of the chassis.
-
-
-
Under the box, of course.
-
-
-
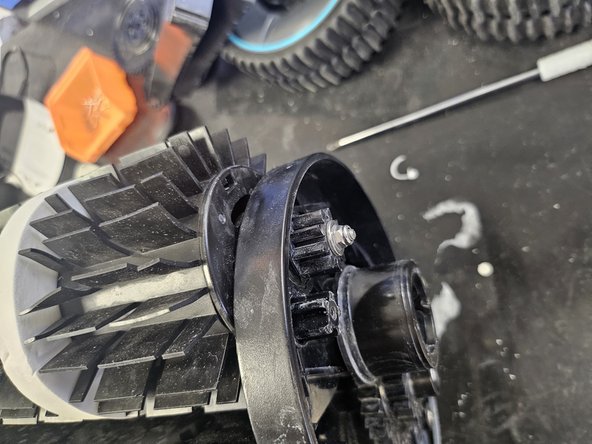
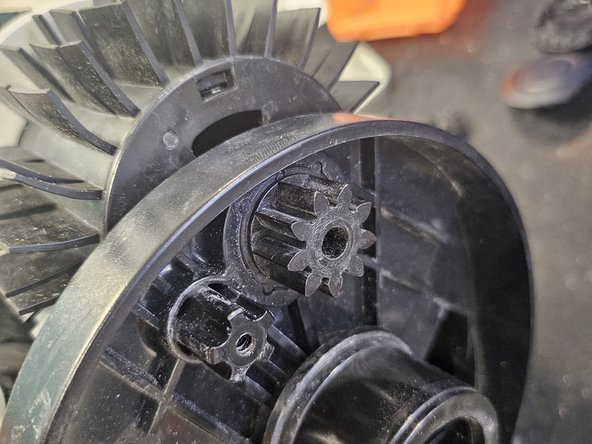
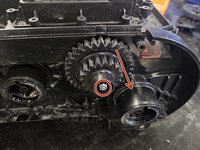
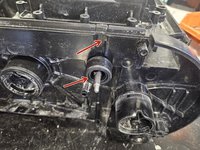
Use a 7mm wrench (or other tool) to remove this nut from the cog.
-
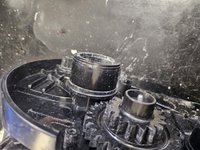
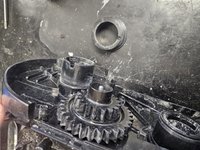
Then remove the plastic circle thing, as it covers it and prevents you from removing the cog.
-
Then remove the cog.
-
-
-
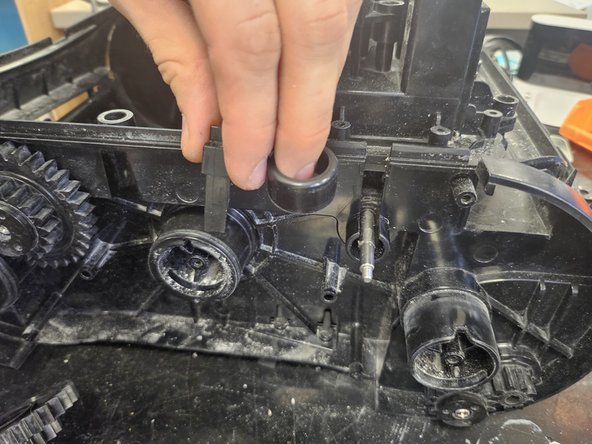
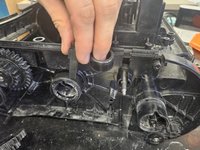
Remove the plastic circle and tab.
-
-
-
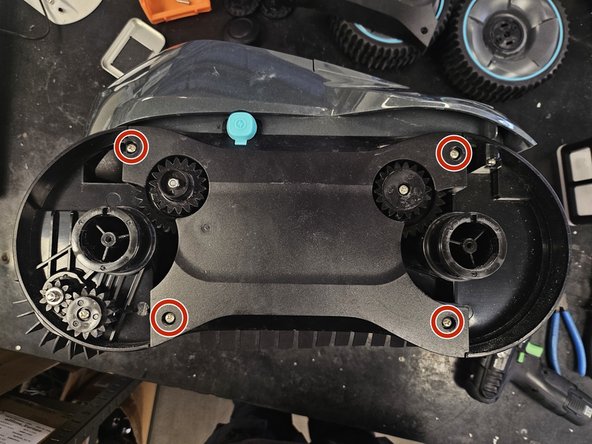
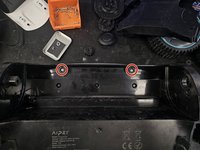
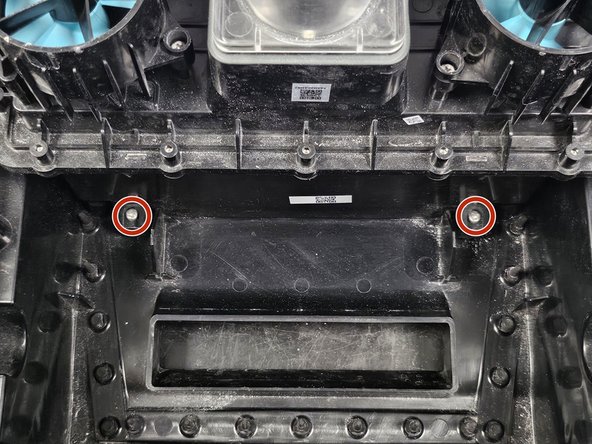
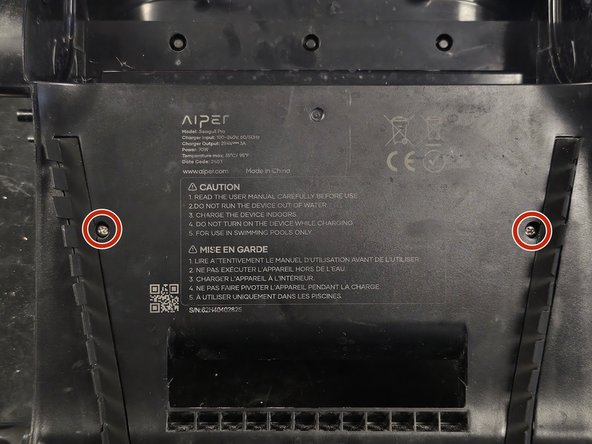
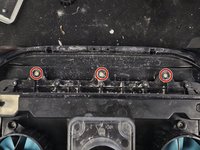
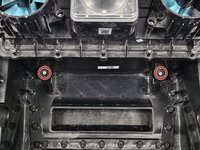
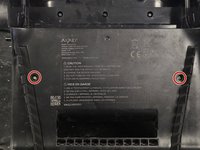
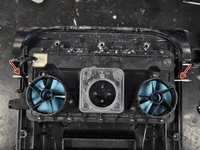
Remove all of the marked screws.
-
-
-
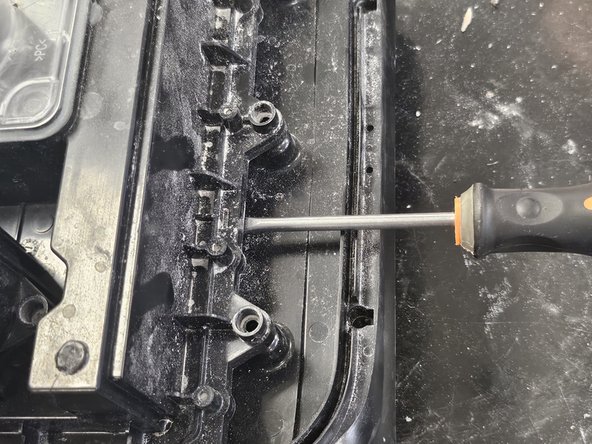
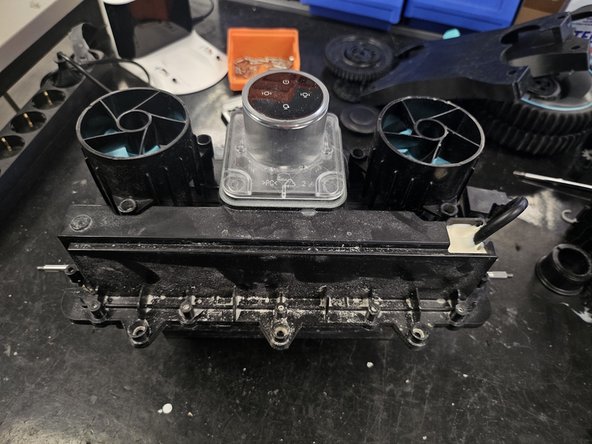
Pull on the 2 rods to remove the assembly from the chassis.
-
-
-
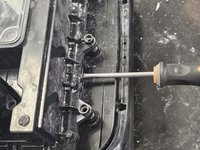
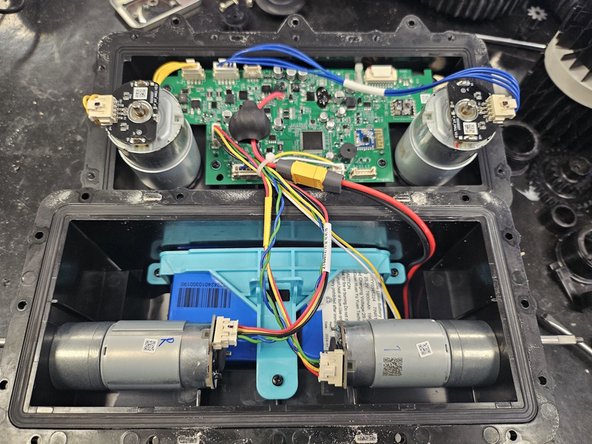
Unscrew all of the screws in the assembly, and voila!
-
It's open.
-
crwdns2947412:02crwdne2947412:0
Hi very good instructions- but i timed all screws as directed but cannnot pull off the main cover - using flat screw driver to separate top from body but plastic is breaking in pieces - any suggestion pls? thnks , Norman from Canada
Can you tell me the model number of the Impeller Motors?

