crwdns2915892:0crwdne2915892:0
This guide will show the process of removing the back plate, vibration motors, and motherboard to access the buttons on the front of the controller.
crwdns2942213:0crwdne2942213:0
-
-
Lay the controller face down on a flat surface and remove the seven 9mm Phillips #0 screws on the back of the controller.
-
Lift up and remove the controller back plate.
-
-
-
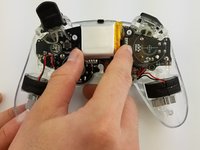
Carefully remove the battery by lifting it straight up from its place.
-
-
-
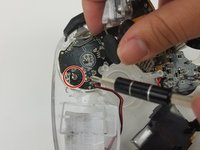
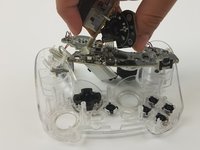
Unscrew the four 9mm Phillips #0 screws that are attached to both joy stick control mini-motherboards. There are two screws for each mini-motherboard.
-
-
-
-
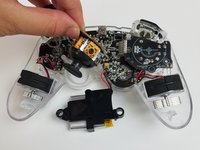
Jiggle both joy stick control mini-motherboards out of their holding place.
-
Set aside the mini-motherboards so you can access the main motherboard.
-
-
-
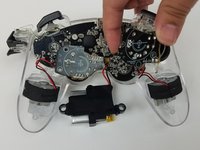
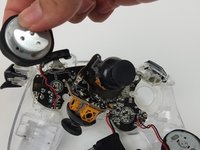
Pull both vibration motors straight up from their holding place.
-
-
-
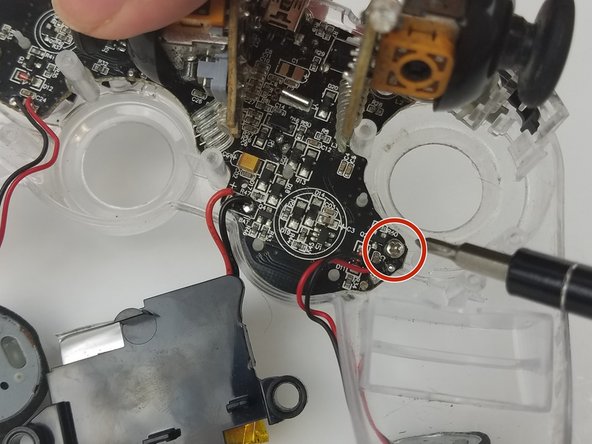
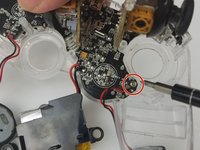
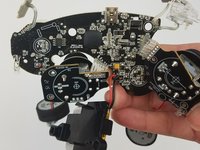
Unscrew the two 9mm Phillips #0 screws holding the motherboard to the controller front plate.
-
-
-
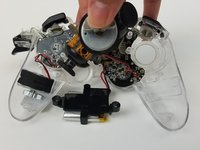
Detach the main motherboard fom the front pate by carefully pulling it off.
-
-
-
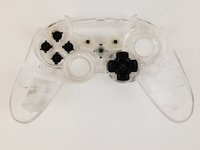
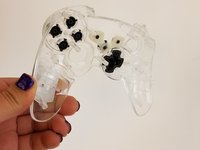
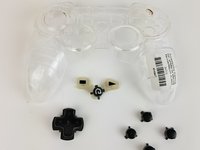
Pick up the controller front plate and carefully turn it over so that the buttons left in it will fall out.
-


To reassemble your device, follow these instructions in reverse order.
To reassemble your device, follow these instructions in reverse order.
crwdns2935221:0crwdne2935221:0
crwdns2935229:02crwdne2935229:0
crwdns2915084:0crwdne2915084:0

USF Tampa, Team S19-G5, Hoffman Spring 2017 crwdns2935289:0USF Tampa, Team S19-G5, Hoffman Spring 2017crwdne2935289:0
USFT-HOFFMAN-S17S19G5
crwdns2931471:04crwdne2931471:0
crwdns2935297:020crwdne2935297:0