crwdns2915892:0crwdne2915892:0
If your Braava Jet 240 is behaving erratically, avoiding unseen obstacles, circling unseen table legs, and moving forward with rapid stop-go chattering, your free-floating platform position sensors may need adjustment.
This technique is not based in knowledge of the Braava Jet 240 design. It may result in your Braava Jet 240 becoming permanently disabled. Proceed at your own risk.
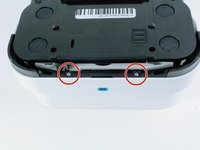
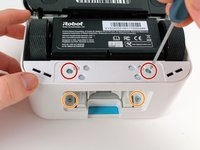
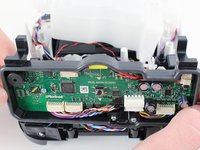
It appears that the magnets circled in red form the magnetic half of a pair of inductive sensors that track the movements of the free-floating platform as the front cover of the Braava Jet 240 contacts walls or other impediments. The magnets translate just below the underside of the motherboard case. I suspect that buried at the base of the motherboard are induction coils that sense the movement of the magnets.
One thing we know about inductive sensors is that the effectiveness of a sensor goes down as the magnet gets further away from the detector coil. If the free-floating platform changes shape over time, one of the magnets may move far enough away from the detector coil that it gives erroneous readings.
Before removing the motherboard case, test the offset between the magnet and your induction coils by sliding pieces of paper of varying thickness between the top of the magnet and the underside of the motherboard case.
In my Braava Jet 240, one of the offsets was decidedly larger than the other.
The idea here is to reduce the offset and improve the sensor performance by raising up the magnet with the larger gap.
In my Braava Jet 240, I was lucky. The magnets appear to be fastened by some stretchable substance. Because of this, I could slide a thin-bladed flat head screwdriver down the sides of the magnet and pry the magnet upward until it was just proud of its rectangular plastic enclosure.
I reassembled my Braava Jet 240 and it proceeded to clean my kitchen floor without a hiccup.
If you have other ways to raise the magnets within their enclosures, please note them in the comments and I will include them in the text. It's not clear to me how long the magnet will stay in its elevated position given that the adhesive is flexible.
Two weeks later... The answer is about two weeks. What is different now is that the wild path of the Braava Jet 240 is now repeatable. This seems like a software error. It may be that the inductive sensor itself was slowly failing and I brought it back to useful life for the last two weeks of it's failure trajectory. I will update if I can solve this new situation.
crwdns2942213:0crwdne2942213:0
-
-
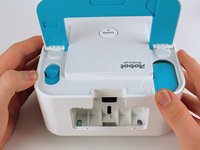
Use your fingers to gently pop out the battery.
-
-
-
Lift up the handle to reveal the eject button.
-
-
-
Use your finger to push the eject button forward.
-
-
-
Tilt the robot on its side and let the mop pad slide out.
-
-
-
-
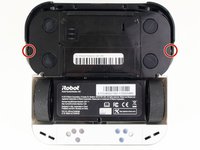
Remove the two 22.0 mm screws on the bottom-front of the robot using a Phillips #1 screwdriver.
-
-
-
Use a Phillips #1 screwdriver and an iFixit opening tool to remove the two 15.0 mm screws on the front sides of the robot.
-
-
-
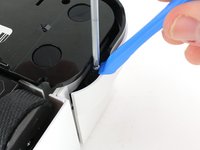
Carefully pull back on the front shell to remove it from the robot.
-
-
-
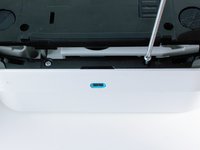
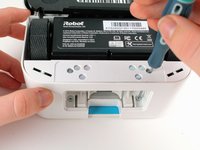
Insert a Phillips #1 screwdriver through the screw holes.
-
Unscrew the two 9.7 mm screws.
-
-
-
Unscrew the four 9.7 mm screws using a long neck #1 Phillips screwdriver.
-
-
-
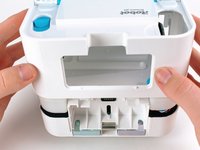
Pull up on the back shell to remove it from the robot.
-
-
-
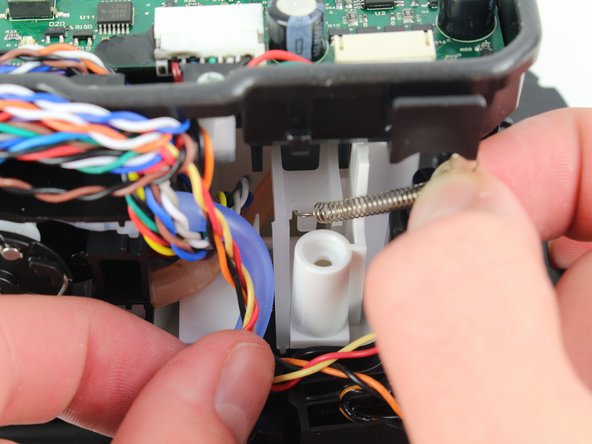
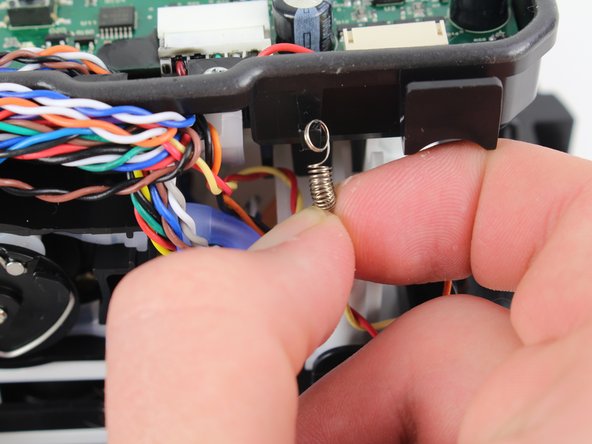
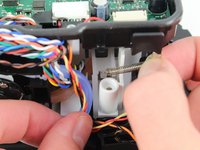
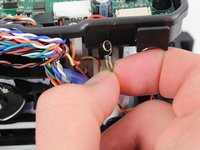
First pull up, then pull down on the spring to detach it from the hooks.
-
-
-
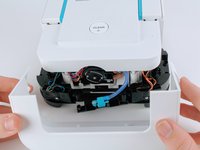
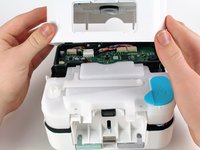
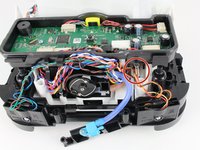
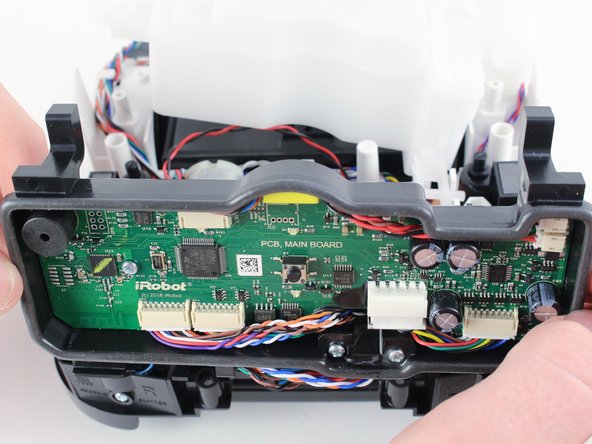
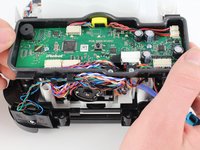
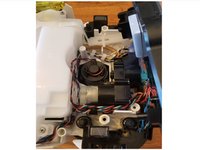
Lift up on the motherboard case and pull it forward to remove it from the device. This will expose the free-floating platform, as well as motors, water tubing, and the magnetic sensor pads.
-
-
-
Carefully pry the magnets to raise them up with respect to the free-floating platform, but not so much that they rub against the bottom of the motherboard case.
-
The idea is to shrink the gap between the magnet and the motherboard case so as to improve the performance of the inductive sensor.
-


To reassemble your device, follow these instructions in reverse order.
To reassemble your device, follow these instructions in reverse order.