crwdns2915892:0crwdne2915892:0
If the device is overheating or a heat warning is being displayed on the screen, you should consider using this guide to replace the cooling fans.
It is important to have a properly functioning fan to ensure your laptop runs efficiently, as it provides cooling to the laptop, especially during periods of high usage. If the fan is blocked or not properly running, you will notice that the fan is not sufficiently cooling the laptop.
A cause of poor fan performance could be due to a blockage caused by dust or other debris. It is possible to try and remove the dust using a dust blower.
Always remember to power down the device before beginning replacement.
crwdns2942213:0crwdne2942213:0
-
-
Remove the eleven 6.5 mm screws that secure the back case using a Phillips #1 screwdriver.
-
-
-
Use a plastic opening tool to gently pry open the back cover.
-
-
-
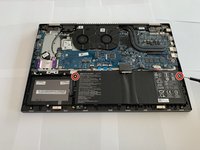
Gently remove the back cover from the device.
-
-
crwdns2935267:0crwdne2935267:0Tweezers$4.99
-
Using tweezers, remove the piece of black tape over the battery cable connector.
-
-
-
-
Remove the piece of black tape that covers the battery.
-
-
-
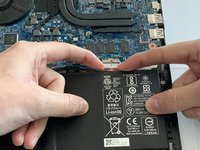
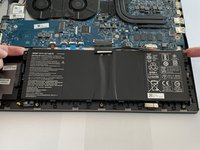
Grip the battery cable on both sides with your fingertips and gently pull it away from the port.
Great work with clear, specific directions here and a nice flipbook shot. This step would be easy to follow.
-
-
-
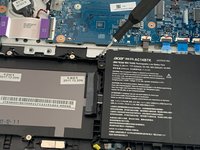
Remove the two 3.5 mm screws that secure the battery using a Phillips #00 screwdriver (PH00 bit).
-
-
-
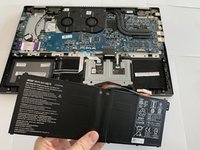
Carefully place your fingers under the plastic lip where the screws were removed.
-
Lift upwards to remove the battery.
-
-
crwdns2935267:0crwdne2935267:0Tweezers$4.99
-
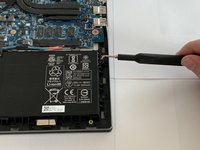
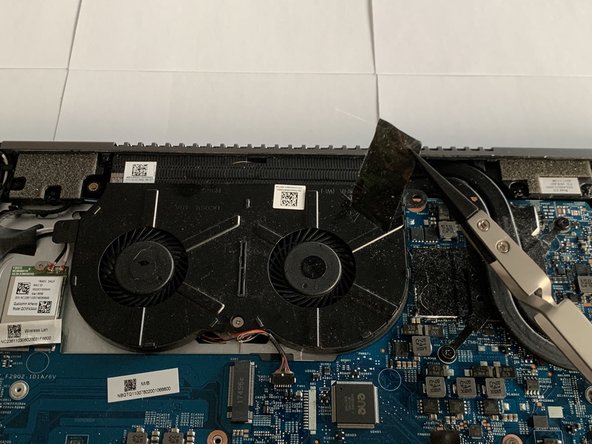
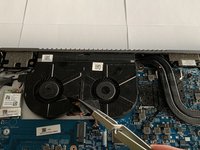
Remove the piece of tape covering the fan screw using a pair of tweezers.
-
-
-
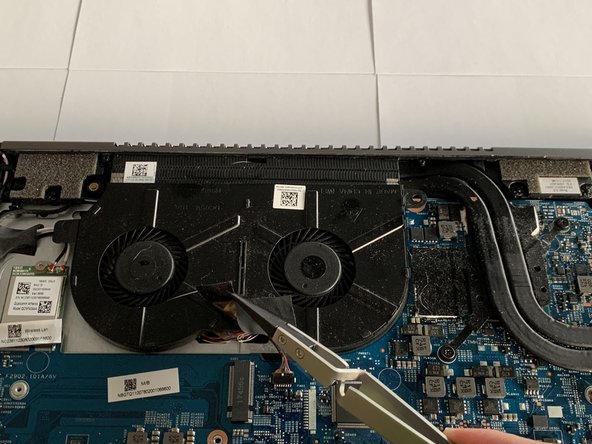
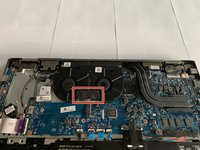
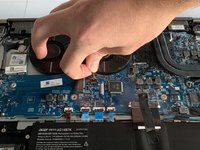
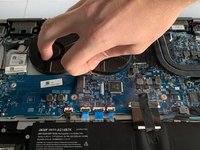
Grip the cord that connects the fan to the motherboard and gently pull out to disconnect the cable from the connector.
-
-
-
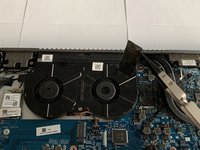
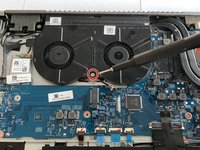
Remove the 3.5 mm screw connecting the fan to the computer using a Phillips #00 screwdriver (PH00 bit).
-
-
-
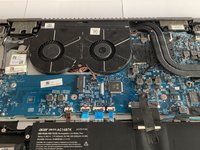
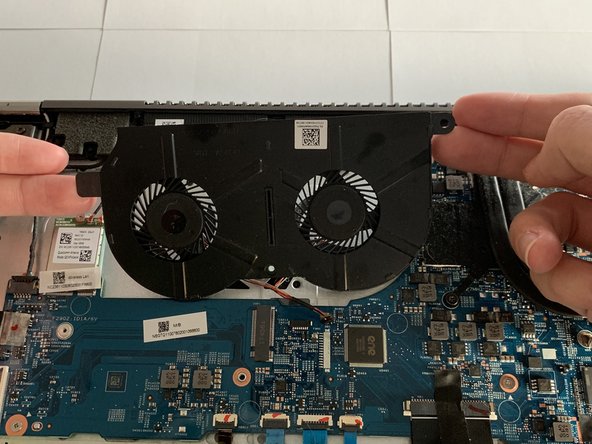
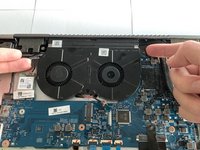
Grip the fan with your fingers by the edges and lift up to remove the fan.
-


To reassemble your device, follow these instructions in reverse order.
To reassemble your device, follow these instructions in reverse order.
crwdns2915084:0crwdne2915084:0

Embry-Riddle Aeronautical University, Team S3-G4, Watkins Spring 2020 crwdns2935289:0Embry-Riddle Aeronautical University, Team S3-G4, Watkins Spring 2020crwdne2935289:0
ERAU-WATKINS-S20S3G4
crwdns2931471:04crwdne2931471:0
crwdns2935297:06crwdne2935297:0
crwdns2947410:01crwdne2947410:0
is there any way for you to do a screen replacement guild for the Acer Spin 5 SP515-51GN-807G ?