crwdns2915892:0crwdne2915892:0
This is a guide instructing how to replace the Acer Spin 3 SP315-51-757C trackpad. Indications that you would need a new trackpad is outdated or corrupt drivers, incorrect touchpad settings, hardware failure, or more.
crwdns2942213:0crwdne2942213:0
-
-
Remove eleven Phillips #0 screws from the back panel.
-
-
-
Using an opening tool, pry open the back panel, starting at the silver screen hinges.
-
-
-
Lift the back panel off of the laptop.
-
-
-
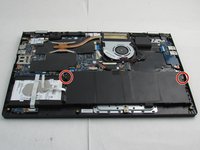
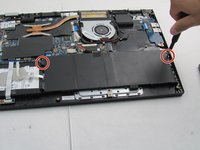
Remove the two Phillips #0 screws holding the battery inside the laptop case.
-
-
crwdns2935267:0crwdne2935267:0Tweezers$4.99
-
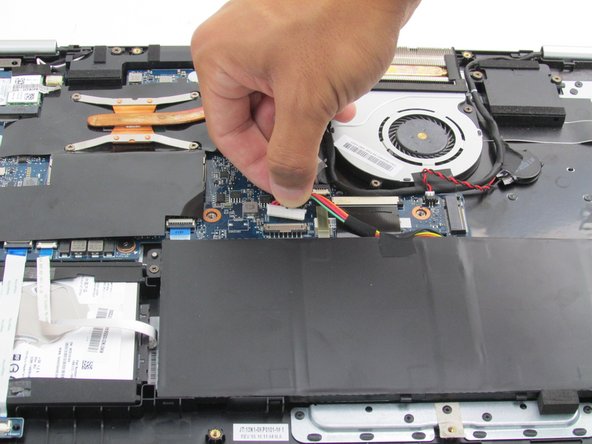
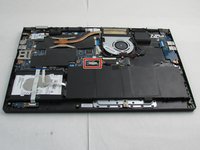
Using either your hands or a pair of tweezers, carefully pull the battery's cable out of its motherboard port.
-
-
-
Using your hands, lift up on the battery from its slot, and carefully slide it away from you before fully lifting it out of the case.
-
-
crwdns2935267:0crwdne2935267:0Tweezers$4.99
-
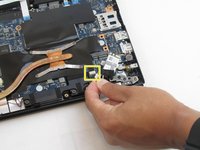
Using your nails or tweezers, unplug the charger port cable from the motherboard.
-
-
-
Gently lift the charger port out of its slot in the laptop casing.
-
-
-
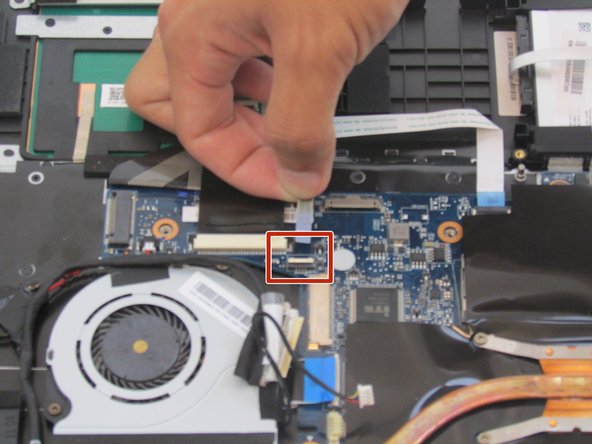
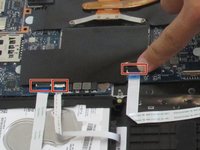
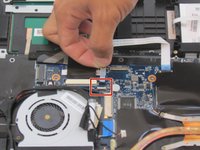
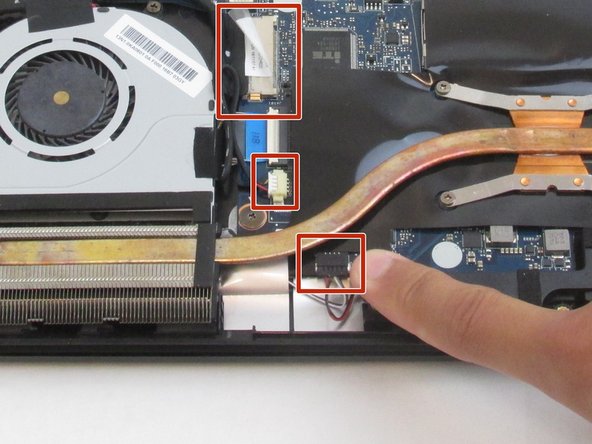
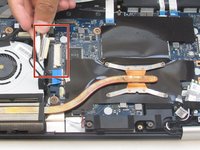
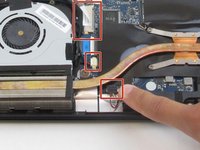
Lift the three black tabs to release the cable connectors.
-
After the tabs are lifted, the white cables with blue ends can be pulled out of their slots.
-
-
-
-
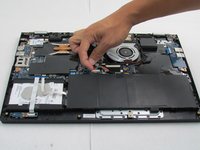
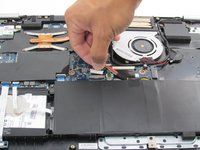
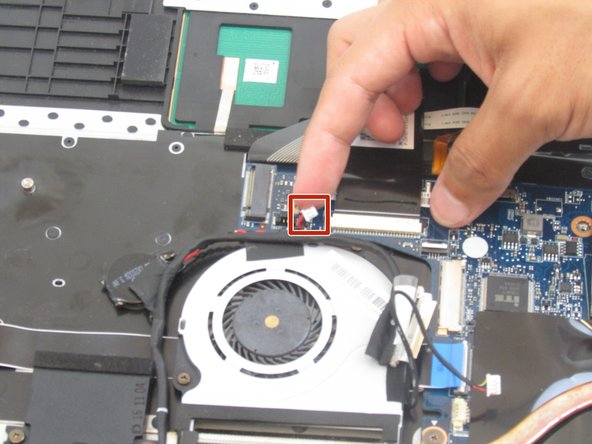
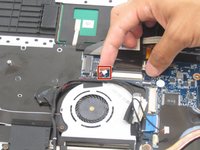
Remove the cables near the fan by pulling them carefully out of their slots.
-
-
-
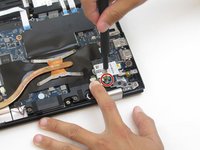
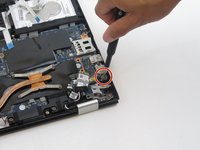
Remove the single Phillips #0 screw.
-
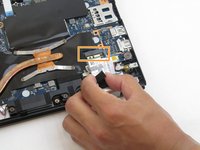
Unplug the speaker cable.
-
Unplug the secondary speaker cable.
-
-
-
Remove the three Phillips #0 screws attached to the motherboard.
-
-
-
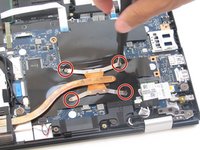
Use a Phillips #0 screwdriver to remove four screws from the heat sink.
-
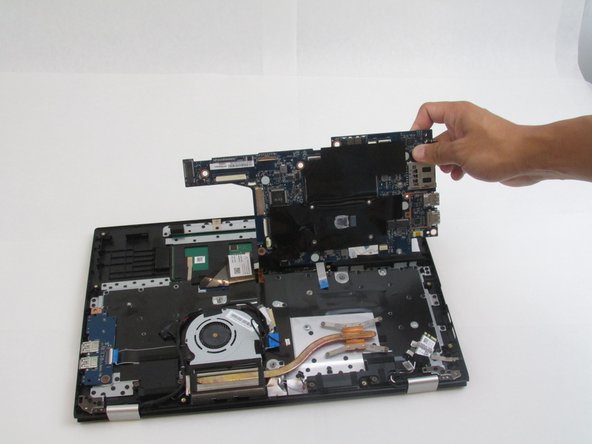
Carefully slide the motherboard from under the heat sink (it is easiest to slide the motherboard to the right).
-
-
-
Using a Phillips #0 screwdriver, remove the three screws that hold the fan on top of the motherboard.
-
-
-
Using a Phillips #0 screwdriver, remove the four screws that connect the heat sink to the motherboard.
-
-
-
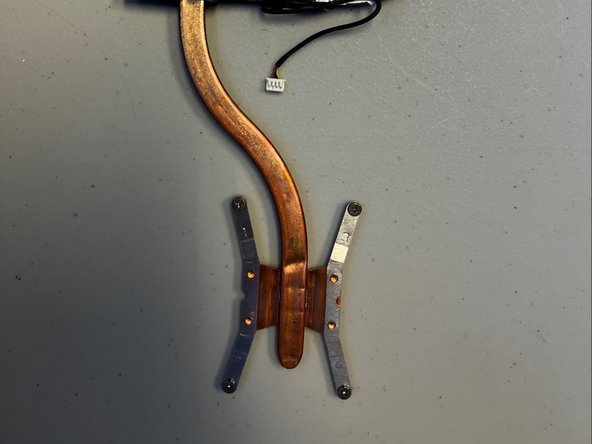
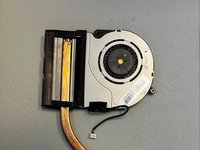
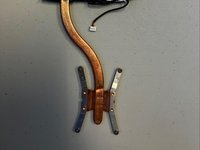
Remove both the fan and the heat sink with your hands.
-
-
-
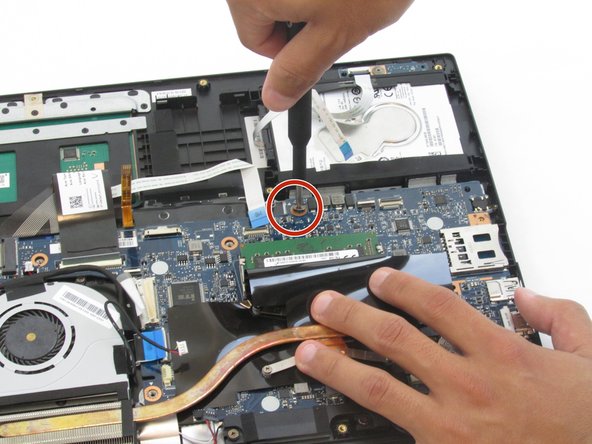
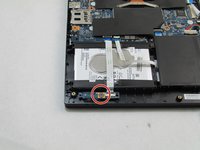
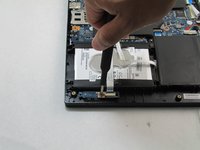
Loosen the single Phillips #0 screw holding the hard drive in place.
-
-
-
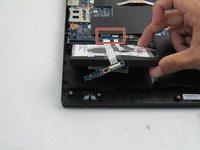
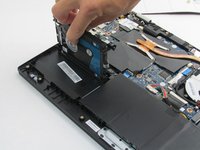
Gently lift the closer side of the hard drive out of its slot.
-
Make sure not to pull too hard on the cables plugged into the motherboard.
-
-
-
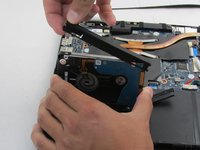
Carefully unplug the cable connected to the side of the hard drive.
-
-
-
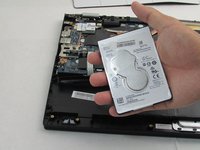
Remove each rubber edge from the hard drive, and reassemble with a new hard drive.
-
-
-
Remove the plastic rivets individually using a spudger.
-
-
-
Swipe a spudger underneath keyboard to unlock it from its frame.
-
-
-
Use the spudger to pry the keyboard up and away from the laptop.
-
-
-
Remove all the plastic rivets with a spudger.
-
-
-
Remove the bottom metal bar with your hands.
-
-
-
Remove the trackpad by pressing upwards from the bottom.
-
To reassemble your device, follow these instructions in reverse order.
To reassemble your device, follow these instructions in reverse order.


