crwdns2942213:0crwdne2942213:0
-
-
Remove eleven Phillips #0 screws from the back panel.
-
-
-
Using an opening tool, pry open the back panel, starting at the silver screen hinges.
-
-
-
Lift the back panel off of the laptop.
-
-
-
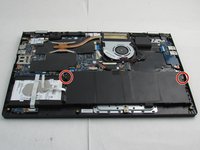
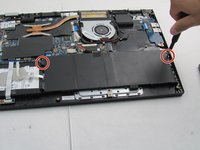
Remove the two Phillips #0 screws holding the battery inside the laptop case.
-
-
crwdns2935267:0crwdne2935267:0Tweezers$4.99
-
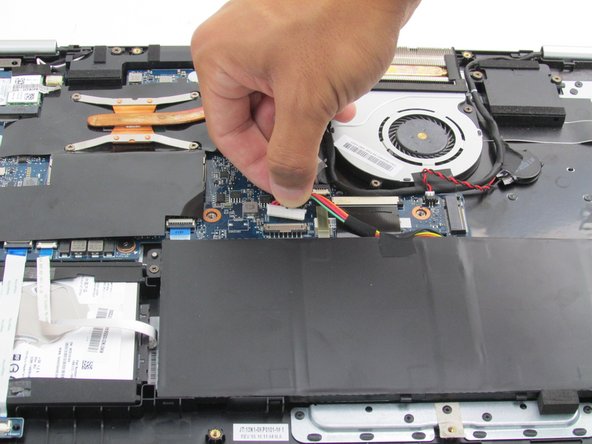
Using either your hands or a pair of tweezers, carefully pull the battery's cable out of its motherboard port.
-
-
-
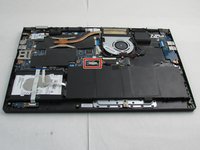
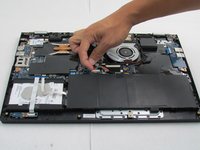
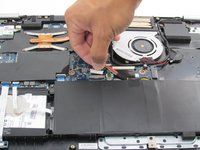
Using your hands, lift up on the battery from its slot, and carefully slide it away from you before fully lifting it out of the case.
-
-
-
crwdns2935267:0crwdne2935267:0Tweezers$4.99
-
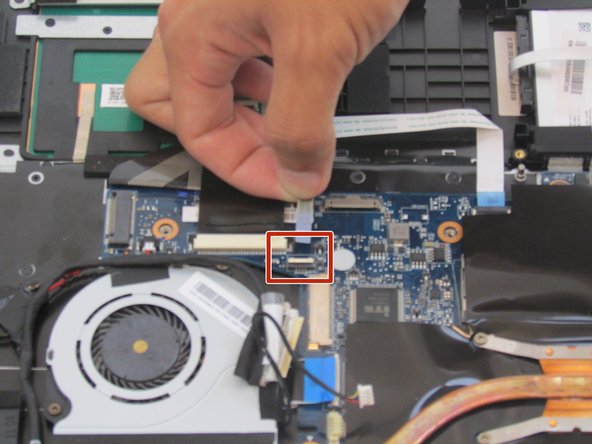
Using your nails or tweezers, unplug the charger port cable from the motherboard.
-
-
-
Gently lift the charger port out of its slot in the laptop casing.
-
-
-
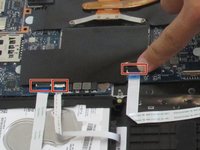
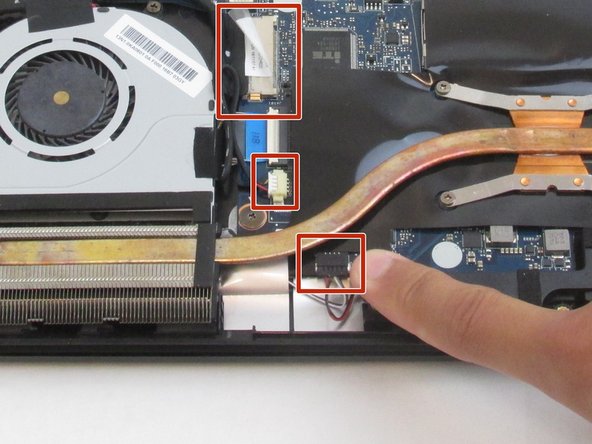
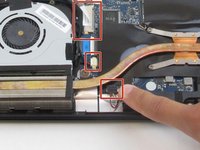
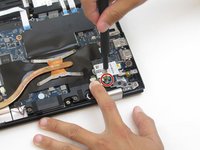
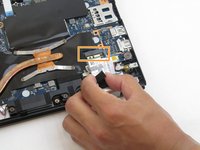
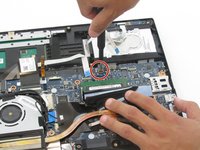
Lift the three black tabs to release the cable connectors.
-
After the tabs are lifted, the white cables with blue ends can be pulled out of their slots.
-
-
-
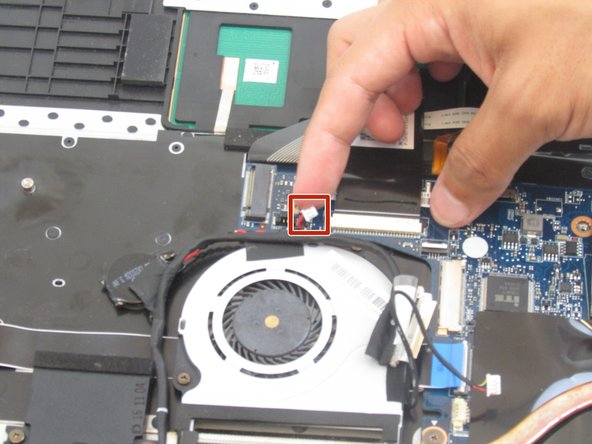
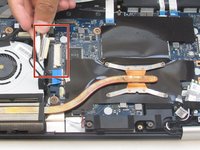
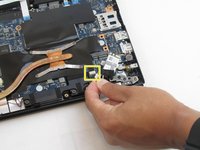
Remove the cables near the fan by pulling them carefully out of their slots.
-
-
-
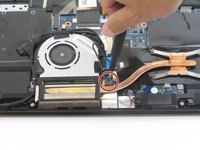
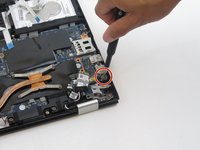
Remove the single Phillips #0 screw.
-
Unplug the speaker cable.
-
Unplug the secondary speaker cable.
-
-
-
Remove the three Phillips #0 screws attached to the motherboard.
-
-
-
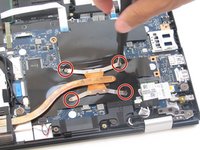
Use a Phillips #0 screwdriver to remove four screws from the heat sink.
-
Carefully slide the motherboard from under the heat sink (it is easiest to slide the motherboard to the right).
-
-
-
Remove the screws from the "L" and "R" plastic pieces using a Phillips #0 screwdriver.
-
-
-
Remove four screws from the metal hinges in the corners using a Phillips #0 screwdriver.
-
-
-
Using an opening tool, separate the bezel from the rest of the device.
-
-
-
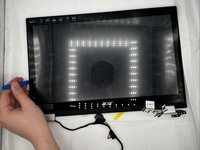
Remove the Phillips #0 screws attaching the screen to the display assembly.
-
-
-
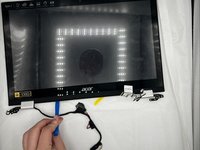
Using your hands, remove the screen.
-


To reassemble your device, follow these instructions in reverse order.
To reassemble your device, follow these instructions in reverse order.

crwdns2915084:0crwdne2915084:0

University of North Texas, Team 5-2, Coppersmith Spring 2024 crwdns2935289:0University of North Texas, Team 5-2, Coppersmith Spring 2024crwdne2935289:0
UNT-COPPERSMITH-S24S5G2
crwdns2931471:04crwdne2931471:0
crwdns2935297:04crwdne2935297:0