crwdns2915892:0crwdne2915892:0
If your screen is damaged or won't respond to your touch, it may need to be replaced. Make sure to avoid touching the screen's sharp edges if it has been cracked, and be careful not apply too much force in order to avoid further damage.
crwdns2942213:0crwdne2942213:0
-
-
Make sure that the tablet is turned off and disconnected from any power source.
-
Disconnect the tablet from the keyboard attachment.
-
If you have a Micro SD card in the tablet, remove it now.
-
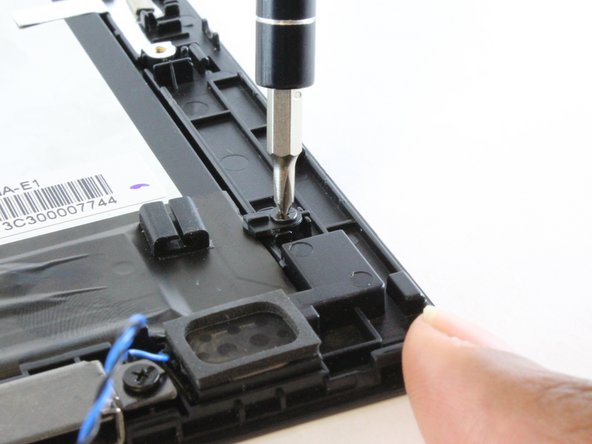
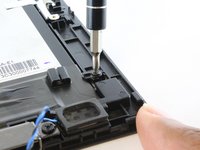
Remove the two 3.5 mm Phillips #0 screws on either side the keyboard connection.
-
-
-
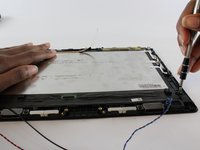
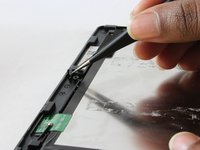
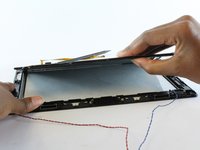
Starting from a corner of the tablet, use the plastic opening tool to create a gap between the screen and the back covering.
-
Slowly maneuver the plastic opening tool along the perimeter of the tablet to pry the screen and back covering apart.
-
Separate the back covering from the screen.
-
-
-
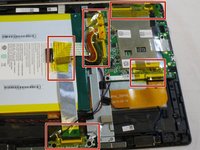
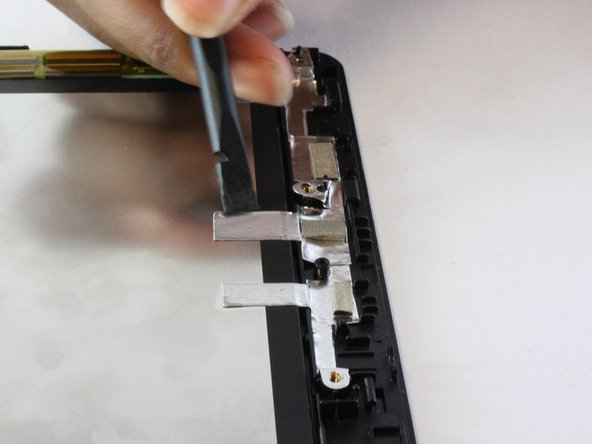
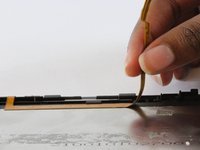
Peel off all of the Polyimide tape (yellow tape).
-
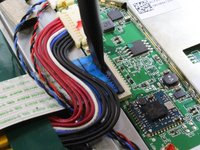
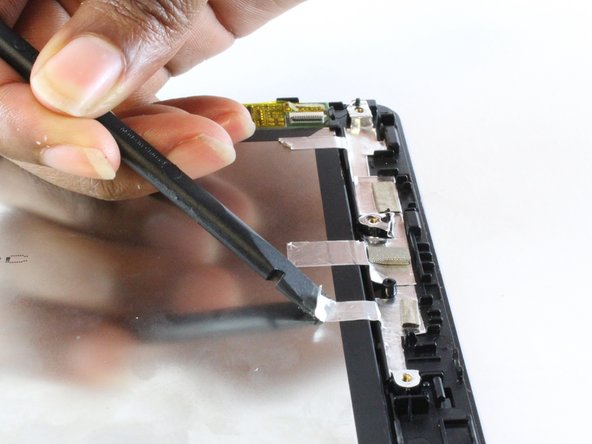
Remove the metallic tape covering the keyboard connection.
-
-
-
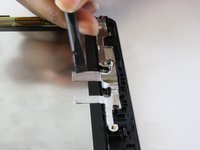
Unscrew the two 3.5mm Phillips #0 screws and open the ZIF latch.
-
Gently remove the silver part covering the battery and set it aside.
-
-
-
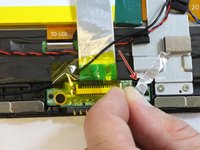
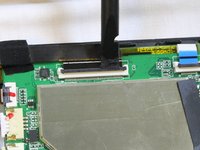
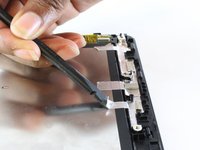
Open the ZIF (Zero Insertion Force) connectors .
-
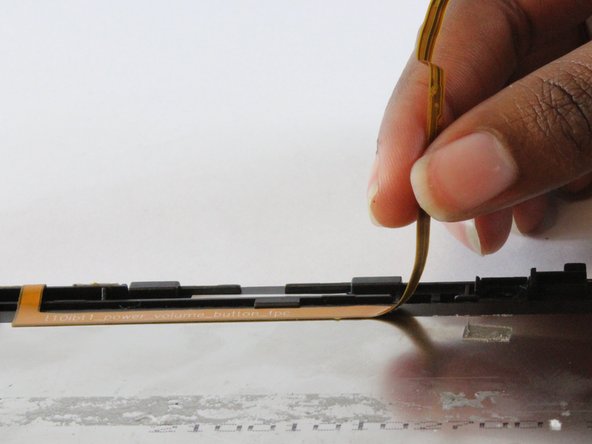
Gently remove the ribbon cables.
-
-
-
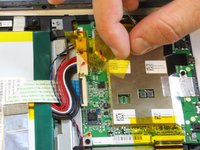
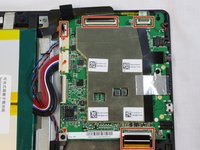
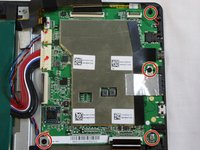
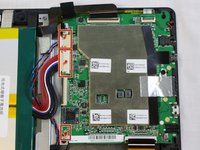
Remove the four 4mm screws at the corners of the motherboard with the Phillips#0 bit screw.
-
-
-
-
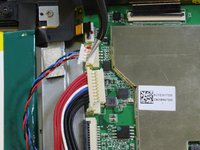
Disconnect the three cables on the motherboard closest to the battery.
-
-
-
Slide out the motherboard and put it aside.
-
-
-
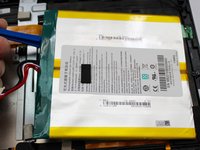
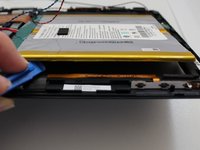
Use the plastic opening tool to separate the glue that holds the battery to the screen.
-
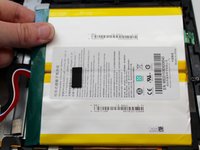
Remove the battery and set it aside.
-
-
-
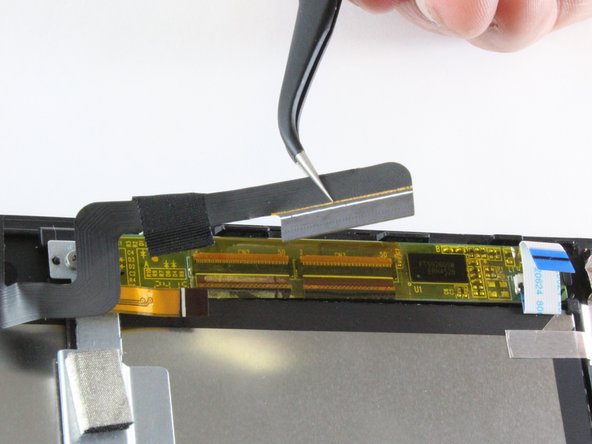
Separate the adhesive cable from the underlying copper ribbon cable.
-
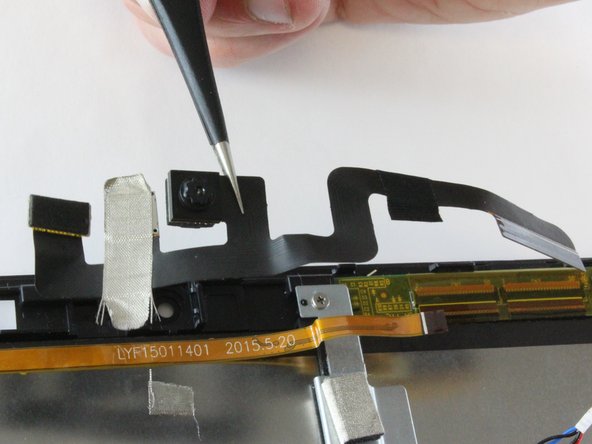
Gently pry off the camera from from tablet backing.
-
Remove the camera and set it aside.
-
-
-
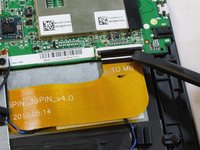
Open the latch on the copper connector and remove it from the tablet.
-
-
-
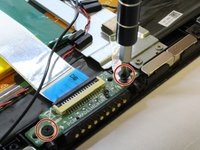
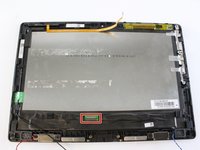
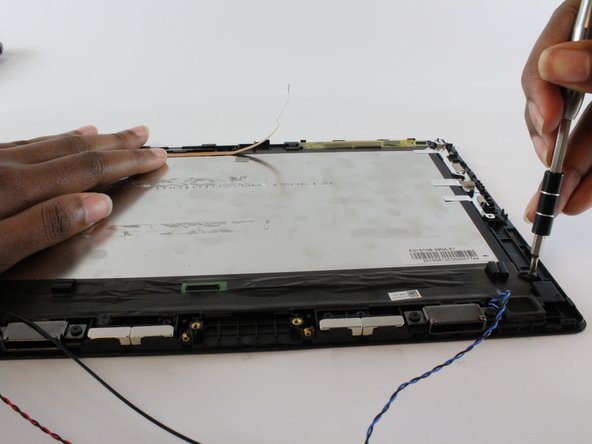
Remove the three 3.5mm screws from the outside perimeter of the tablet.
-
-
-
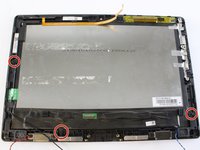
Remove the three small latches that are underneath the screws.
-
-
-
Peel the silver tape on the side of the tablet using the nylon spudger. Do not completely remove the tape.
-
Peel the gold tape gently. Do not completely remove the tape.
-
-
crwdns2935267:0crwdne2935267:0Tweezers$4.99
-
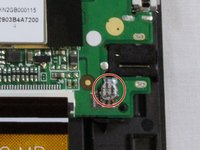
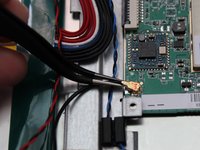
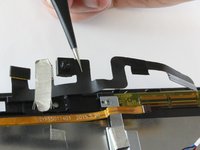
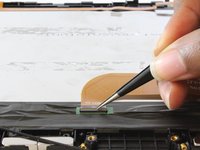
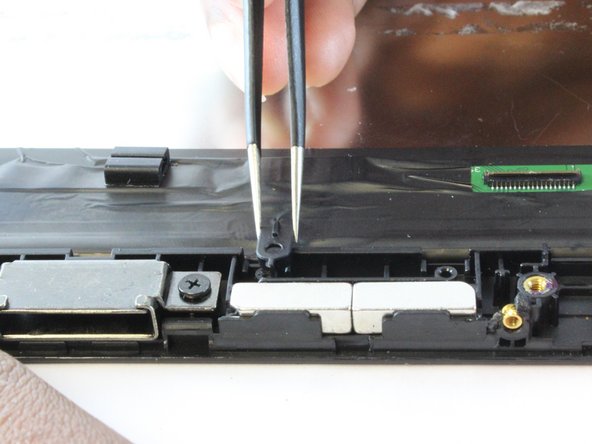
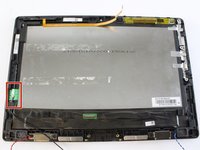
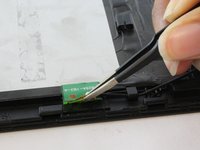
Locate the small green connector with the black cable attached.
-
Disconnect the black cable from the small green connector using the precision tweezers.
-
-
crwdns2935267:0crwdne2935267:0iOpener$14.99
-
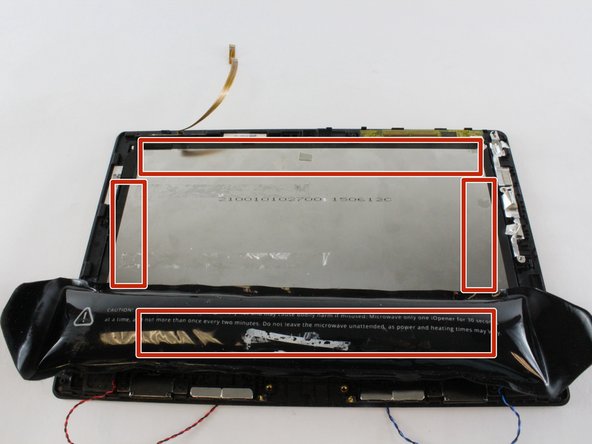
Use a heating pack (iOpener), a hair dryer, or heat gun, and place it over the highlighted glue areas.
-
This will heat up the glue beneath the tape in order to separate the LCD from the screen.
-
-
-
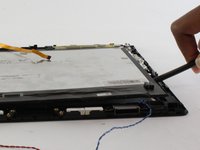
Using the nylon spudger, gently pry the LCD from the screen.
-
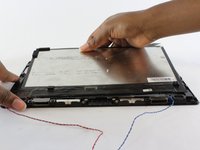
Once separated, gently lift away the LCD from the screen.
-
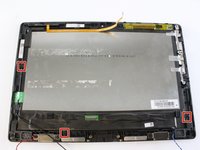
Place tablet screen to the side.
-


To reassemble your device, follow these instructions in reverse order.
To reassemble your device, follow these instructions in reverse order.
crwdns2935221:0crwdne2935221:0
crwdns2935229:04crwdne2935229:0
crwdns2915084:0crwdne2915084:0

USF Tampa, Team 1-3, Sullivan Fall 2016 crwdns2935289:0USF Tampa, Team 1-3, Sullivan Fall 2016crwdne2935289:0
USFT-SULLIVAN-F16S1G3
crwdns2931471:04crwdne2931471:0
crwdns2935297:09crwdne2935297:0