crwdns2915892:0crwdne2915892:0
This guide will provide a set of step-by-step instructions on how to remove and replace the camera on your Acer Iconia B1-710 tablet.
In the event that your camera scratches, breaks, or malfunctions, this guide can help assist you to remove and replace the camera on your Acer Iconia B1-710 tablet.
Be careful, this is a fragile device.
crwdns2942213:0crwdne2942213:0
-
-
Open the back cover by prying the casing off with an opening tool.
-
-
-
Unplug the battery from the motherboard.
-
-
-
-
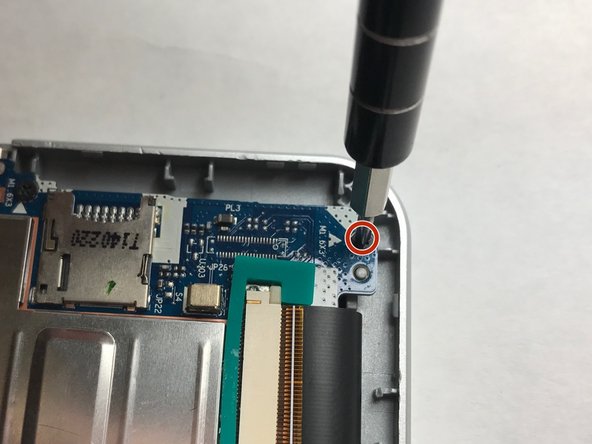
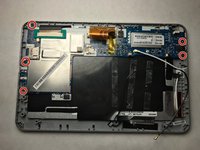
Remove the five 3mm Phillips #000 screws. The location of the screws are shown in the above picture, circled in red.
-
-
-
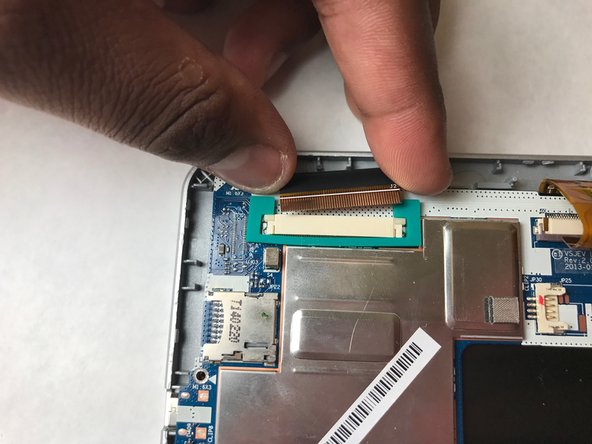
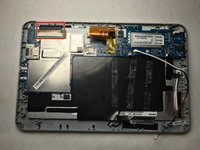
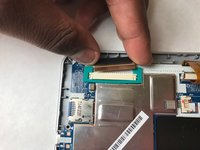
Unplug the LCD by lifting the LCD plug from the white board. The location of the LCD plug is shown in the above picture, circled in red.
-
-
-
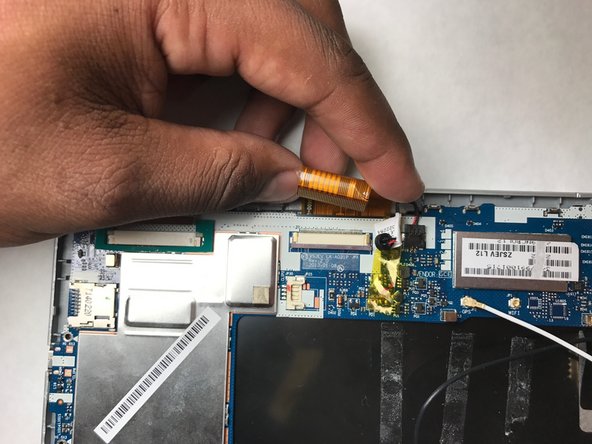
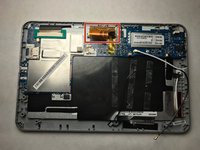
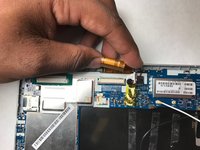
Next, unplug the orange strip from the motherboard by gently lifting it. The location of the orange strip is shown in the above picture, circled in red.
-
-
-
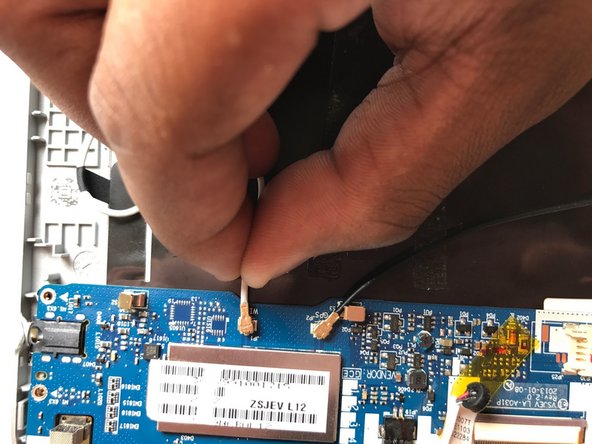
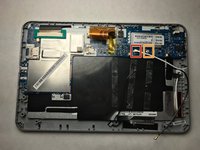
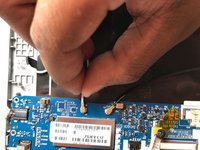
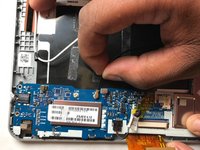
Unplug the white wire, shown above, circled in red.
-
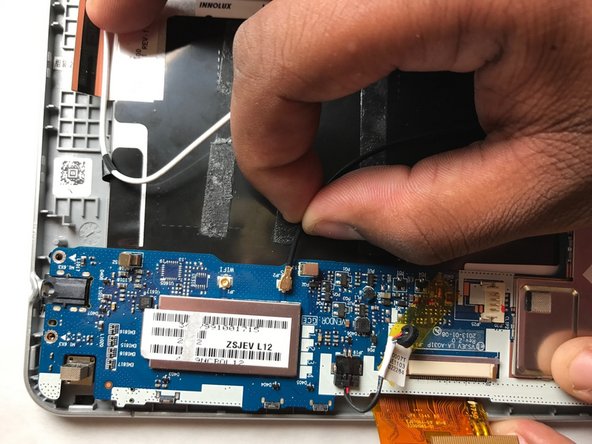
Unplug the black wire, shown above, circled in orange.
-
-
-
Gently, remove the motherboard by carefully lifting it.
-
-
-
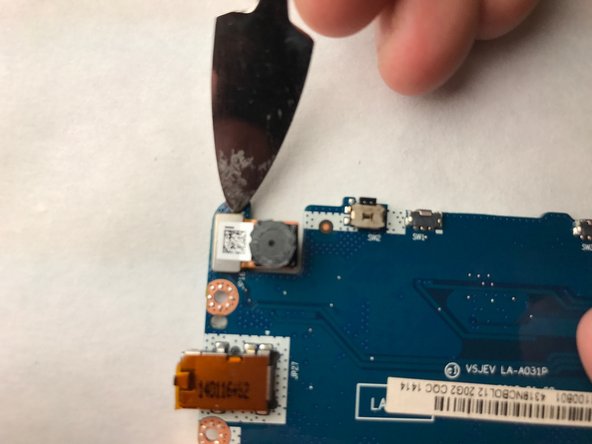
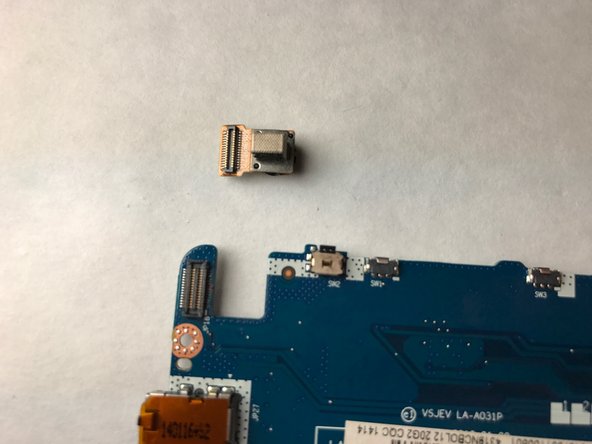
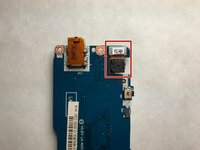
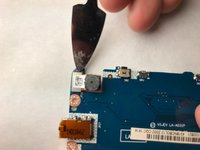
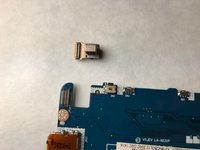
Remove the camera from the motherboard with the spudger.
-
To reassemble your device, follow the above instructions in reverse order.
To reassemble your device, follow the above instructions in reverse order.
crwdns2935221:0crwdne2935221:0
crwdns2935227:0crwdne2935227:0


