crwdns2915892:0crwdne2915892:0
Replace the screen of an Acer Iconia A1-810.
crwdns2942213:0crwdne2942213:0
-
-
Remove the back cover by lifting with a plastic opening tool, below the camera button slot.
-
-
-
Remove the black tape connecting the battery to the motherboard.
-
-
-
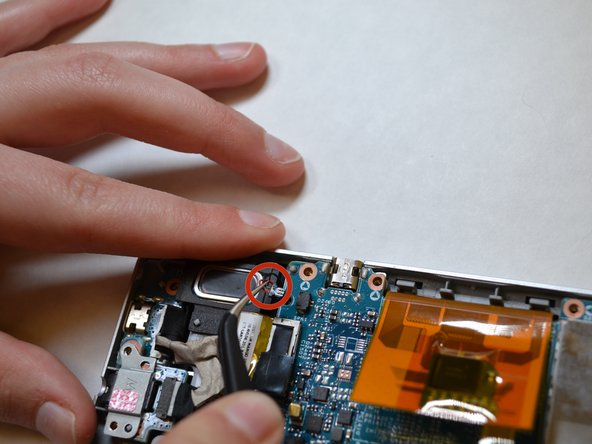
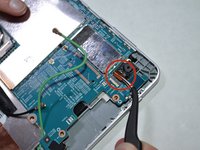
Pinch the sides of the white resistor to safely remove it without damaging it or yourself.
This is a white connector, and it is easy to get fingernails to both ends to pull it out of the metal socket.
-
-
-
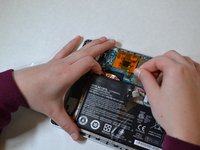
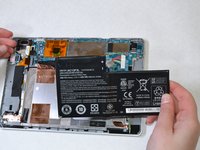
Remove battery from adhesive.
There is a clear plastic tab to pull (being used in the photo), which lifts the battery in one, and unsticks it from the 2 or 3 sticky pads.
Berapaan Harga Batrenya Gan
-
-
-
Use a Phillips #000 screwdriver to remove the screws around the perimeter of the motherboard.
A No 0 cross point screwdriver worked perfectly well for these. There was a small black Acer sticker covering the one at the top right. All circled screws are the same length. In my case there was a small retaining plate between the two screws either side of the HDMI port (top left). The two screws in the rectangle at the left were significantly longer.
-
-
-
-
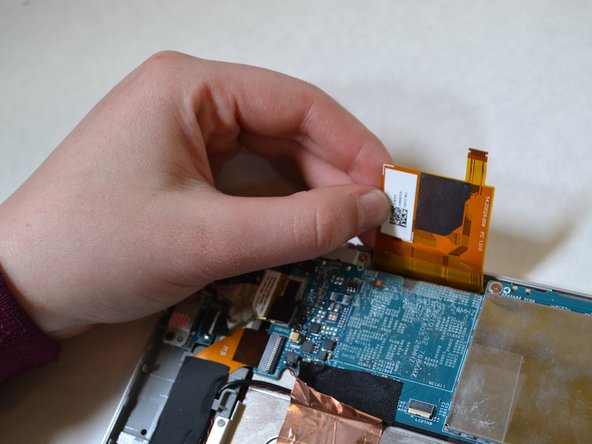
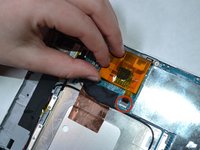
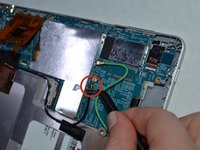
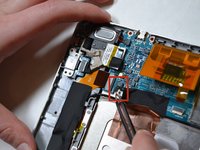
Disconnect the resistor attached to the orange tab by sliding the tail out.
-
Pry open the orange tab near the top left corner.
Disconnecting this was fiddly. It was even more fiddly to replace. The dark grey part of the connector on the board stays in place, and you need to slide the tail inside it. The orange tab was taped down at one edge.
-
-
crwdns2935267:0crwdne2935267:0Tweezers$4.99
-
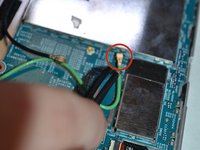
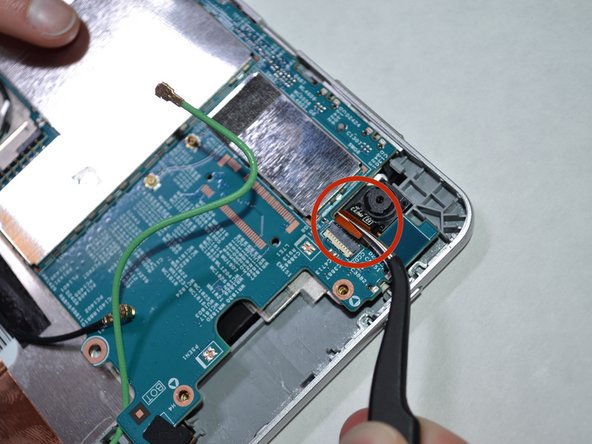
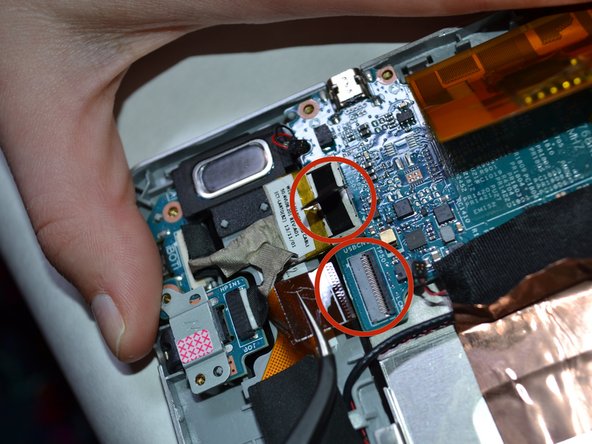
Disconnect all cords, wires, and resistors from the motherboard using tweezers.
-
-
-
Continue to disconnect all resistors attached from the motherboard, using tweezers.
-
-
-
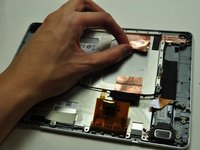
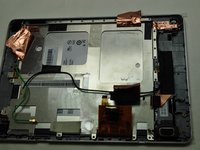
Lift the three copper foils from the plate.
-
-
-
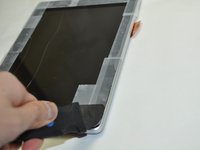
Add strips of tape to the sides of the device.
-
-
-
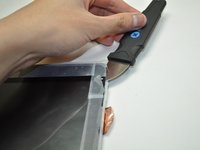
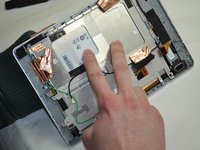
Wedge the Jimmy between the screen and body of the device and ease around the whole edge of the device.
-
-
-
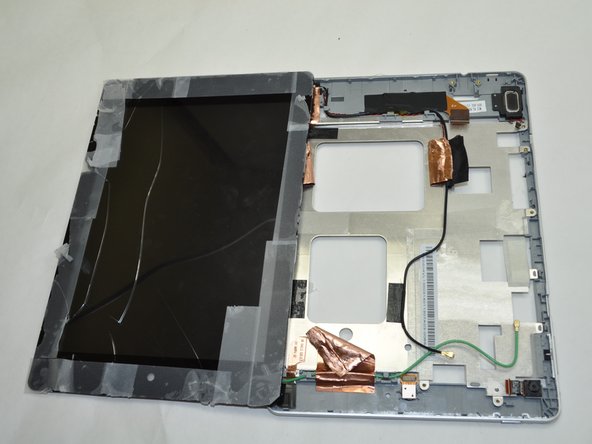
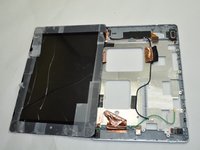
While holding the side of the screen, press the metal plates behind the device to pop the screen out.
-


To reassemble your device, follow these instructions in reverse order.
To reassemble your device, follow these instructions in reverse order.
crwdns2935221:0crwdne2935221:0
crwdns2935229:015crwdne2935229:0
crwdns2915084:0crwdne2915084:0

UWT Liner: Group 3 crwdns2935289:0UWT Liner: Group 3crwdne2935289:0
Community
crwdns2931471:05crwdne2931471:0
crwdns2935297:03crwdne2935297:0
crwdns2947410:01crwdne2947410:0
Before starting to remove the screen, remove the strip of black tape stuck over the screen ribbon cable (right hand end in the last picture) carefully lift the connector lock on the old screen connector and remove the ribbon cable completely.
Fit this ribbon cable to the new display before fitting the screen and the feed it through the slot provided as you install.
I found my thumbnail worked better, and starting near one of the corners. The picture shows the tool inserted where it could easily damage the SD card mechanism.
James Dellar - crwdns2934203:0crwdne2934203:0