crwdns2915892:0crwdne2915892:0
The LED board has one purpose, to hold the two LEDs visible from the front of the computer. Issues with the LED board itself are extremely rare.
crwdns2942213:0crwdne2942213:0
-
-
Using the Phillips #1 screwdriver, remove eighteen 7 mm screws from the back panel of the device.
-
-
-
Use a plastic opening tool around the edges of the laptop and remove the back panel from the device.
-
-
-
-
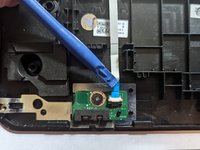
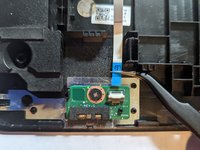
Push on the sides of the connector with a plastic spudger to separate the cable from the motherboard.
-
-
-
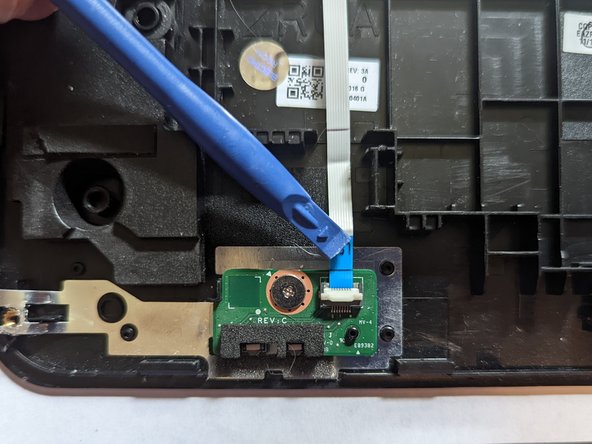
Flip the retaining latch up with a spudger.
-
-
-
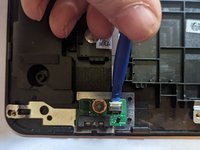
Pull the cable straight out away from the front of the computer.
-
-
-
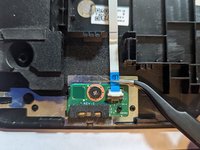
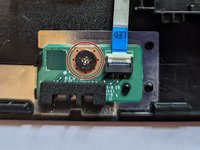
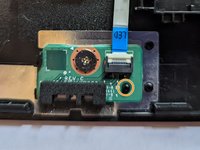
Remove the single retaining screw securing the LED board.
-
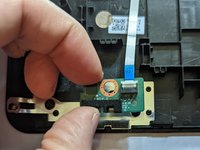
Remove the board.
-
When reassembling, ensure the board is seated on the guide pin before reinstalling the retaining screw.
-


To reassemble your device, follow these instructions in reverse order.
To reassemble your device, follow these instructions in reverse order.
crwdns2935221:0crwdne2935221:0
crwdns2935227:0crwdne2935227:0
