crwdns2915892:0crwdne2915892:0
This guide provides step-by-step instructions for replacing the display panel on your Acer Chromebook. You may need to replace the display panel for many reasons, such as a cracked or broken screen, a dim or flickering screen, or reduced pixels.
crwdns2942213:0crwdne2942213:0
-
-
For safety, unplug all connected devices and accessories.
-
Discharge the battery below 25% and power down your Chromebook.
-
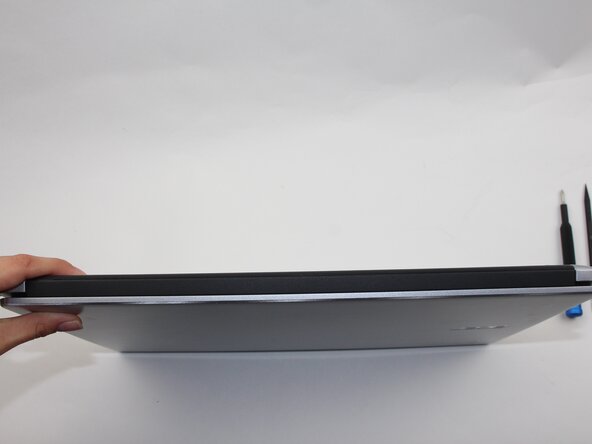
Close the lid.
-
Position the laptop so the hinge, or the part connecting the screen and keyboard, is facing you.
-
-
-
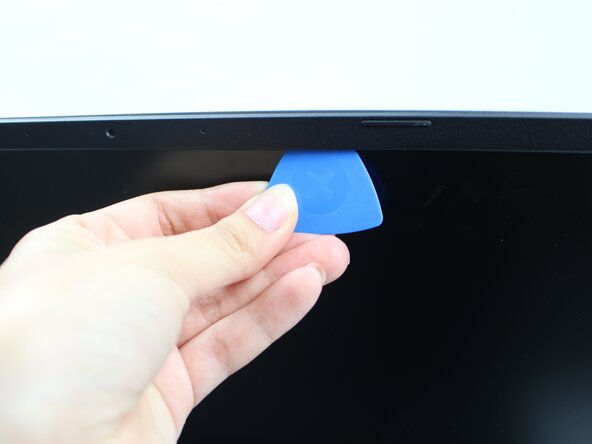
Insert an opening pick into the gap between the screen and the plastic bezel.
-
Gently slide the pick along the edge to separate the two parts.
-
Repeat this process around the entire border of the screen.
-
Once loosened, carefully pull off the bezel with your hands.
-
-
-
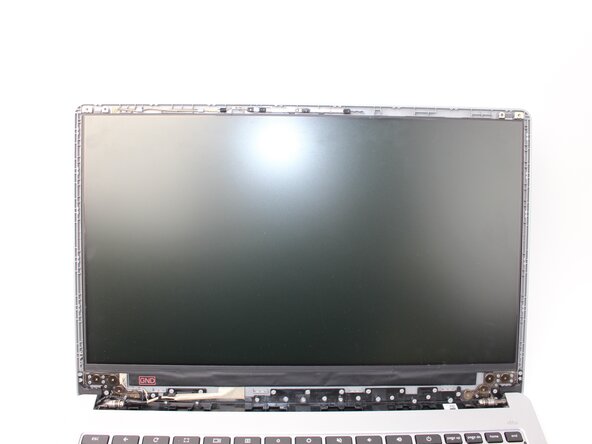
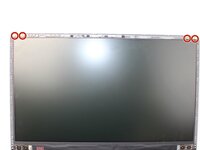
Use the Philips #1 screwdriver to remove the two 5mm screws located in the top corners of the screen.
-
Use the Philips #1 screwdriver to remove the two 5mm screws from the bottom left and right corners of the screen.
-
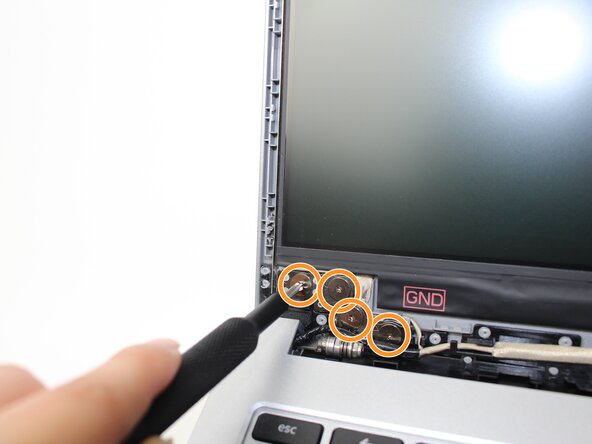
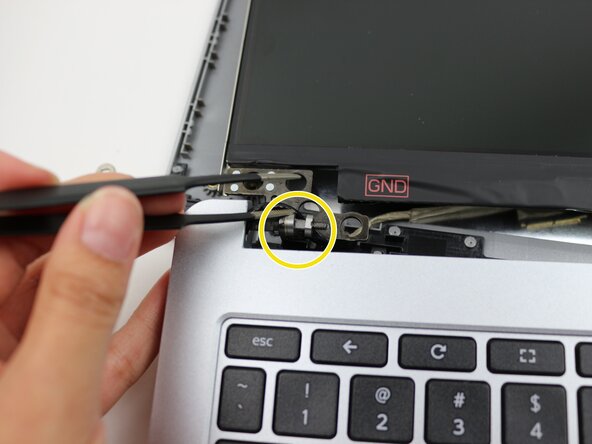
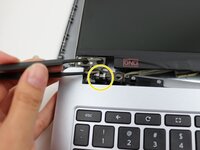
Use the tweezers to remove nuts and washers securing the screen to the hinges.
-
Carefully lift the display panel away from the hinge that connects it to the keyboard.
-
-
-
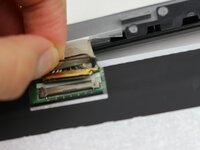
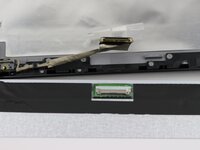
Locate the display cable on the back of the screen.
-
Peel off the tape covering the small metal latch that secures the cable connector.
-
Gently lift the latch using your finger or a spudger to unlock it.
-
While holding the latch, gently pull the cable straight out of the socket.
-


To reassemble your device, follow these instructions in reverse order.
To reassemble your device, follow these instructions in reverse order.
crwdns2915084:0crwdne2915084:0

Sam Houston State, Team 17-4, Thornton Spring 2025 crwdns2935289:0Sam Houston State, Team 17-4, Thornton Spring 2025crwdne2935289:0
SHSU-THORNTON-S25S17G4
crwdns2931471:02crwdne2931471:0
crwdns2935297:04crwdne2935297:0