crwdns2915892:0crwdne2915892:0
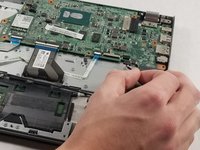
This guide will demonstrate how to remove the motherboard from the Acer Chromebook C740-C4PE.
crwdns2942213:0crwdne2942213:0
-
-
Unscrew the thirteen 10mm screws on the back of the device using a Phillips #0 screwdriver.
-
Use the spudger or any other prying tool to pry the back plate off of the device.
-
-
-
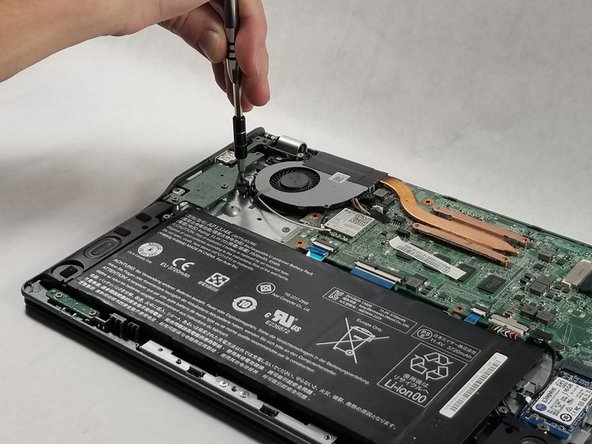
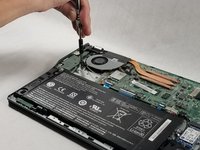
Remove the four 5mm screws on the heatsink using the Phillips #0 screwdriver.
-
-
-
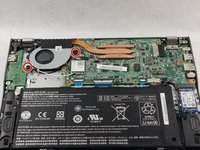
Loosen the two Phillips-head screws on the fan attached to the heatsink.
-
-
-
Detach the two antennae cables from the WiFi card by gently pulling on them.
-
-
-
Gently pull the fan cable out of the motherboard.
-
-
-
Remove the cable routed through the fan.
-
-
-
Remove the heatsink from the motherboard.
-
-
-
-
Remove the 5mm screw holding the SSD in place using the Phillips #0 screwdriver.
-
-
-
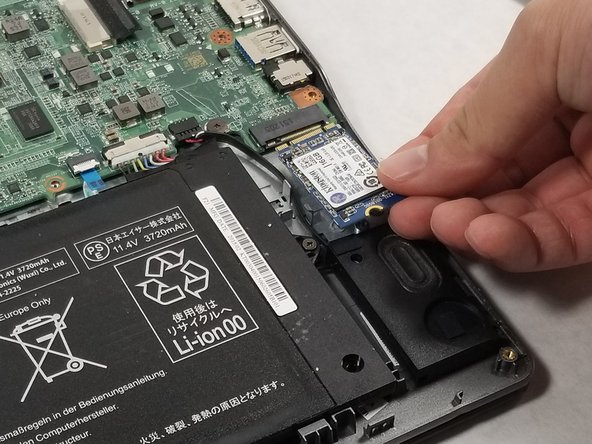
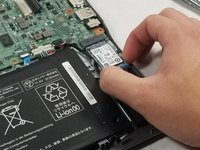
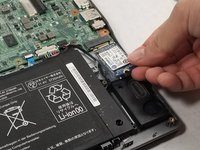
Slide the SSD out of its slot in the motherboard.
-
-
-
Remove the two 5mm screws holding the battery in place using a Phillips #0 screwdriver.
-
-
-
Remove the battery cable attached to the motherboard.
-
-
-
Remove the speaker cable from the motherboard.
-
-
-
Remove the touchpad cable from the zero insertion force connector on the motherboard.
-
-
-
Remove the keyboard cable from the zero insertion force connector on the motherboard.
-
-
-
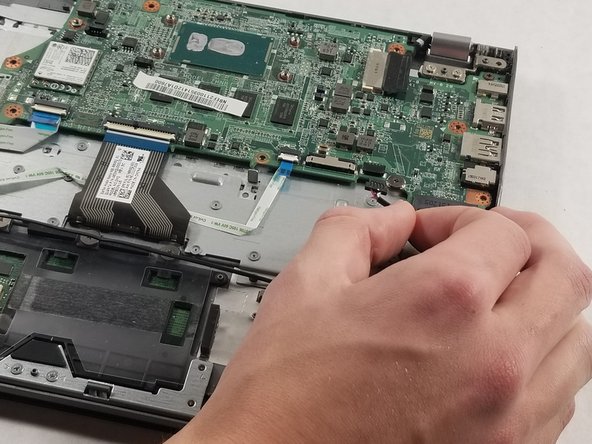
Remove the mother-to-daughter cable from the zero insertion force connector on the motherboard.
-
-
-
Remove the LCD cable from the motherboard.
-
-
-
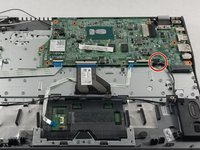
Remove the two 5mm screws holding the motherboard in place using a Phillips #0 screwdriver.
-
To reassemble your device, follow these instructions in reverse order.
To reassemble your device, follow these instructions in reverse order.


