crwdns2915892:0crwdne2915892:0
This guide will provide you with simple and clear steps on how to replace/remove the keyboard on your Acer Chromebook C720-2420.
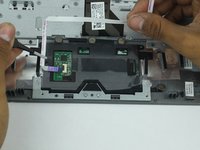
crwdns2942213:0crwdne2942213:0
-
-
Utilizing the precision magnetized Phillips #0 screwdriver, remove all thirteen 6.5 mm Phillips screws that secure the back cover.
-
-
-
Use the plastic opening tool to carefully remove the bottom.
-
-
-
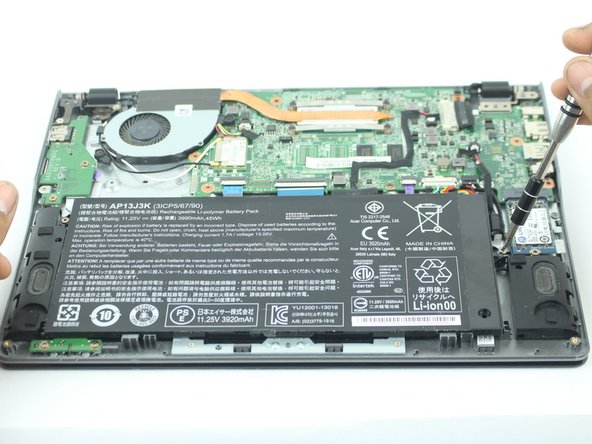
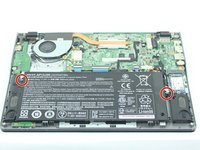
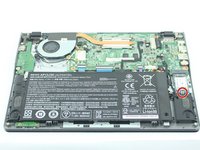
Remove the two 3.6 mm Phillips screws holding the battery in place.
-
-
crwdns2935267:0crwdne2935267:0Tweezers$4.99
-
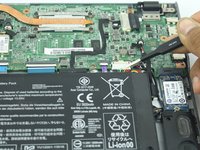
Disconnect the connector that attaches the battery to the Chromebook with a pair of pliers or tweezers.
BEFORE disconnecting, first get the battery loose in the laptop case. At the front of the battery (bottom of this picture) there are two tiny rectangular tabs that stick off the battery and engage in two matching sockets molded into the laptop case. Push the battery toward the hinge (upward in picture) so that the tabs come out of the sockets and you can swing the battery up to free it. NOW disconnect the 8-pin battery connector. Much easier.
-
-
-
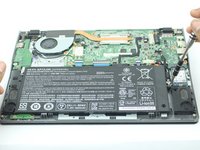
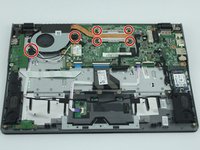
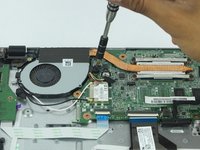
Remove the six 4.7 mm Phillips screws that secure the fan.
-
-
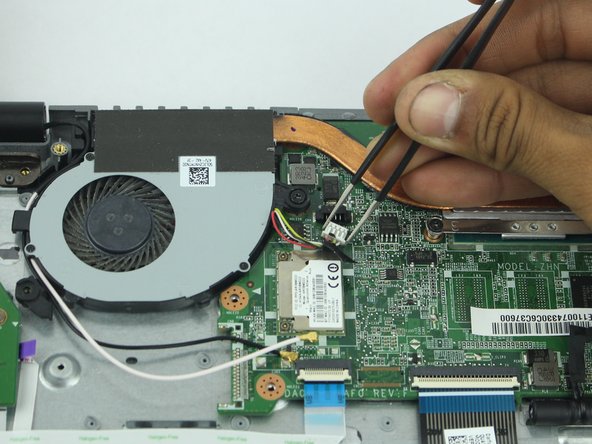
crwdns2935267:0crwdne2935267:0Tweezers$4.99
-
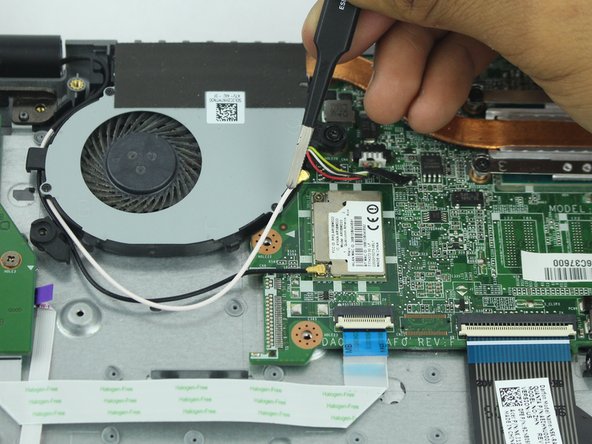
Disconnect these cables from the motherboard using the tweezers.
-
Pull out the fan.
These two wire connectors are exactly like snaps on clothing, except super tiny. They want to pop straight UP, i.e. perpendicular to the board.
-
-
-
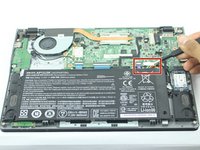
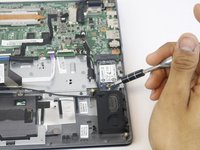
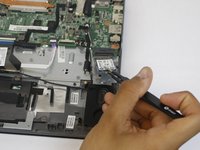
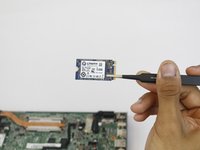
Remove the 3.6 mm Phillips screw that secures the SSD in place.
-
-
-
-
Disconnect the speaker cable from the motherboard.
-
-
-
Disconnect the display cable from the motherboard.
-
-
-
Gently pull out the wire for the 2 PIC connectors.
-
-
-
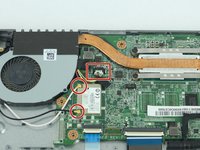
Remove the two 3.7 mm Phillips screws that hold the motherboard in place.
-
-
-
Lift up the black tab on the ZIF connector to release the ribbon cable.
-
Carefully remove the ribbon cable.
-
-
-
Lift up the black tab on the ZIF connector to release the ribbon cable.
-
Gently remove the ribbon cable
-
-
-
Lift up the black tab on the ZIF connector to release the ribbon cable.
-
Remove the ribbon cable.
-
-
-
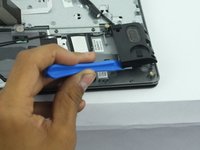
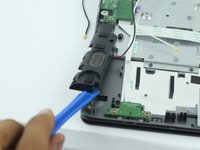
Remove the speakers located on both left and right bottom corners of the Chromebook with a plastic opening tool.
-
-
-
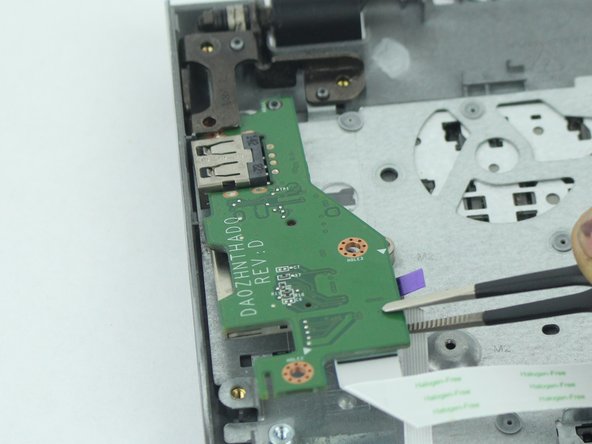
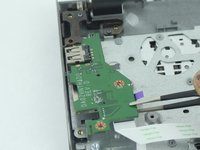
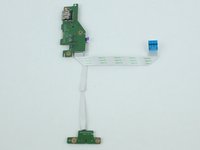
Remove the two 3.6 mm Phillips screws holding the USB and SD card port with a PH0 screwdriver.
-
Lift out and remove the port.
-
-
-
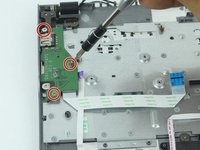
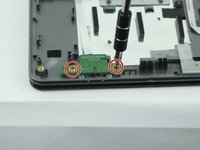
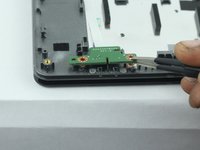
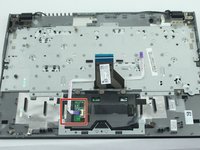
Remove the two 3.6 mm Phillips screws holding the LED sensors.
-
Remove the LED Sensors.
-
-
-
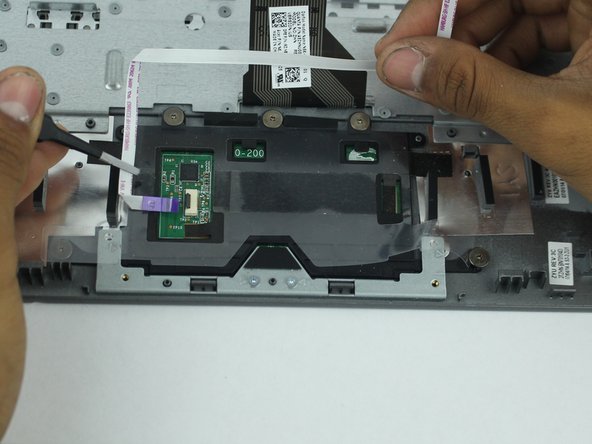
Flip up the black tab on the ZIF connector to release the ribbon cable.
-
Remove the ribbon cable.
-


To reassemble your device, follow these instructions in reverse order.
To reassemble your device, follow these instructions in reverse order.
crwdns2935221:0crwdne2935221:0
crwdns2935229:04crwdne2935229:0
crwdns2915084:0crwdne2915084:0

USF Tampa, Team S15-G4, Boczar Spring 2018 crwdns2935289:0USF Tampa, Team S15-G4, Boczar Spring 2018crwdne2935289:0
USFT-BOCZAR-S18S15G4
crwdns2931471:04crwdne2931471:0
crwdns2935297:012crwdne2935297:0
crwdns2947412:02crwdne2947412:0
Huh? This doesn’t tell how to replace the keyboard.
After the last step unscrew the 3 screws at the top of the device holding the display assembly to the top portion, then bend those up and you can pull the whole cover with the keyboard and touchpad off and slide the new one in.