crwdns2933423:0crwdne2933423:0

Acer Chromebook 15 CB5-571-C09S Fan Replacement

crwdns2942213:0crwdne2942213:0

  1. Acer Chromebook 15 CB5-571-C09S Fan Replacement, Back Cover: crwdns2935265:01crwdnd2935265:01crwdnd2935265:01crwdne2935265:0
    • Place the device on a flat surface faced down so that the fan vents are at the top of the device.

  2. Acer Chromebook 15 CB5-571-C09S Fan Replacement: crwdns2935265:02crwdnd2935265:01crwdnd2935265:02crwdne2935265:0 Acer Chromebook 15 CB5-571-C09S Fan Replacement: crwdns2935265:02crwdnd2935265:02crwdnd2935265:02crwdne2935265:0
    • Unscrew the eighteen 6 mm PH0 Phillips head screws from the back of the device.

  3. Acer Chromebook 15 CB5-571-C09S Fan Replacement: crwdns2935265:03crwdnd2935265:01crwdnd2935265:02crwdne2935265:0 Acer Chromebook 15 CB5-571-C09S Fan Replacement: crwdns2935265:03crwdnd2935265:02crwdnd2935265:02crwdne2935265:0
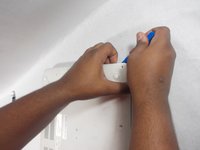
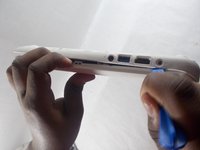
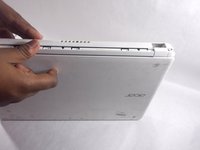
    • Use a plastic opening tool to pry open the back cover around the edges of the device.

    • Be careful not to crack or break the back cover of the device.

    • You will have to adjust the position of the device to pry it open along all the edges.

  4. Acer Chromebook 15 CB5-571-C09S Fan Replacement: crwdns2935265:04crwdnd2935265:01crwdnd2935265:02crwdne2935265:0 Acer Chromebook 15 CB5-571-C09S Fan Replacement: crwdns2935265:04crwdnd2935265:02crwdnd2935265:02crwdne2935265:0
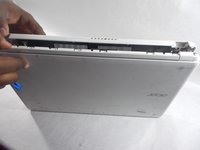
    • Stand the device up with the hinges on top and carefully pull apart the back cover from the device.

  5. Acer Chromebook 15 CB5-571-C09S Fan Replacement, Fan: crwdns2935265:05crwdnd2935265:01crwdnd2935265:03crwdne2935265:0 Acer Chromebook 15 CB5-571-C09S Fan Replacement, Fan: crwdns2935265:05crwdnd2935265:02crwdnd2935265:03crwdne2935265:0 Acer Chromebook 15 CB5-571-C09S Fan Replacement, Fan: crwdns2935265:05crwdnd2935265:03crwdnd2935265:03crwdne2935265:0
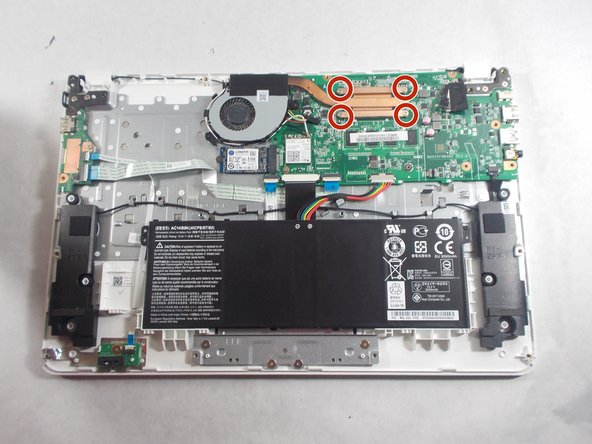
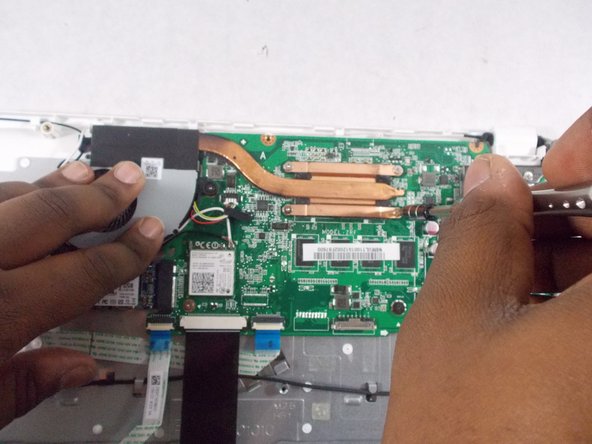
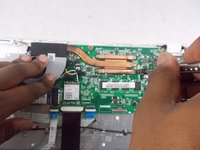
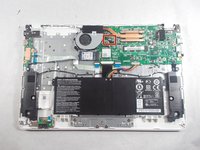
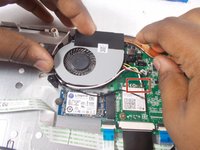
    • The fan is located at the top of the device enclosed by a grey plastic covering and is attached to the motherboard by a piece of brass colored metal.

    • Unscrew the four 3 mm PH00 Phillips screws located on the corner edges of the brass colored piece of metal.

  6. Acer Chromebook 15 CB5-571-C09S Fan Replacement: crwdns2935265:06crwdnd2935265:01crwdnd2935265:02crwdne2935265:0 Acer Chromebook 15 CB5-571-C09S Fan Replacement: crwdns2935265:06crwdnd2935265:02crwdnd2935265:02crwdne2935265:0
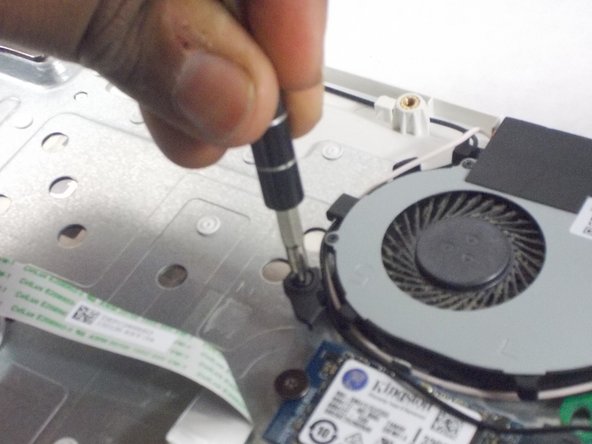
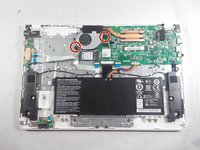
    • Unscrew the two 4 mm PH00 Phillips head screws on either side of the the fan.

    • Be aware that these screw are enclosed by small pieces of plastic and are not to be removed from the fan cover.

  7. Acer Chromebook 15 CB5-571-C09S Fan Replacement: crwdns2935265:07crwdnd2935265:01crwdnd2935265:02crwdne2935265:0 Acer Chromebook 15 CB5-571-C09S Fan Replacement: crwdns2935265:07crwdnd2935265:02crwdnd2935265:02crwdne2935265:0
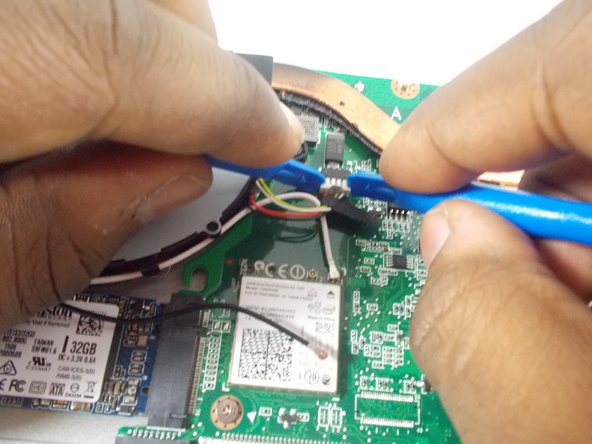
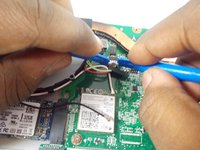
    • Disconnect the fan connector from the motherboard using two plastic opening tools.

    • The fan connector is the white "plug" that connects the battery to the motherboard with yellow, white, red and black wires attached to it.

  8. Acer Chromebook 15 CB5-571-C09S Fan Replacement: crwdns2935265:08crwdnd2935265:01crwdnd2935265:02crwdne2935265:0 Acer Chromebook 15 CB5-571-C09S Fan Replacement: crwdns2935265:08crwdnd2935265:02crwdnd2935265:02crwdne2935265:0
    • Carefully unwrap the black and white wires from around the fan cover.

    • Be careful not to remove the wires from the Intel Dual Band Wireless-AC 7260 ports located just beneath the fan connector.

  9. Acer Chromebook 15 CB5-571-C09S Fan Replacement: crwdns2935265:09crwdnd2935265:01crwdnd2935265:01crwdne2935265:0
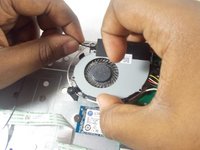
    • Grab the fan by its cover and the brass colored piece of metal and carefully lift up and pull out the fan from the device.

crwdns2915888:0crwdne2915888:0

To reassemble your device, follow these instructions in reverse order.

crwdns2935227:0crwdne2935227:0

Sakiynah Howard

crwdns2935283:010/17/17crwdne2935283:0

1,000 crwdns2915208:0crwdne2915208:0

crwdns2935297:06crwdne2935297:0

crwdns2915084:0crwdne2915084:0

UMass Dartmouth, Team S1-G3, Simcock Fall 2017 crwdns2935289:0UMass Dartmouth, Team S1-G3, Simcock Fall 2017crwdne2935289:0

UMASSD-SIMCOCK-F17S1G3

crwdns2931471:03crwdne2931471:0

crwdns2935297:012crwdne2935297:0

crwdns2947410:01crwdne2947410:0

Thanks for the guide. I was able to successfully replace my fan using it. I would like to point out a couple of things:

1. 10 minutes is not a realistic completion time for this guide.

2. Disconnecting the fan plug is challenging. It might have been easier with a small pair of pliers.

3. Since this guide involves dis/re-connecting the thermal interface between the processor and heat sink, you should be prepared to properly clean both surfaces and re-apply new thermal compound. There is an excellent guide on applying thermal compound here:

How to Apply Thermal Paste

Tristan Mackey - crwdns2934203:0crwdne2934203:0

crwdns2917038:0crwdne2917038:0

crwdns2936625:0crwdne2936625:0:

crwdns2936751:024crwdne2936751:0 1

crwdns2936753:07crwdne2936753:0 1

crwdns2936753:030crwdne2936753:0 18

crwdns2942667:0crwdne2942667:0 411