crwdns2915892:0crwdne2915892:0
A guide on how to replace the touchscreen on a Acer Aspire V5-571P-6815 laptop.
crwdns2942213:0crwdne2942213:0
-
-
Turn off the computer and unplug all power.
-
-
-
Slide the locking latch to the right and hold while pulling the battery out with your other hand.
-
-
-
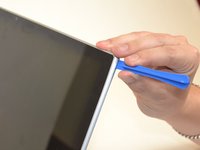
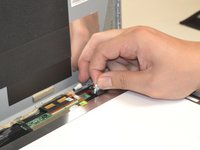
Insert a plastic opening tool between the screen and lid.
-
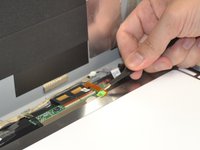
Work the plastic opening tool around the perimeter while prying upwards until the screen separates from the lid.
-
-
-
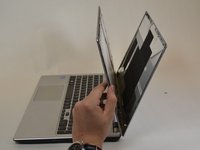
Lay the screen flat down on the keyboard.
-
-
-
crwdns2935267:0crwdne2935267:0Tweezers$4.99
-
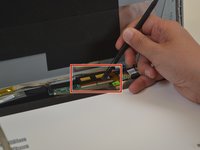
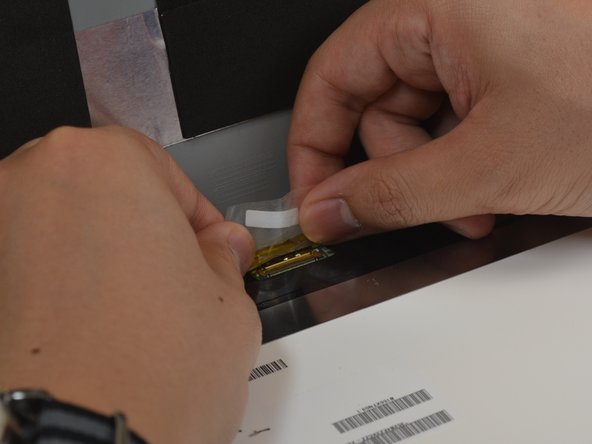
Remove the camera using a pair of blunt nose tweezers.
-
Peel up the adhesive tape keeping the camera's cable tied down.
-
-
-
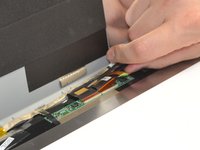
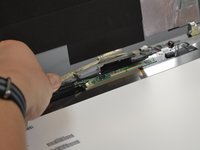
Remove the microphone from the motherboard with a pair of blunt nose tweezers.
-
Slide out the adhesive tape securing the microphone cable.
-
-
-
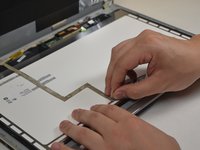
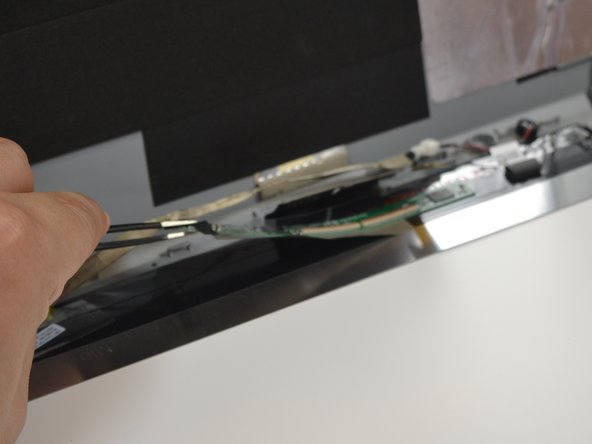
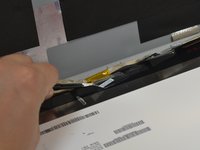
Lift up the ribbon cable contained by the adhesive strip with blunt nose tweezers.
-
Use a spudger to flip up the retaining flap on the digitizer ribbon cable ZIF socket.
-
Pull the ribbon cables out of their sockets.
-
-
-
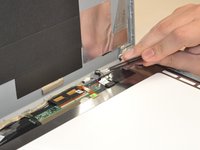
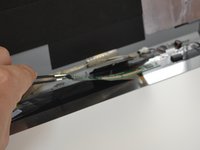
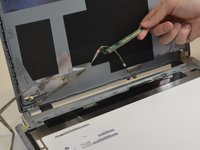
Use the blunt nose tweezers to peel up the adhesive on the display cable.
-
Pull on the adhesive tape to disconnect the display from the motherboard.
-
-
-
Lift the whole strip connected to the circuit board and LCD connector. Place the strip to the side where it is not in contact with the screen.
-
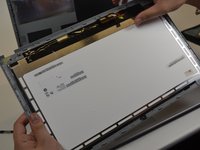
Remove the whole screen from the device.
-


To reassemble your device, follow these instructions in reverse order.
To reassemble your device, follow these instructions in reverse order.
crwdns2935221:0crwdne2935221:0
crwdns2935227:0crwdne2935227:0
crwdns2915084:0crwdne2915084:0

UW Tacoma, Team S1-G4, Liner Spring 2018 crwdns2935289:0UW Tacoma, Team S1-G4, Liner Spring 2018crwdne2935289:0
UWT-LINER-S18S1G4
crwdns2931471:05crwdne2931471:0
crwdns2935297:08crwdne2935297:0
crwdns2947410:01crwdne2947410:0
The heading of your Procedure is “Acer Aspire V5-571P-6815 Touchscreen Replacement” BUT you just opened up the entire screen.
NOTE: you didn’t separate the “TOUCH SCREEN” from the LCD screen.
This supposed to be the most important part of your procedure item ! ! ! !
PLEASE……. ******