crwdns2915892:0crwdne2915892:0
If you need to replace your hard drive due to technical problems or any other reason, use this guide to gain access to it. In order to conduct this repair, you will need a Phillips head screw driver with a PH 1 head. This is a relatively simple process and should pose a significant challenge or risk harm to your device as long as it is powered off.
crwdns2942213:0crwdne2942213:0
-
-
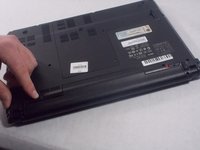
Power down the laptop.
-
Turn the laptop over so the bottom is facing up and the battery is facing towards you.
-
-
-
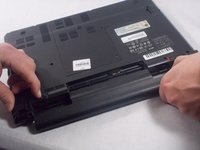
The tab on the right is a locking tab. Slide this tab to the right to unlock it (the red should now be showing).
-
Slide the left tab to the left and hold it there.
-
-
-
While holding the left tab to the left the battery should easily pull out of the laptop.
-
-
-
-
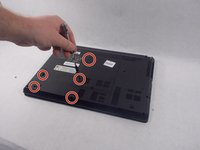
Place laptop bottom side up, and use a Phillips #1 screwdriver to unscrew the five 8 mm screws from the back panel.
-
-
-
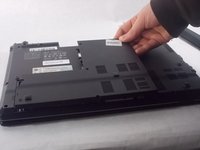
After removing the back panel, use a Phillips #1 screwdriver to unscrew the two 8 mm screws that hold the retaining piece to the frame.
-
-
-
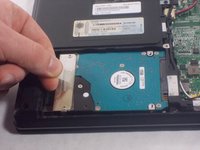
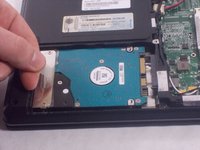
Pull the plastic tab toward the frame to disconnect the hard drive SATA.
-
-
-
Remove the hard drive from the laptop, and use a Phillips #1 screwdriver to unscrew the two 3 mm screws that secure the retaining piece to the hard drive.
-


To reassemble your device, follow these instructions in reverse order.
crwdns2935287:0crwdne2935287:0

UMass Dartmouth, Team S4-G3, Valliere Spring 2019 crwdns2935289:0UMass Dartmouth, Team S4-G3, Valliere Spring 2019crwdne2935289:0
UMASSD-VALLIERE-S19S4G3
crwdns2931471:04crwdne2931471:0
crwdns2935297:04crwdne2935297:0