crwdns2933423:0crwdne2933423:0

Acer Aspire S3-391-6046 Battery Replacement

crwdns2942213:0crwdne2942213:0

  1. Acer Aspire S3-391-6046 Battery Replacement, Back Cover: crwdns2935265:01crwdnd2935265:01crwdnd2935265:01crwdne2935265:0
    • Place laptop upside down.

  2. Acer Aspire S3-391-6046 Battery Replacement: crwdns2935265:02crwdnd2935265:01crwdnd2935265:02crwdne2935265:0 Acer Aspire S3-391-6046 Battery Replacement: crwdns2935265:02crwdnd2935265:02crwdnd2935265:02crwdne2935265:0
    • Remove the twelve 5mm screws with a Phillips #1 screwdriver.

  3. Acer Aspire S3-391-6046 Battery Replacement: crwdns2935265:03crwdnd2935265:01crwdnd2935265:01crwdne2935265:0
    • Lift cover upwards away from you.

  4. Acer Aspire S3-391-6046 Battery Replacement, Battery: crwdns2935265:04crwdnd2935265:01crwdnd2935265:01crwdne2935265:0
    • With the Phillips #1 screwdriver, remove the two 5mm screws located on either side of the battery.

  5. Acer Aspire S3-391-6046 Battery Replacement: crwdns2935265:05crwdnd2935265:01crwdnd2935265:02crwdne2935265:0 Acer Aspire S3-391-6046 Battery Replacement: crwdns2935265:05crwdnd2935265:02crwdnd2935265:02crwdne2935265:0
    crwdns2935267:0crwdne2935267:0
    Tweezers
    $4.99
    crwdns2942207:0crwdne2942207:0
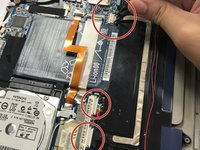
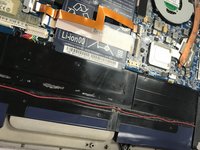
    • Unplug the three white plugs from their sockets using tweezers by pinching the plugs and pulling them outwards.

    • Pulling with too much force will damage the plugs.

  6. Acer Aspire S3-391-6046 Battery Replacement: crwdns2935265:06crwdnd2935265:01crwdnd2935265:02crwdne2935265:0 Acer Aspire S3-391-6046 Battery Replacement: crwdns2935265:06crwdnd2935265:02crwdnd2935265:02crwdne2935265:0
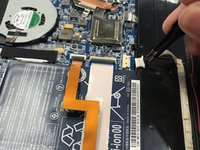
    • Pull upwards on the plugs located on top of your battery until they have completely come off.

  7. Acer Aspire S3-391-6046 Battery Replacement: crwdns2935265:07crwdnd2935265:01crwdnd2935265:02crwdne2935265:0 Acer Aspire S3-391-6046 Battery Replacement: crwdns2935265:07crwdnd2935265:02crwdnd2935265:02crwdne2935265:0
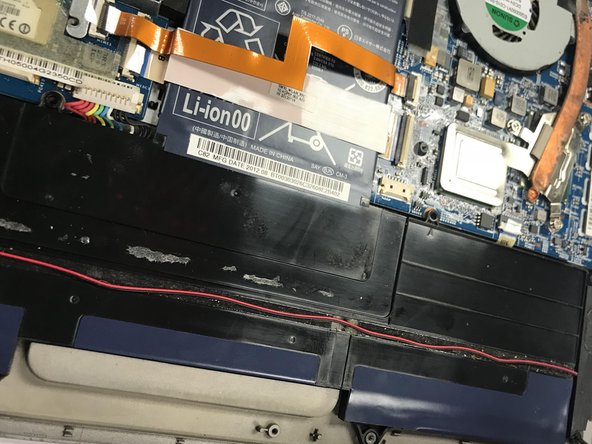
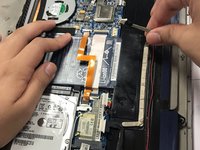
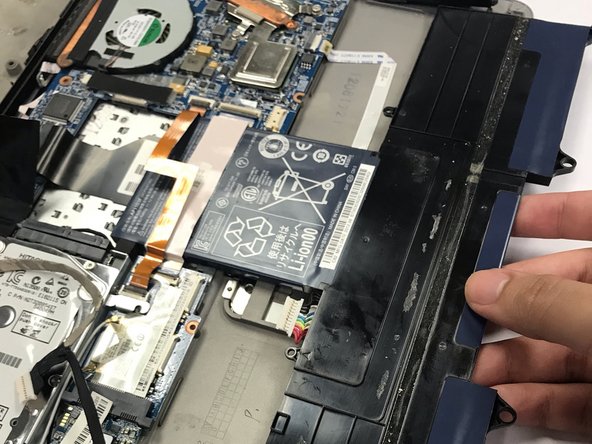
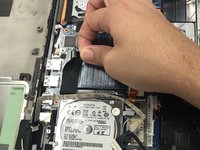
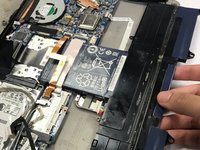
    • Remove the electrical tape holding down the battery by peeling it upwards.

    • Grab the battery from the bottom and slide it out towards the direction of the bottom of the battery.

crwdns2915888:0crwdne2915888:0

To reassemble your device, follow these instructions in reverse order.

crwdns2935229:02crwdne2935229:0

Brian Rodriguez

crwdns2935283:009/18/18crwdne2935283:0

530 crwdns2915208:0crwdne2915208:0

crwdns2935297:02crwdne2935297:0

crwdns2915084:0crwdne2915084:0

University of North Texas, Team S3-G3, Raign Fall 2018 crwdns2935289:0University of North Texas, Team S3-G3, Raign Fall 2018crwdne2935289:0

UNT-RAIGN-F18S3G3

crwdns2931471:04crwdne2931471:0

crwdns2935297:06crwdne2935297:0

crwdns2944067:00crwdne2944067:0

crwdns2917038:0crwdne2917038:0

crwdns2936625:0crwdne2936625:0:

crwdns2936751:024crwdne2936751:0 0

crwdns2936753:07crwdne2936753:0 6

crwdns2936753:030crwdne2936753:0 14

crwdns2942667:0crwdne2942667:0 709