crwdns2915892:0crwdne2915892:0
The display is the main interaction with the user providing image. This outline will show you how to remove and replace the display from the device.
crwdns2942213:0crwdne2942213:0
-
-
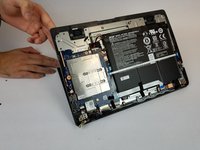
Remove the ten 7mm Phillips #0 screws from the bottom.
-
-
-
Insert a plastic opening tool under the bottom cover and slid it around the perimeter until all of the clips release.
-
-
-
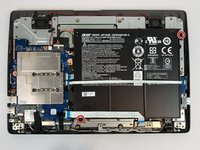
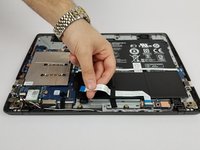
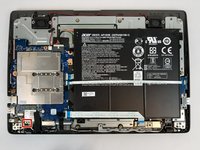
Remove the two 5mm Phillips #0 screws from the battery.
-
-
-
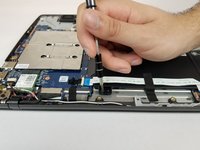
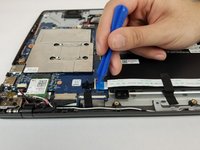
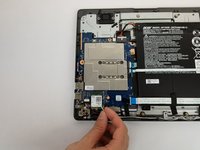
Use a spudger to flip up the retaining flaps on the ribbon cable ZIF sockets.
-
Remove the ribbon cables from the sockets.
-
-
-
-
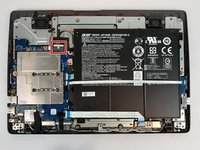
Disconnect the battery from the motherboard.
-
Remove the battery.
-
-
-
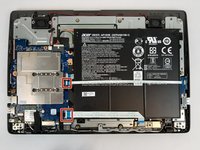
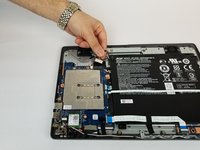
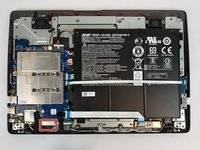
Remove the four 5mm Phillips #0 screws from the display hinge.
-
-
-
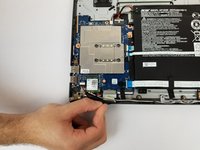
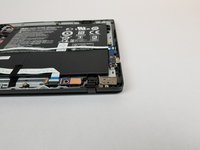
Disconnect the two antenna cables from the Wi-fi card.
-
-
-
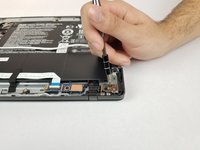
Disconnect the display cable by pulling it down and towards you.
-
-
-
Lift the bottom half of the computer away from the screen while keeping the screen flat on the table surface.
-
-
-
While the screen is flat on the surface, slide the bottom half of the computer towards the top of the screen to separate the two halves.
-
The screen is now completely removed from the bottom half of the computer.
-


To reassemble your device, follow these instructions in reverse order.
To reassemble your device, follow these instructions in reverse order.
crwdns2935221:0crwdne2935221:0
crwdns2935227:0crwdne2935227:0
crwdns2915084:0crwdne2915084:0

USF Tampa, Team S20-G1, Passmore Spring 2018 crwdns2935289:0USF Tampa, Team S20-G1, Passmore Spring 2018crwdne2935289:0
USFT-PASSMORE-S18S20G1
crwdns2931471:03crwdne2931471:0
crwdns2935297:06crwdne2935297:0