crwdns2933423:0crwdne2933423:0

Acer Aspire ES1-512 Hard Drive Replacement

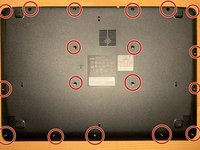
  1. Acer Aspire ES1-512 Hard Drive Replacement, Remove the back screws: crwdns2935265:01crwdnd2935265:01crwdnd2935265:02crwdne2935265:0 Acer Aspire ES1-512 Hard Drive Replacement, Remove the back screws: crwdns2935265:01crwdnd2935265:02crwdnd2935265:02crwdne2935265:0
    • Remove the 18 Phillips #0 screws.

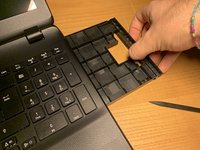
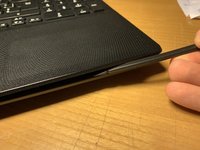
  2. Acer Aspire ES1-512 Hard Drive Replacement, Remove the CD drive and lift the keyboard assembly: crwdns2935265:02crwdnd2935265:01crwdnd2935265:03crwdne2935265:0 Acer Aspire ES1-512 Hard Drive Replacement, Remove the CD drive and lift the keyboard assembly: crwdns2935265:02crwdnd2935265:02crwdnd2935265:03crwdne2935265:0 Acer Aspire ES1-512 Hard Drive Replacement, Remove the CD drive and lift the keyboard assembly: crwdns2935265:02crwdnd2935265:03crwdnd2935265:03crwdne2935265:0
    • Remove the optical drive or its plastic slot.

    • Gently lift the keyboard assembly.

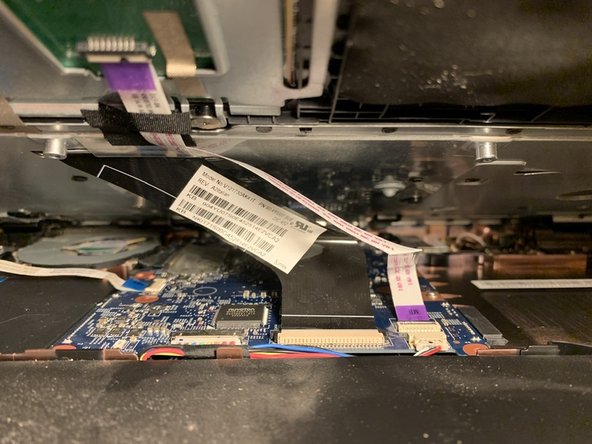
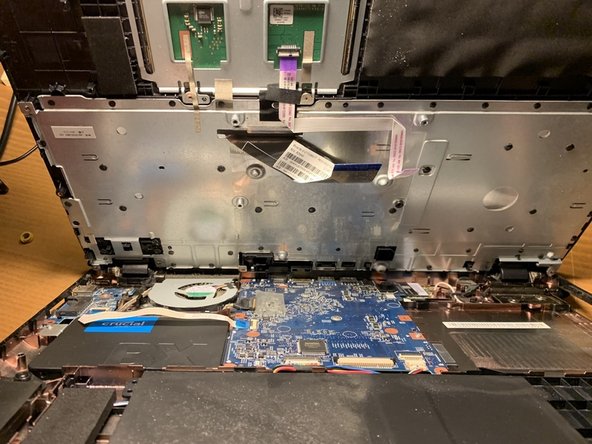
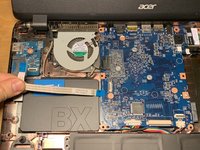
  3. Acer Aspire ES1-512 Hard Drive Replacement, Disconnect the keyboard connectors: crwdns2935265:03crwdnd2935265:01crwdnd2935265:02crwdne2935265:0 Acer Aspire ES1-512 Hard Drive Replacement, Disconnect the keyboard connectors: crwdns2935265:03crwdnd2935265:02crwdnd2935265:02crwdne2935265:0
    • Gently lift the top case, paying attention to the two connectors.

    • Disconnect the two connectors.

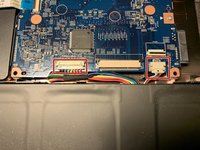
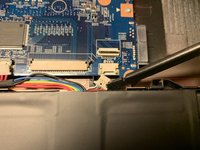
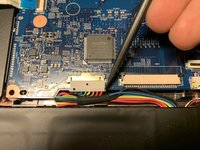
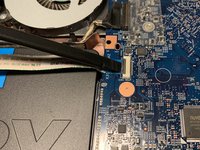
  4. Acer Aspire ES1-512 Hard Drive Replacement, Disconnect the battery: crwdns2935265:04crwdnd2935265:01crwdnd2935265:03crwdne2935265:0 Acer Aspire ES1-512 Hard Drive Replacement, Disconnect the battery: crwdns2935265:04crwdnd2935265:02crwdnd2935265:03crwdne2935265:0 Acer Aspire ES1-512 Hard Drive Replacement, Disconnect the battery: crwdns2935265:04crwdnd2935265:03crwdnd2935265:03crwdne2935265:0
    • Disconnect the battery by removing the two connectors located next to the motherboard.

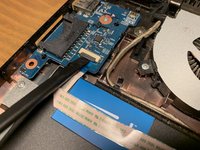
  5. Acer Aspire ES1-512 Hard Drive Replacement, Remove the power supply, power button, and HDMI port: crwdns2935265:05crwdnd2935265:01crwdnd2935265:03crwdne2935265:0 Acer Aspire ES1-512 Hard Drive Replacement, Remove the power supply, power button, and HDMI port: crwdns2935265:05crwdnd2935265:02crwdnd2935265:03crwdne2935265:0 Acer Aspire ES1-512 Hard Drive Replacement, Remove the power supply, power button, and HDMI port: crwdns2935265:05crwdnd2935265:03crwdnd2935265:03crwdne2935265:0
    • Disconnect the connectors of the power input, power button, and HDMI port.

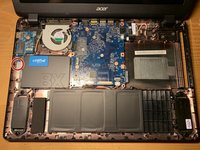
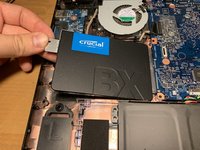
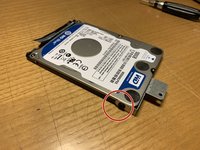
  6. Acer Aspire ES1-512 Hard Drive Replacement, Remove the hard drive: crwdns2935265:06crwdnd2935265:01crwdnd2935265:03crwdne2935265:0 Acer Aspire ES1-512 Hard Drive Replacement, Remove the hard drive: crwdns2935265:06crwdnd2935265:02crwdnd2935265:03crwdne2935265:0 Acer Aspire ES1-512 Hard Drive Replacement, Remove the hard drive: crwdns2935265:06crwdnd2935265:03crwdnd2935265:03crwdne2935265:0
    • Remove the Phillips #0 screw from the hard drive mounting bracket.

    • Gently disconnect the hard disk by moving it outward.

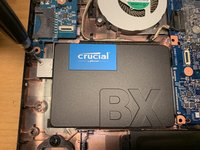
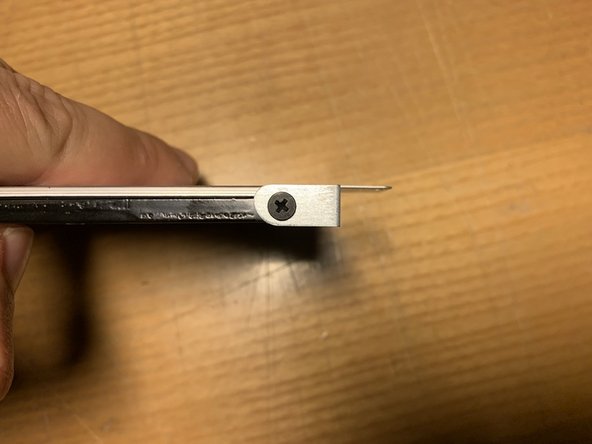
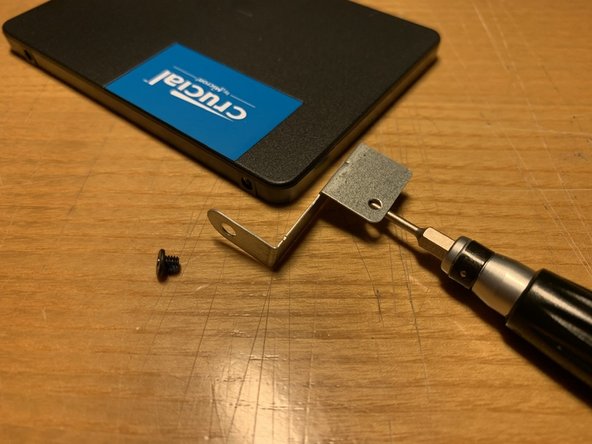
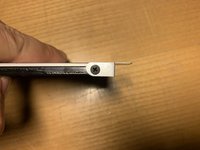
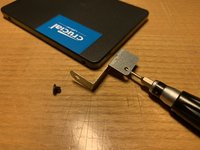
  7. Acer Aspire ES1-512 Hard Drive Replacement, Mounting plate removal: crwdns2935265:07crwdnd2935265:01crwdnd2935265:03crwdne2935265:0 Acer Aspire ES1-512 Hard Drive Replacement, Mounting plate removal: crwdns2935265:07crwdnd2935265:02crwdnd2935265:03crwdne2935265:0 Acer Aspire ES1-512 Hard Drive Replacement, Mounting plate removal: crwdns2935265:07crwdnd2935265:03crwdnd2935265:03crwdne2935265:0
    • Remove the mounting plate by unscrewing the Phillips #0 screw.

crwdns2915888:0crwdne2915888:0

To reassemble your device, follow these instructions in reverse order.

crwdns2934873:0crwdne2934873:0

it en

100%

crwdns2934885:0crwdne2934885:0 crwdns2934875:0crwdne2934875:0
crwdns2934877:0crwdne2934877:0 ›

Davide Andreoli

crwdns2935283:006/21/16crwdne2935283:0

145 crwdns2915208:0crwdne2915208:0

crwdns2935295:0crwdne2935295:0

crwdns2947412:00crwdne2947412:0

crwdns2917038:0crwdne2917038:0

crwdns2936625:0crwdne2936625:0:

crwdns2936751:024crwdne2936751:0 1

crwdns2936753:07crwdne2936753:0 4

crwdns2936753:030crwdne2936753:0 15

crwdns2942667:0crwdne2942667:0 441