crwdns2915892:0crwdne2915892:0
This guide will walk you through the process of replacing the Touchpad on an Acer Aspire E 11.
crwdns2942213:0crwdne2942213:0
-
-
Unscrew the thirteen 6.2mm Phillips #1 screws located on the bottom of the device.
-
-
-
Lift the back panel using a plastic opening tool. Slowly make your way around the device until the back panel comes off.
-
-
-
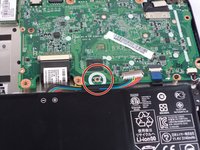
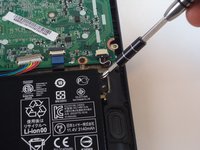
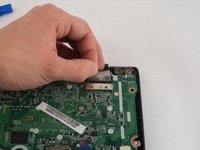
Press and hold the small black button located on the motherboard just above the battery for five seconds.
-
-
-
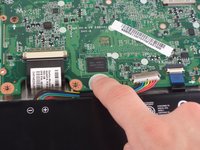
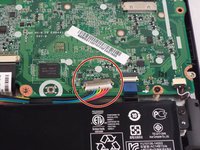
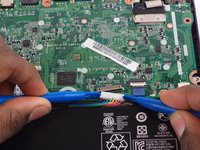
Using two plastic opening tools tightly grab the connector going from the battery to the motherboard and pull to unplug.
-
-
-
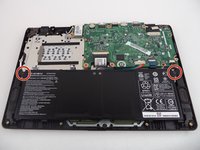
Unscrew two 6.2 mm Phillips #1 screws on the right and left sides of the battery.
-
-
-
Carefully remove the battery by lifting it out of the casing.
The E-11 that I have has 2 screws on each end of the battery. 1 at the upper left corner, 1 at the lower left corner, 1 at upper right corner and 1 approx 1" below upper right and inboard approx 1/2". Battery #AC13C34 (3ICP5/60/80).
-
-
-
-
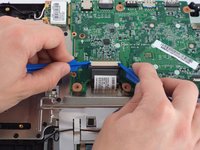
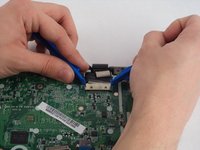
Locate the keyboard cable on the motherboard. Using, two plastic opening tools on each side of the connector, pull the two gray tabs outward and then remove the cable from the motherboard.
-
-
-
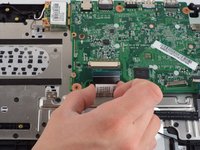
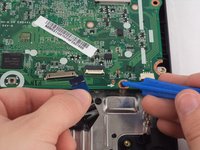
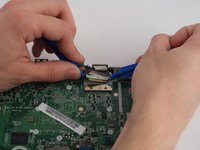
Use a plastic opening tool to carefully lift the white hinge up on the touchpad cable connector, and gently remove the cable from the motherboard.
-
-
-
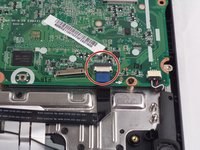
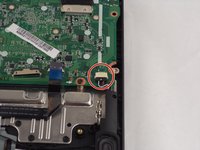
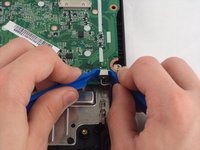
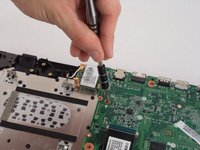
Use two plastic opening tools to grip each side of the connector for the speaker cable and gently pull the cable from the motherboard.
-
-
-
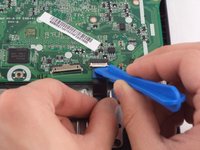
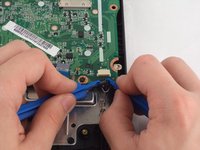
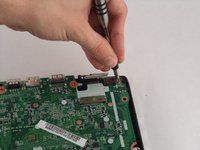
Remove the tape on the connector for the display cable.
-
Use two plastic opening tools to grip each side of the connector and gently pull the display cable from the motherboard.
-
-
-
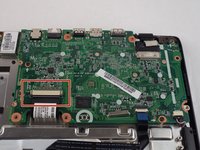
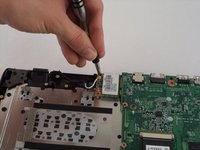
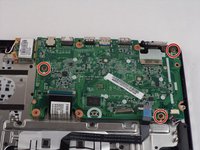
Remove one 6.2 mm Phillips #1 screw from the wireless chip on the left side of the motherboard.
-
-
-
Remove three 6.2 mm Phillips #1 screws that attach the motherboard to the laptop casing.
-
-
-
Return to the wireless chip and gently pull it from the connector on the side of the motherboard.
-
-
-
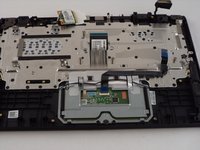
The motherboard can now be lifted out from the laptop casing.
-
-
-
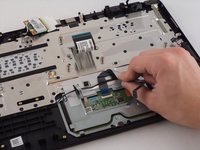
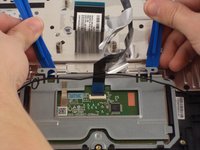
Start by peeling off the touchpad cable that is stuck to the computer.
-
-
-
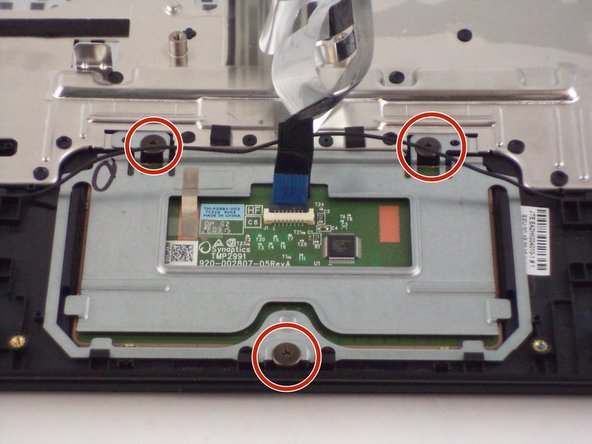
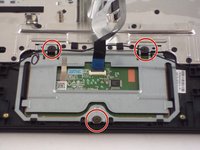
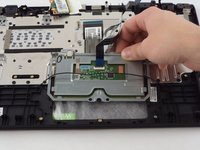
Peel back the silver tape revealing two 6.2 mm Phillips #1 black screws.
-
Remove the three 6.2 mm Phillips # 1 black screws.
-
-
-
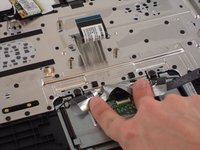
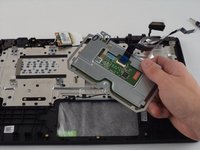
Once unscrewed, use the plastic opening tools to lift and slide out the touchpad. Be careful not to damage the speaker wire that runs across it when removing.
-


To reassemble your device, follow these instructions in reverse order.
To reassemble your device, follow these instructions in reverse order.
crwdns2935221:0crwdne2935221:0
crwdns2935229:02crwdne2935229:0
crwdns2915084:0crwdne2915084:0

USF Tampa, Team 16-1, Blackwell Winter 2016 crwdns2935289:0USF Tampa, Team 16-1, Blackwell Winter 2016crwdne2935289:0
USFT-BLACKWELL-W16S16G1
crwdns2931471:04crwdne2931471:0
crwdns2935297:012crwdne2935297:0
crwdns2947410:01crwdne2947410:0
Some of the bullet points can be broken up into information points or divided into more bullet points per step. Also, make sure that the exposure is high enough so that some of the images are brighter and visible.