crwdns2915892:0crwdne2915892:0
Before replacing the LCD module, make sure to back up your laptop.
crwdns2942213:0crwdne2942213:0
-
-
Unplug and power off the laptop.
-
-
-
Flip over the laptop so that the back panel of the laptop is facing up.
-
-
-
Use the Phillips #1 screwdriver to remove the eight 6.5 mm Phillips #1 screws.
-
-
-
Connect a grounding cord to a metal interface on the laptop.
-
-
crwdns2935267:0crwdne2935267:0Tweezers$4.99
-
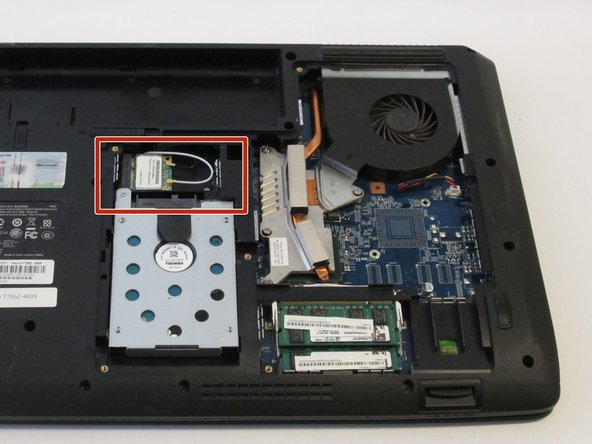
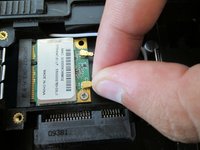
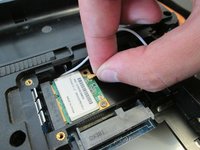
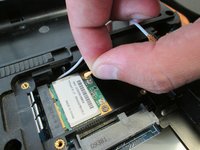
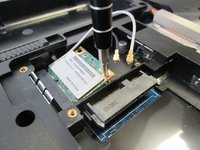
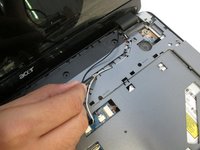
Remove the white antenna of the wireless module.
-
-
-
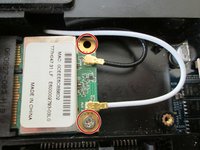
Remove the black antenna of the wireless module.
-
-
-
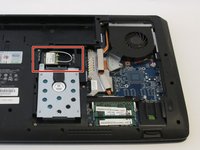
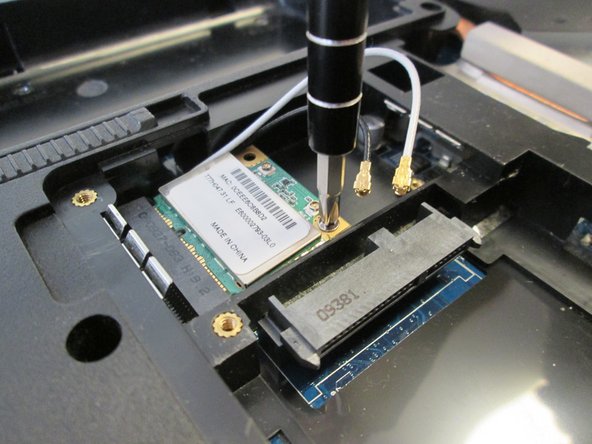
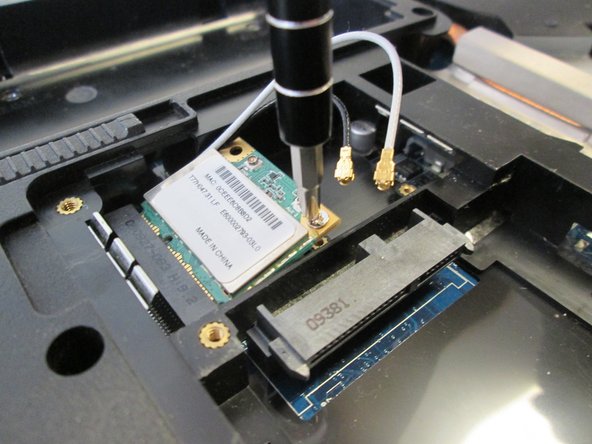
Use the Phillips #1 screwdriver to remove the two 4.8mm Phillips #1 screws.
-
-
-
Remove the wireless module from the laptop.
-
-
-
-
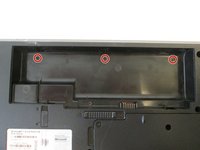
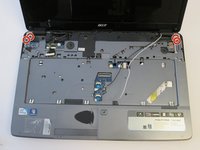
Use the Phillips #1 screwdriver to remove the two 6.5mm Phillips #1 screws.
-
-
-
Use the Phillips #1 screwdriver to remove the three 4.5mm Phillips #1 screws.
-
-
-
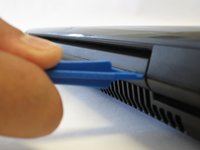
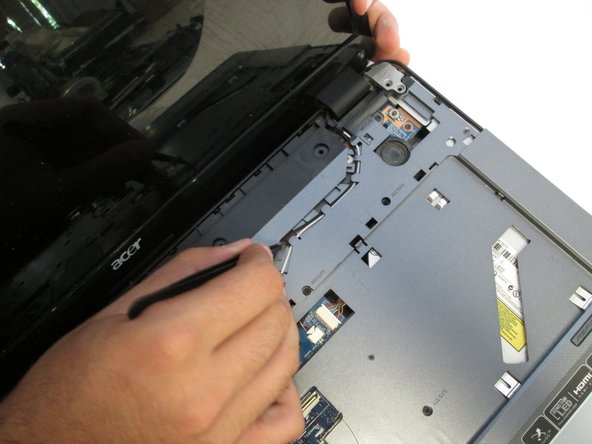
Orient the laptop so that the hinges between the LCD module and the laptop's bottom base are visible.
-
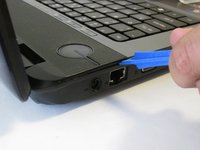
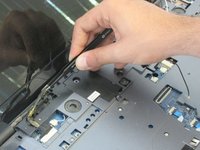
Use the plastic opening tools to separate the speaker panel from the laptop.
-
-
-
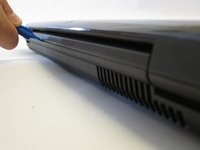
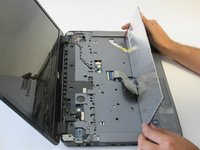
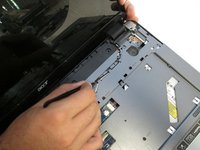
Flip over the LCD module of the laptop.
-
Use the plastic opening tools to separate the speaker panel from the laptop.
-
Repeat this step with the other side of the laptop.
-
-
-
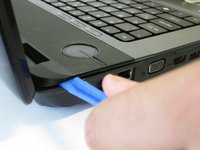
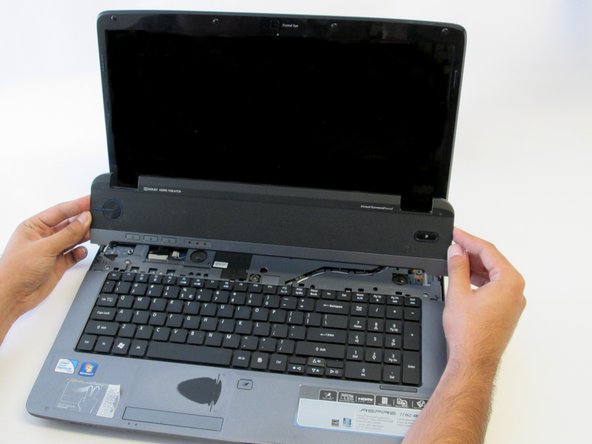
Gently hold the speaker panel by the sides and pull upwards to release the panel.
-
-
-
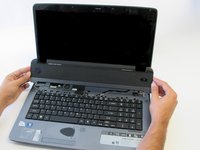
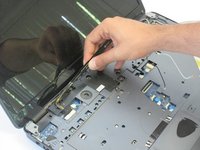
Use the flat end of the medium sized metal spudger tool to release the two tabs at the top of the keyboard.
-
-
-
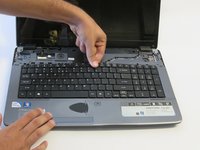
Insert a finger into the opening above the F11 key and pry the keyboard until it is released from the casing.
-
-
-
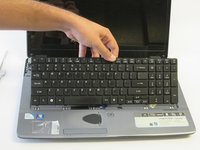
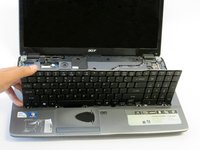
Gently raise the keyboard with your hands.
-
-
-
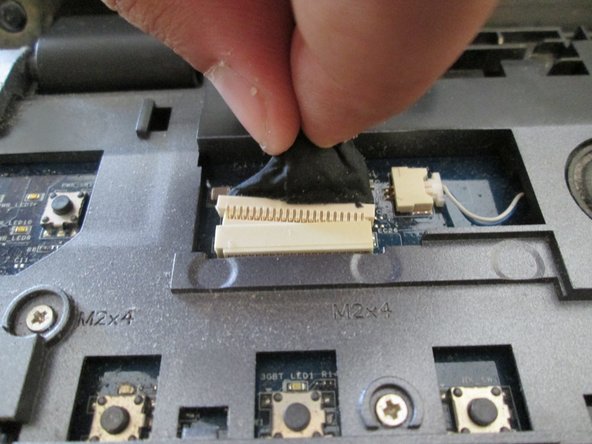
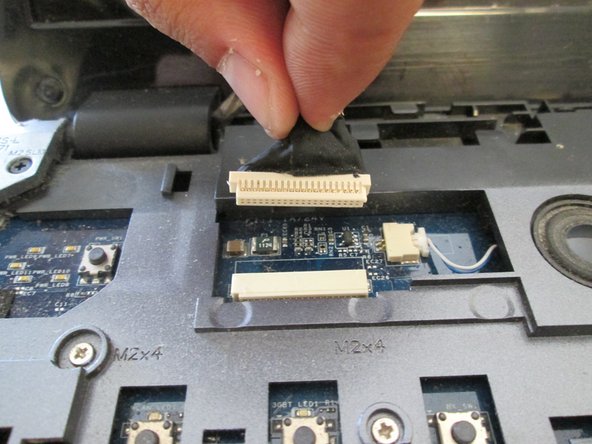
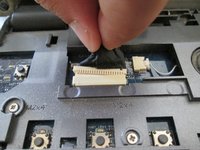
Lift the black latch upwards to release the ZIF connector.
-
-
-
Remove the keyboard from the keyboard slot.
-
-
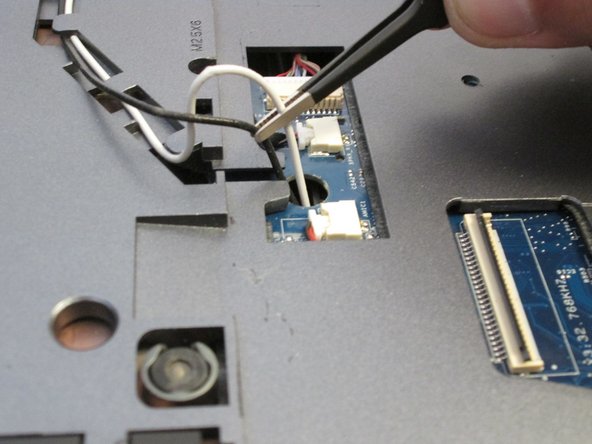
crwdns2935267:0crwdne2935267:0Tweezers$4.99
-
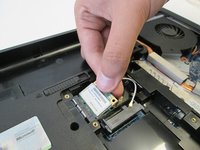
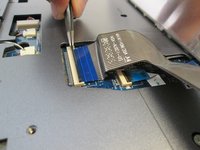
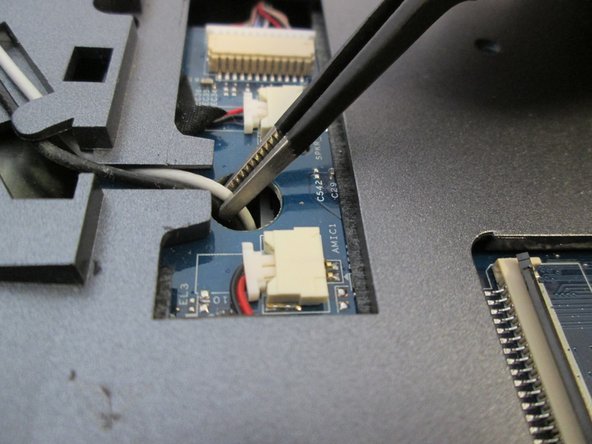
Use tweezers to pull the black and white antennas out of the hole.
-
-
-
Remove the antennas from underneath the tabs that hold them in place.
-
-
-
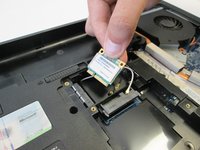
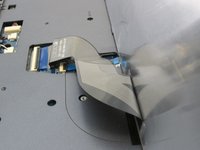
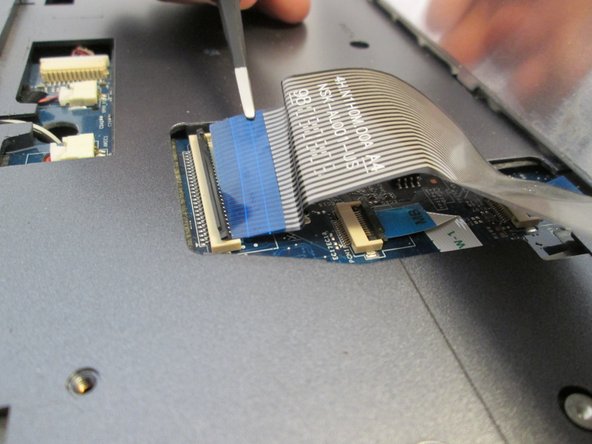
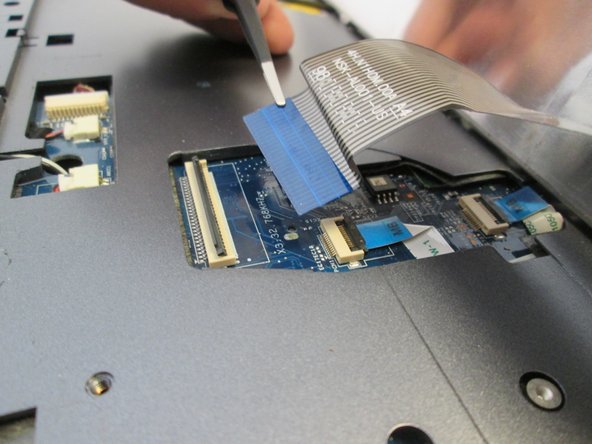
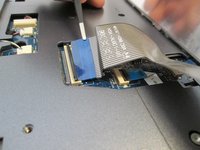
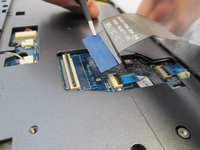
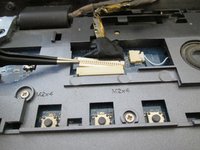
Use tweezers to push the cable out of the port.
-
-
-
Release the cable from the tabs holding it in place.
-
-
-
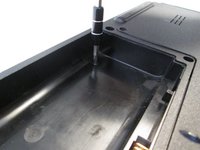
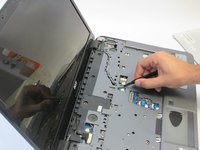
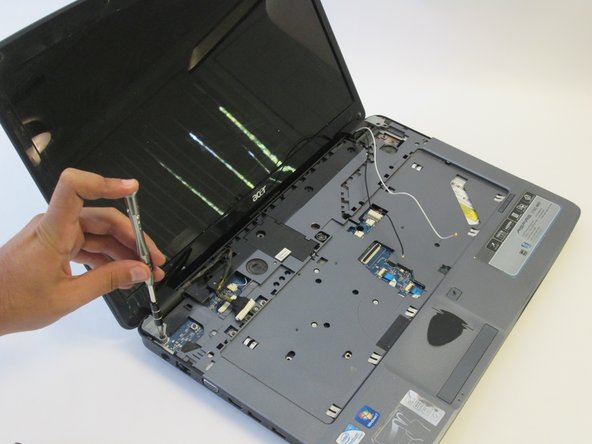
Use the Phillips #1 screwdriver to remove the four 11mm Phillips #1 screws.
-
-
-
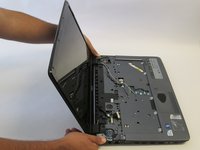
Grab the display assembly from the base and lift it up and off the base.
-


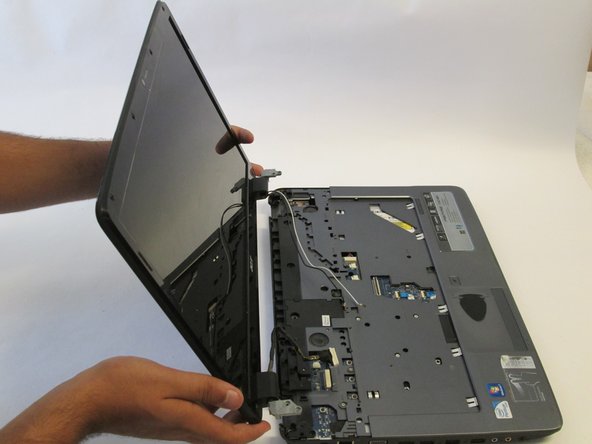

To reassemble your device, follow these instructions in reverse order.
To reassemble your device, follow these instructions in reverse order.
crwdns2935221:0crwdne2935221:0
crwdns2935227:0crwdne2935227:0
crwdns2915084:0crwdne2915084:0

UC Davis, Team 2-4, Oliver Fall 2016 crwdns2935289:0UC Davis, Team 2-4, Oliver Fall 2016crwdne2935289:0
UCD-OLIVER-F16S2G4
crwdns2931471:05crwdne2931471:0
crwdns2935297:010crwdne2935297:0