crwdns2915892:0crwdne2915892:0
This repair guide will provide you with a step-by-step process on how to replace the LCD on your Acer aspire 5334-2581 device.
crwdns2942213:0crwdne2942213:0
-
-
Please make sure your device is unplugged . Turn it over slowly, and place it on a flat surface.
-
-
-
This latch holds your battery in place, it should always be locked. Make sure to unlock this piece.
-
-
-
Locate the eject latch and push it so the battery can come out.
-
The battery will lift up once you have pushed the latch.
-
-
-
Lift the battery up, and it should just come right off. You should see the label with the part number.
-
-
-
-
Remove the 4 rubber supports from the screen. Then remove the screws underneath.
-
-
-
With a spudger, release the clips that hold the plastic frame to the back cover.
-
-
-
With caution disconnect the camera cable.
-
-
-
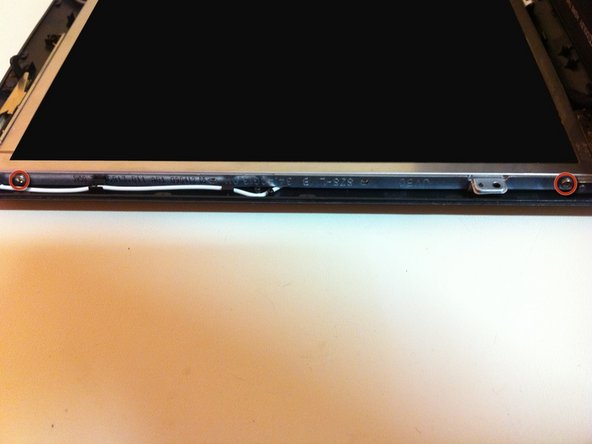
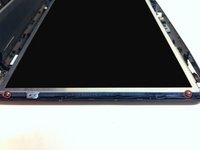
Remove the 4 screws in the side of the LCD. Screen should be able to come of the frame
-
-
-
Take the screen and flip on top of the keyboard.
-
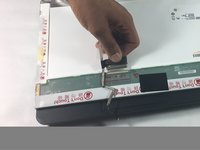
Unplug the cable connected to the video card.
-
-
-
Remove the tape, and unplug the display cable.
-
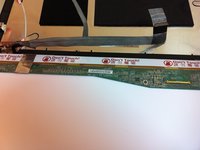
Unstick the cable from the back of the LCD, and now the LCD is free to come off. You are ready to install a new one
-


To reassemble your device, follow these instructions in reverse order.
To reassemble your device, follow these instructions in reverse order.
crwdns2935221:0crwdne2935221:0
crwdns2935229:02crwdne2935229:0
crwdns2915084:0crwdne2915084:0

UMass Dartmouth, Team 1-2, Catania Fall 2016 crwdns2935289:0UMass Dartmouth, Team 1-2, Catania Fall 2016crwdne2935289:0
UMASSD-CATANIA-F16S1G2
crwdns2931471:03crwdne2931471:0
crwdns2935297:05crwdne2935297:0