crwdns2915892:0crwdne2915892:0
This guide will help you replace the motherboard on this device. Make sure the battery is removed before beginning.
crwdns2942213:0crwdne2942213:0
-
-
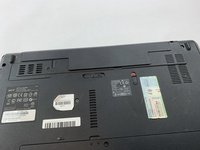
Turn over the laptop so the back is facing up.
-
-
-
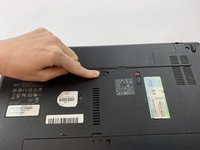
Next to the battery is a switch with a lock symbol on it.
-
Unlock the switch by sliding it to reveal a red unlock symbol.
-
-
-
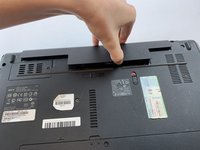
Pull the other switch completely while the red unlock symbol is still present. The battery pack should pop up a bit.
-
-
-
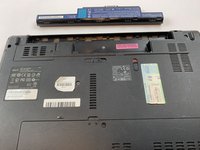
Remove the battery pack via the indentation at the top of the battery in between the two switches.
Is that whole bar the battery? Or is the battery inside of the part that you removed And where to buy a battery
-
-
-
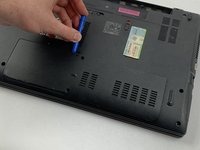
Unscrew the 8.6 mm screws on the back panel with a Phillips #0 screwdriver.
-
-
-
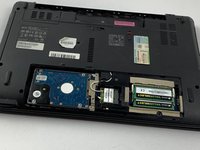
Using a plastic opening tool, lift up the panel and remove it completely.
-
-
-
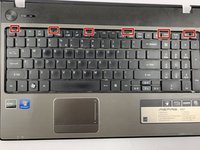
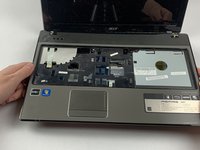
Flip the laptop over as shown.
-
Locate the six tabs keeping the keyboard in place.
-
-
-
crwdns2935267:0crwdne2935267:0Tweezers$4.99
-
Pull on the edge of the keyboard using a spudger or your hands.
-
As you pull on the keyboard, push the tabs in one by one using small tweezers.
-
-
-
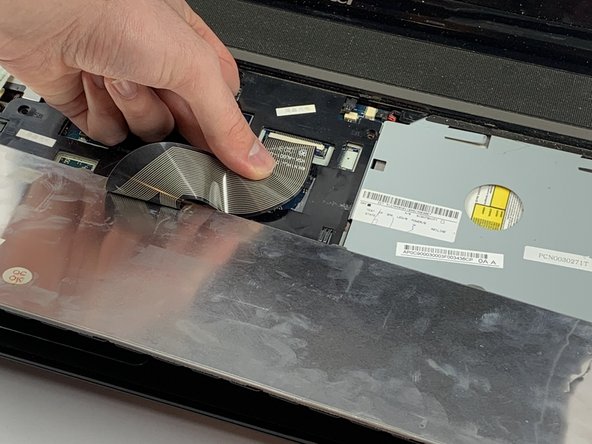
Once you pop it out and its separated, slowly turn it over to reveal its attachment to the connector.
-
-
-
Using tweezers, slide the the tab down. This will release the connector that you can gently pull out of the socket.
-
-
-
Once freed, remove the keyboard entirely and put it aside.
-
-
-
Flip the computer gently so that the back is facing you.
-
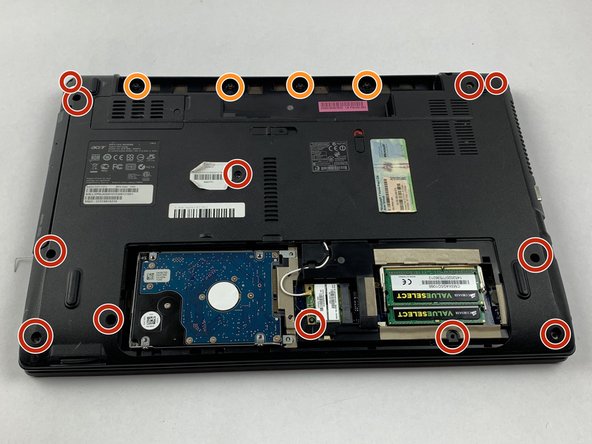
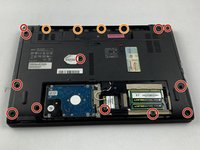
Remove all 12 of the 7.6 mm screws on the backside with a Phillips #0 screwdriver.
-
Remove 4 of the 5.4 mm screws on the backside with a Phillips #00 screwdriver.
-
-
-
Flip the computer back over.
-
Unscrew the seven 5.6 mm screws located on the top cover using a Phillips #0 screwdriver.
-
-
-
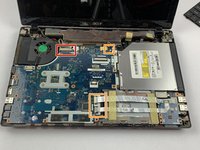
Locate the 4 connectors that must also be disconnected.
-
-
-
Disconnect the connector using tweezers to pull down the brown tabs.
-
For the smaller right and left speaker cables, pull out the black tab completely also using tweezers.
-
-
-
Using a plastic spudger or your hands, carefully lift up the corner of the top panel.
-
Continue to lift the panel until it is removed completely.
-
-
-
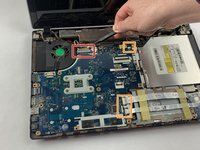
For the video cable connector, use tweezers to pull up on the white tabs to release the connector.
-
Remove the remaining connectors using the same technique from previous steps: pull on brown tabs using a tweezer.
-
-
-
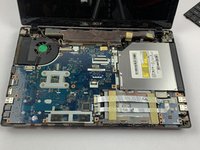
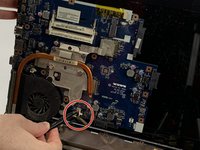
Unscrew the 5.6 mm screws keeping the motherboard in place using a Phillips #0 screwdriver.
-
-
-
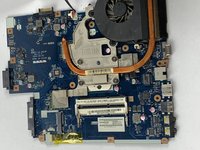
Lift up the motherboard from its base slowly.
-
-
-
Disconnect the cable attached to the bottom of the motherboard.
-
Pull on the brown tab using tweezers until its completely disconnected and remove the motherboard.
-


To reassemble your device, follow these instructions in reverse order.
To reassemble your device, follow these instructions in reverse order.
crwdns2935221:0crwdne2935221:0
crwdns2935229:03crwdne2935229:0

crwdns2915084:0crwdne2915084:0

USF Tampa, Team S1-G6, Leahy Spring 2019 crwdns2935289:0USF Tampa, Team S1-G6, Leahy Spring 2019crwdne2935289:0
USFT-LEAHY-S19S1G6
crwdns2931471:04crwdne2931471:0
crwdns2935297:05crwdne2935297:0
crwdns2947410:01crwdne2947410:0
ola tudo bem?
voce sabe a ultima versao da bios?