crwdns2915892:0crwdne2915892:0
Use this guide to replace the screen in your Acer Aspire 5 A515-46-R3UB laptop. This fix can be the solution if your device's screen is broken, cracked, or no longer working.
The screen is plastic and not glass, but if the screen is cracked, remove it with extra care to avoid injuring yourself on any sharp edges. Also, this repair will take some time to be done carefully so that none of the components break during the repair process. Be sure to power off your laptop completely and disconnect it from any power source before you begin.
crwdns2942213:0crwdne2942213:0
-
-
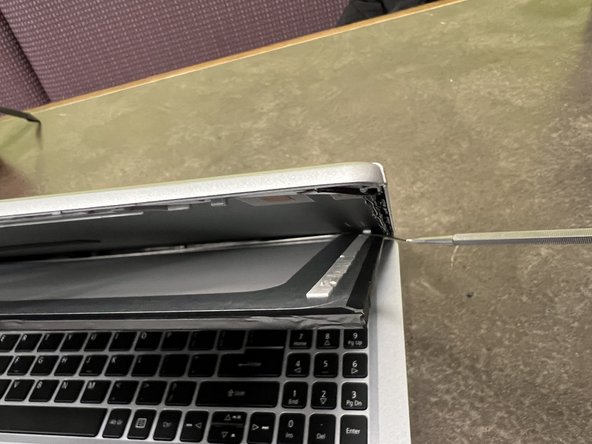
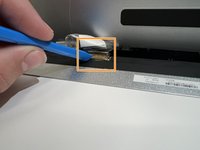
Slide the opening pick in between the silver cover and the black plastic bezel surrounding the screen.
-
-
-
Use an opening tool to lift the top right corner of the screen.
-
Pry the other side of the screen up with the opening tool as well.
-
-
-
-
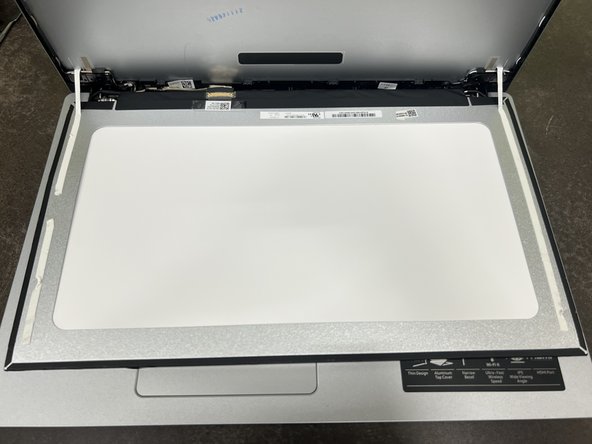
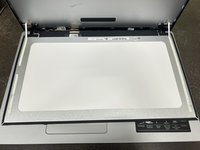
Use a spudger to pry the LCD from the grey plastic backing.
-
Remove the LCD, then place the assembly on the keyboard.
-
-
-
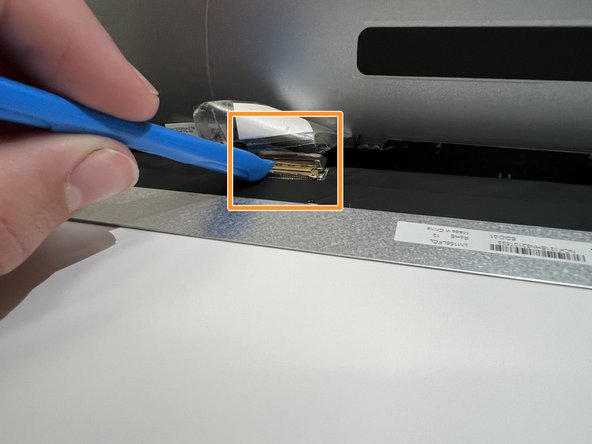
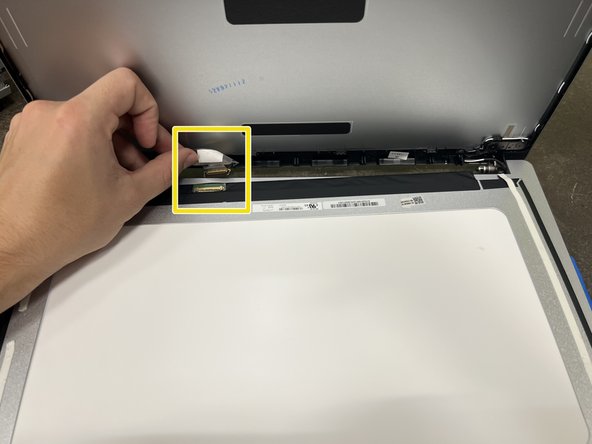
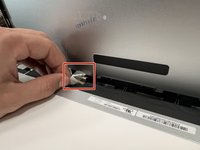
Remove the clear tape from the connector.
-
Use a spudger or opening tool, and flip up the small silver/brown locking flap.
-
Safely pull the display cable out of the connector.
-
Remove the screen.
-


To reassemble your device, follow these instructions in reverse order.
To reassemble your device, follow these instructions in reverse order.
crwdns2915084:0crwdne2915084:0

Western Carolina University, Team 1-3, Virtue Fall 2023 crwdns2935289:0Western Carolina University, Team 1-3, Virtue Fall 2023crwdne2935289:0
WCU-VIRTUE-F23S1G3
crwdns2931471:04crwdne2931471:0
crwdns2935297:05crwdne2935297:0