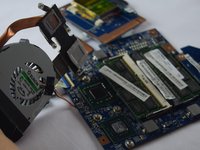
crwdns2915892:0crwdne2915892:0
This guide requires that you follow the Battery, Keyboard, and Hard Drive removal guides before you start this guide.
crwdns2942213:0crwdne2942213:0
-
-
Lay the acer upside down
-
Use your screwdriver to unscrew all 19 two 5mm Phillips screws from the case
-
After unscrewing all the screws, lift the case upwards and remove it
-
-
-
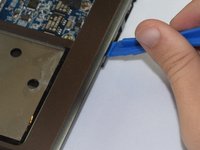
Go on the side of the computer
-
Use the plastic opening tool and press it in between the upper case and lover case
-
When the plastic tool is in between the cases, start going around the computer until both case are officially not connected
-
-
crwdns2935267:0crwdne2935267:0Tweezers$4.99
-
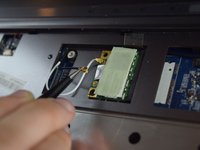
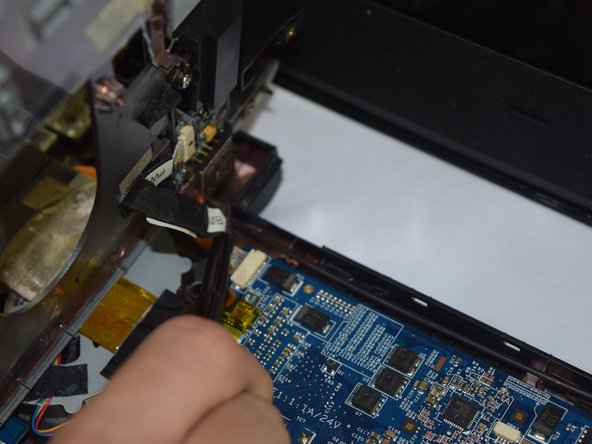
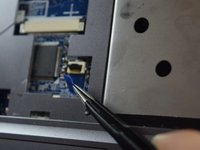
Get a pair of tweezers
-
Start to detach the wires that are connected to the computer
-
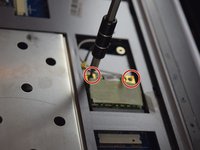
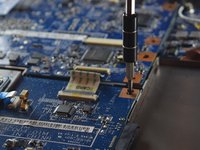
Get a screwdriver and unscrew the screws that are circled in the picture
-
-
-
-
Repeat Step 3 for detaching the rest of the tape
-
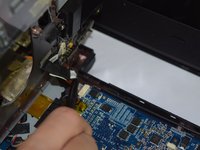
Disconnect all wires from the boards
-
-
-
Lift up the upper case
-
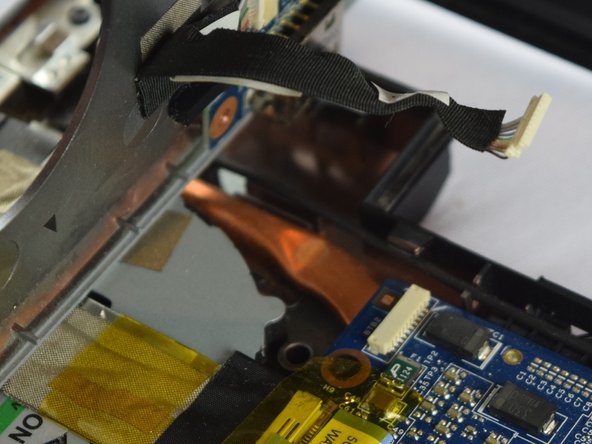
Disconnect the power supply wiring (the black wire)
-
-
-
Remove the three screws
-
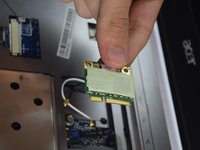
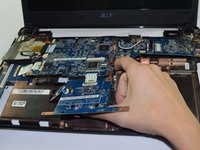
Pull the boards upward
-
Flip the boards upside down
-
-
-
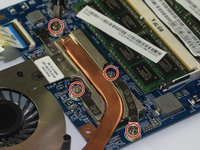
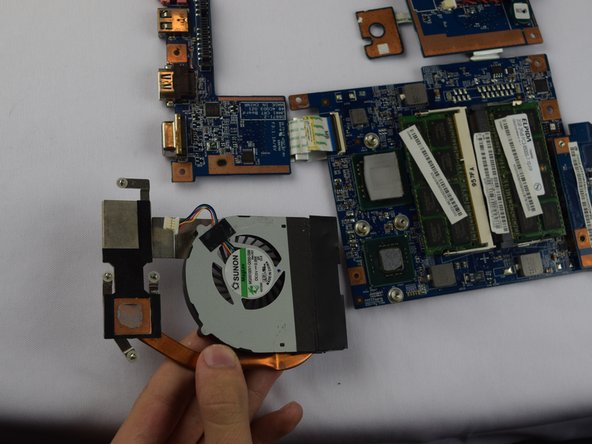
Remove the four (4) screws that are holding the CPU's cover on
-
-
-
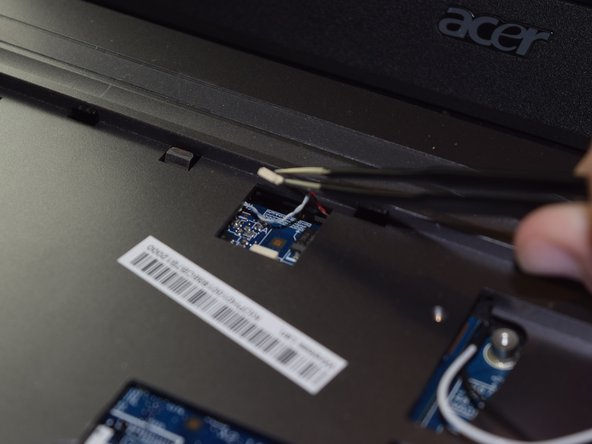
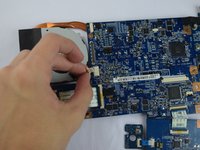
Gently detached the wire that is connected to the computer
-


To reassemble your device, follow these instructions in reverse order.
To reassemble your device, follow these instructions in reverse order.
crwdns2915084:0crwdne2915084:0

University of North Texas, Team S5-G3, Thomas Fall 2017 crwdns2935289:0University of North Texas, Team S5-G3, Thomas Fall 2017crwdne2935289:0
UNT-THOMAS-F17S5G3
crwdns2931471:04crwdne2931471:0
crwdns2935297:05crwdne2935297:0