crwdns2915892:0crwdne2915892:0
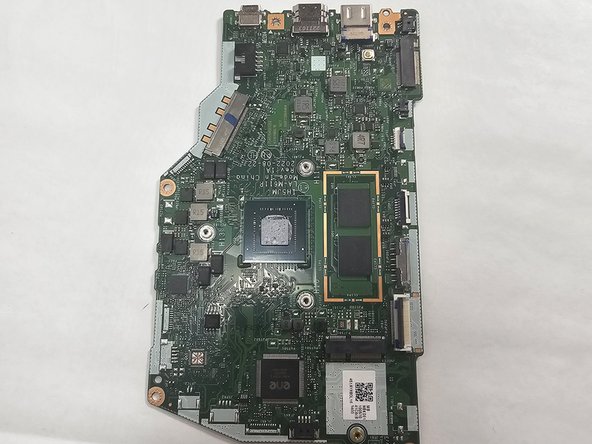
This guide shows you how to completely remove and replace your Acer Aspire 3 motherboard. Some tell-tale signs that your motherboard needs replacing are increased Windows errors, "blue screens of death", or the laptop failing to boot before shutting down.
crwdns2942213:0crwdne2942213:0
-
-
Power off the machine and unplug it from the wall charger.
-
-
-
Close the laptop and flip it over.
-
Remove the eleven 6.5 mm Phillips screws from the lower case.
-
-
-
Insert an opening pick between the lower case and chassis.
-
Pry around the entire perimeter until the lower case releases.
-
Remove the lower case.
-
-
crwdns2935267:0crwdne2935267:0Anti-Static Wrist Strap$7.95
-
-
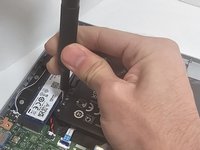
Grip the white battery connector and pull it directly out of its socket.
-
-
-
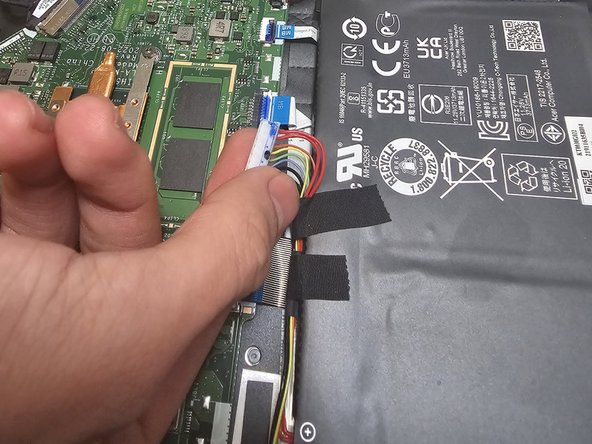
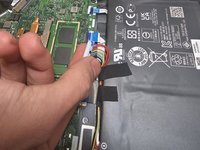
Unscrew the four 4.5 mm Phillips head screws that secure the battery.
-
-
-
-
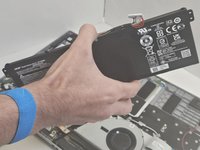
Lift the battery up and out of the chassis.
-
-
-
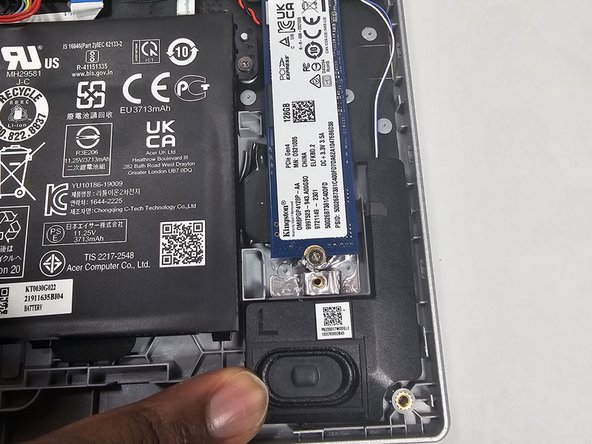
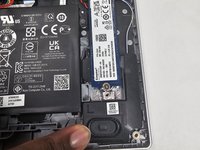
Unscrew the one 2.2 mm Phillips head screw that secures the SSD.
-
-
-
Gently grasp the drive and pull it directly out of its socket.
-
-
-
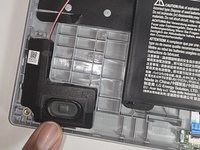
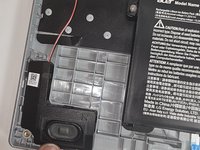
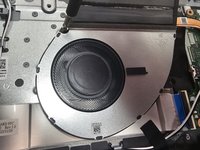
Find the speakers at the bottom left and right corners of the laptop.
-
-
-
Disconnect the white ribbon cable from the motherboard, near the Network Interface Card, by lifting up the black locking flap then gently pulling it out of its socket.
-
-
-
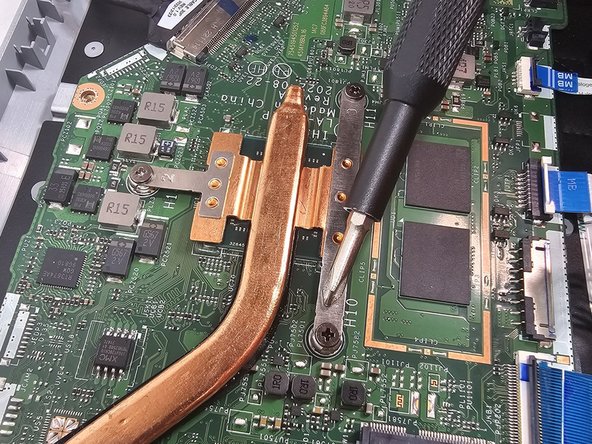
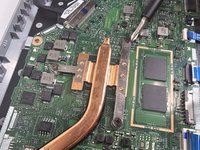
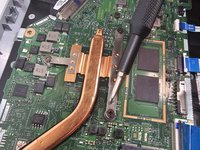
Unscrew the three 4.5 mm screws that secure the heatsink.
-
-
-
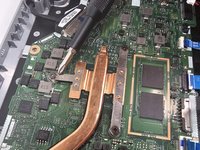
Unscrew the two 5.6 mm Phillips screws that secure the fan.
-
Disconnect the fan cable connection.
-
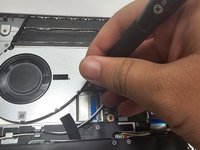
Remove the fan.
-
-
-
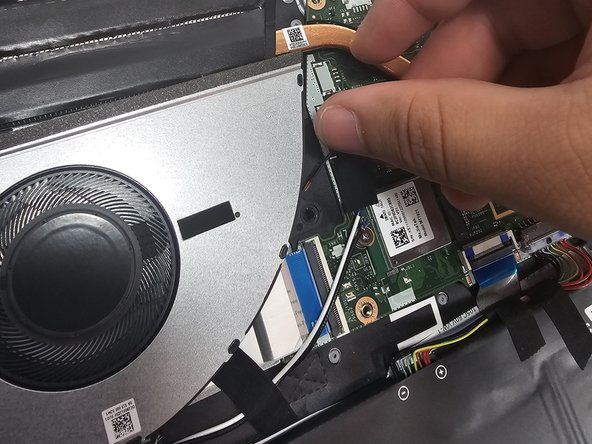
Remove the one 4.5 mm Phillips screw holding the motherboard to the laptop frame.
-
-
-
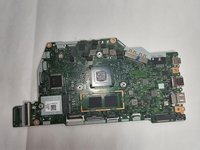
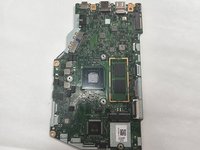
Gently lift the motherboard up and out of the chassis.
-


To reassemble your device, follow these instructions in reverse order.
crwdns2935287:0crwdne2935287:0

Gateway, Team 1-1, Pee Fall 2023 crwdns2935289:0Gateway, Team 1-1, Pee Fall 2023crwdne2935289:0
GCC-PEE-F23S1G1
crwdns2931471:04crwdne2931471:0
crwdns2935297:06crwdne2935297:0