crwdns2915892:0crwdne2915892:0
Replacing your display will give you a fresh new screen when your old one is not functioning properly.
crwdns2942213:0crwdne2942213:0
-
-
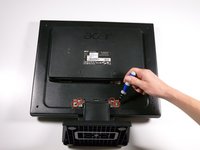
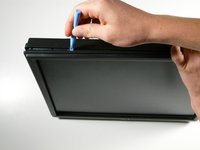
Grab the hinge cover with both hands on either side of the stand.
-
Squeeze inwards with your thumbs and fingers and lift up to remove the hinge cover.
-
-
-
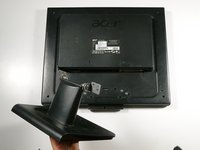
Remove the four 12.1 mm Phillips #2 screws that hold the stand to the monitor.
-
Lift up to detach the stand.
-
-
-
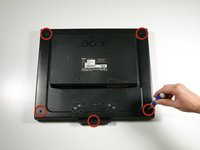
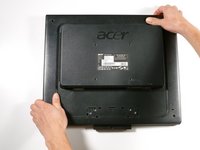
Remove the five 9.5 mm Phillips #2 screws located around the perimeter of the monitor.
-
-
-
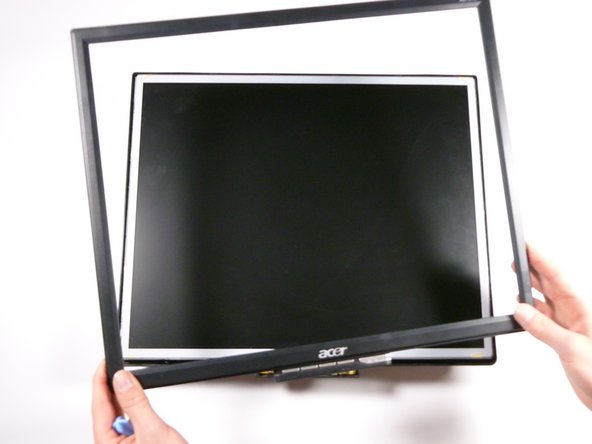
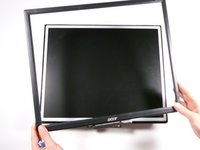
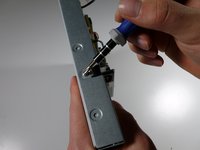
Starting at the corner of the monitor, wedge the small plastic opening tool between the back cover and the display bezel.
-
Tilt the plastic opening tool up to separate the back cover from the display bezel.
-
Continue around the perimeter of the monitor until the display bezel comes off.
-
-
-
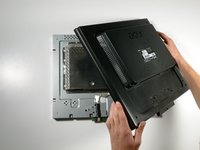
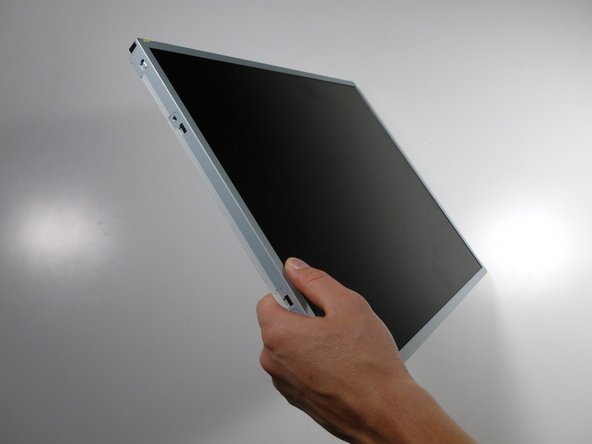
Grab the corners of the monitor and jiggle them upwards to detach the back cover from the inside of the monitor.
-
Lift the back cover up.
-
-
-
-
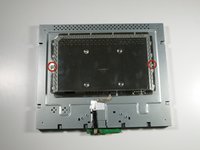
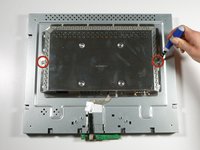
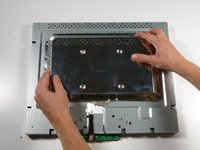
Remove the two 5.7 mm Phillips #2 screws located on either side of the EMI shield.
-
-
-
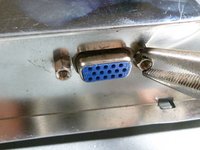
Using a nut driver (or if necessary, needle-nose pliers), remove the two nuts on either side of the VGA input.
-
-
-
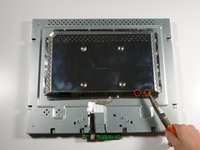
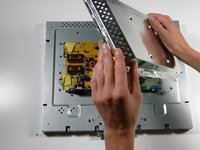
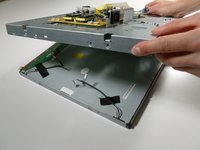
Grab the metal casing by the sides and slide it down towards the bottom of the monitor.
-
Lift up to remove the metal casing.
-
-
-
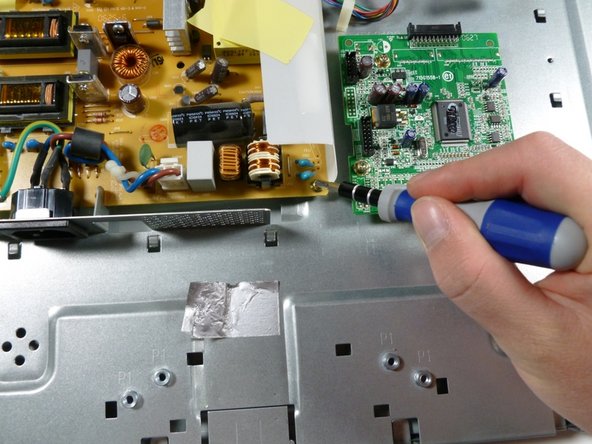
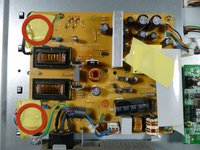
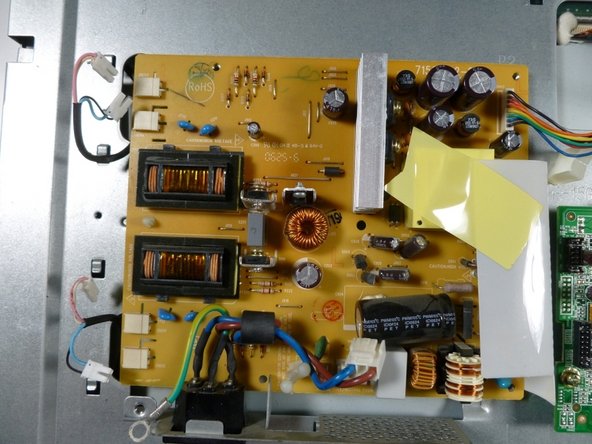
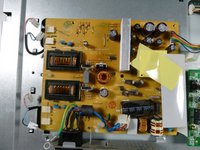
Remove the three gold 7.5 mm Phillips #2 screws and one silver 8.3 mm Phillips #2 screw from the power supply.
-
-
-
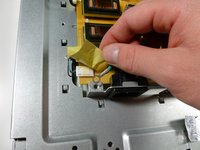
Remove the two pieces of yellow tape on the left side of the power supply.
-
-
-
Remove the four little white clips located underneath the pieces of tape by lifting up on their left side.
-
-
-
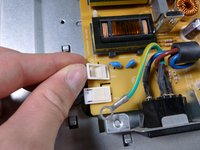
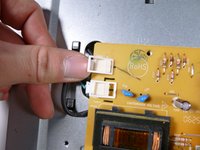
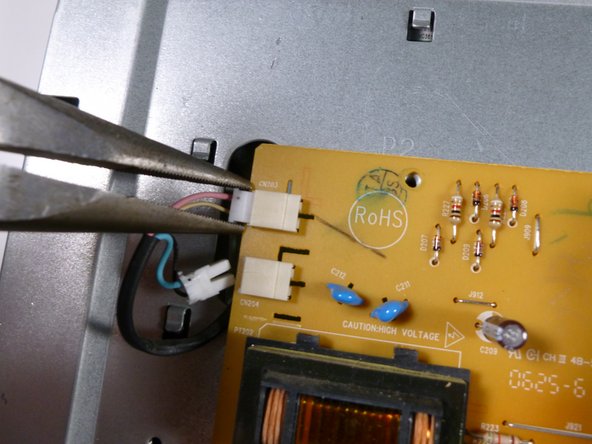
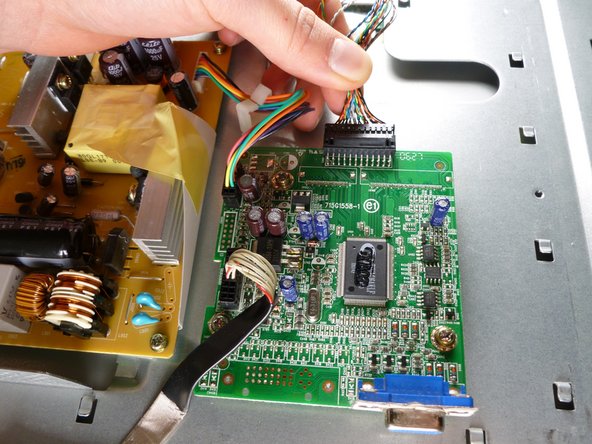
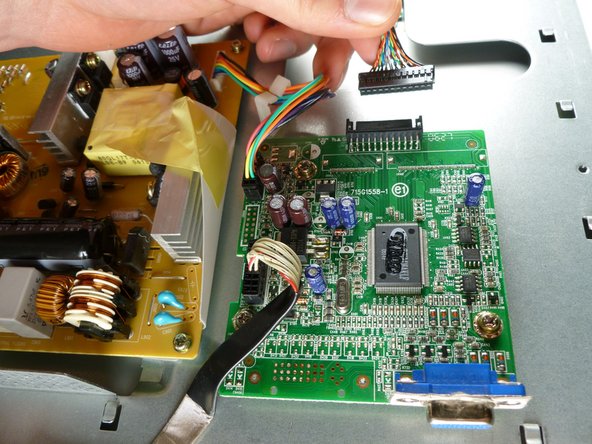
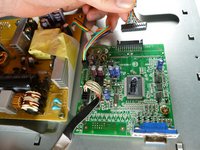
With the needle-nose pliers, remove the four display connectors by pulling directly left.
-
-
-
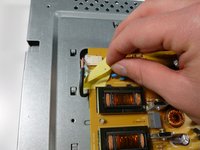
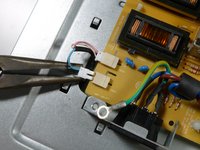
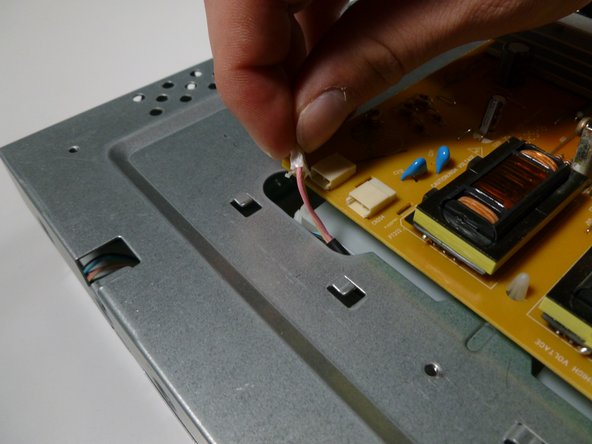
Remove the display cable located at the top of the circuit board by pulling it out towards the top of the monitor.
-
-
-
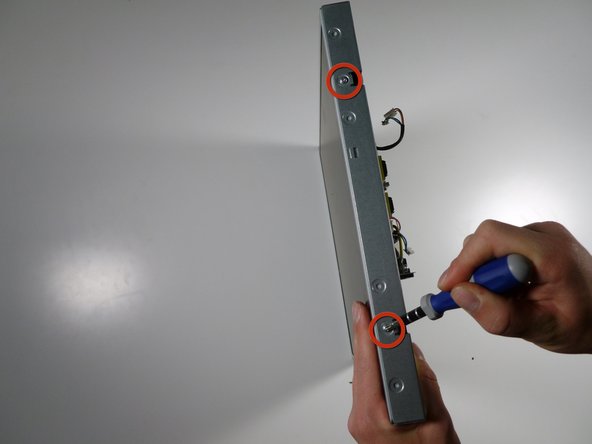
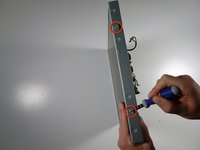
Remove the two 6.6 mm Phillips #2 screws located on both sides of the metal casing (four screws total).
-
-
-
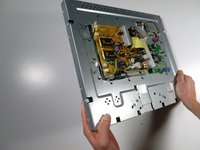
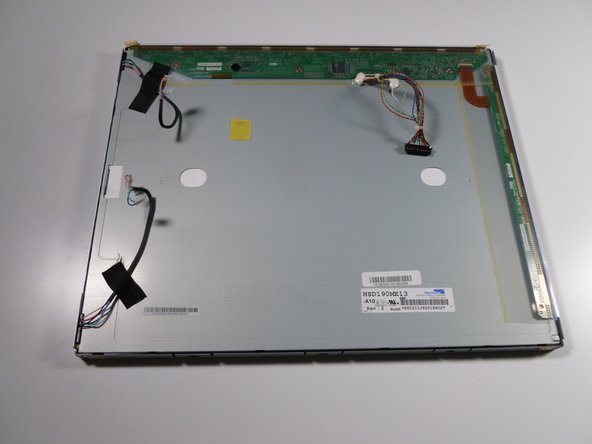
Feed all four of the connector wires down through the metal casing.
-
-
-
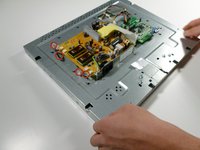
Grab the sides of the metal casing and lift up.
-


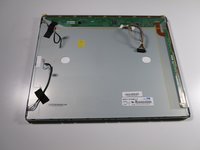

To reassemble your device, follow these instructions in reverse order.
crwdns2935221:0crwdne2935221:0
crwdns2935229:07crwdne2935229:0
crwdns2935287:0crwdne2935287:0

Cal Poly, Team 20-26, Maness Fall 2011 crwdns2935289:0Cal Poly, Team 20-26, Maness Fall 2011crwdne2935289:0
CPSU-MANESS-F11S20G26
crwdns2931471:04crwdne2931471:0
crwdns2935297:014crwdne2935297:0