crwdns2933423:0crwdne2933423:0
crwdns2947577:0crwdnd2947577:0crwdne2947577:0

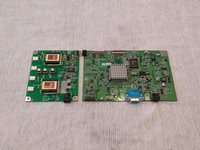
Acer AL1714 Video Display Board

crwdns2869540:0crwdne2869540:0: 1.5K

crwdns2959988:0crwdne2959988:0

crwdns2959990:0crwdne2959990:0
2
crwdns2959992:0crwdne2959992:0
25
crwdns2959994:0crwdne2959994:0
108
crwdns2959996:0crwdne2959996:0
1,482
crwdns2955950:0crwdne2955950:0: 0

crwdns2959998:0crwdne2959998:0

crwdns2960000:0crwdne2960000:0
crwdns2959984:0crwdne2959984:0: 2

crwdns2959974:02crwdne2959974:0

crwdns2959986:0crwdne2959986:0: 4

crwdns2959982:04crwdne2959982:0

crwdns2955944:0crwdne2955944:0: crwdns2931273:0crwdne2931273:0
crwdns2955970:0crwdne2955970:0: crwdns2937801:0crwdne2937801:0
crwdns2862633:0crwdne2862633:0

crwdns2862634:0crwdne2862634:0

Acer AL1714 Video Display Board

crwdns2959930:0crwdne2959930:0

crwdns2943215:0crwdne2943215:0

    1. Acer AL1714 Video Display Board, Video Display Board: crwdns2935265:01crwdnd2935265:01crwdnd2935265:02crwdne2935265:0 Acer AL1714 Video Display Board, Video Display Board: crwdns2935265:01crwdnd2935265:02crwdnd2935265:02crwdne2935265:0
      • Turn the monitor face-down.

      • Unscrew the 5 screws holding back cover on.

      • (This may require flipping the monitor over and shaking the screws loose once they're already unscrewed)

      crwdns2952109:0crwdne2952109:0

      crwdns2917038:0crwdne2917038:0

    2. Acer AL1714 Video Display Board: crwdns2935265:02crwdnd2935265:01crwdnd2935265:03crwdne2935265:0 Acer AL1714 Video Display Board: crwdns2935265:02crwdnd2935265:02crwdnd2935265:03crwdne2935265:0 Acer AL1714 Video Display Board: crwdns2935265:02crwdnd2935265:03crwdnd2935265:03crwdne2935265:0
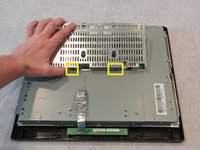
      • Take the edge tool or a metal ruler and insert it into the bezel.

      • Apply pressure and push down.

      • Do the same to the right side.

      • Once the side of the bezel facing you is decoupled, take the back cover and pry it loose.

      crwdns2952109:0crwdne2952109:0

      crwdns2917038:0crwdne2917038:0

    3. Acer AL1714 Video Display Board: crwdns2935265:03crwdnd2935265:01crwdnd2935265:03crwdne2935265:0 Acer AL1714 Video Display Board: crwdns2935265:03crwdnd2935265:02crwdnd2935265:03crwdne2935265:0 Acer AL1714 Video Display Board: crwdns2935265:03crwdnd2935265:03crwdnd2935265:03crwdne2935265:0
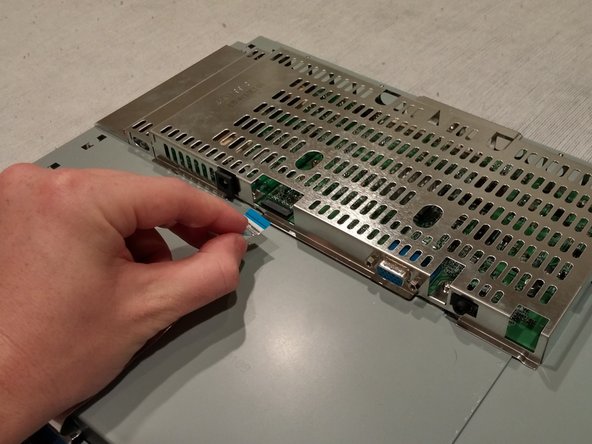
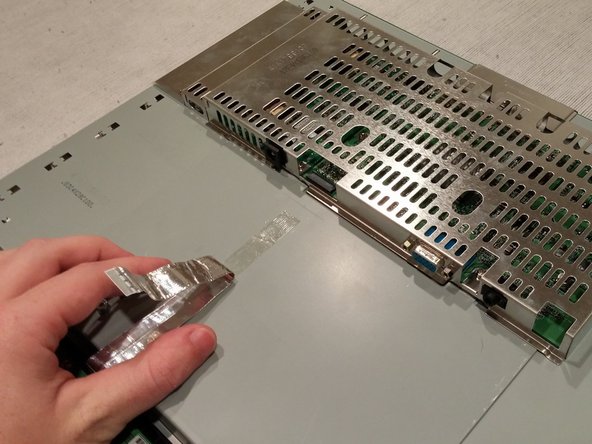
      • Remove the Flat Flex Cable from the Power Supply board located under the metal cage.

      • Pull the cord back and out of the way.

      • (It may be stuck down with adhesive)

      crwdns2952109:0crwdne2952109:0

      crwdns2917038:0crwdne2917038:0

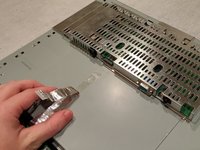
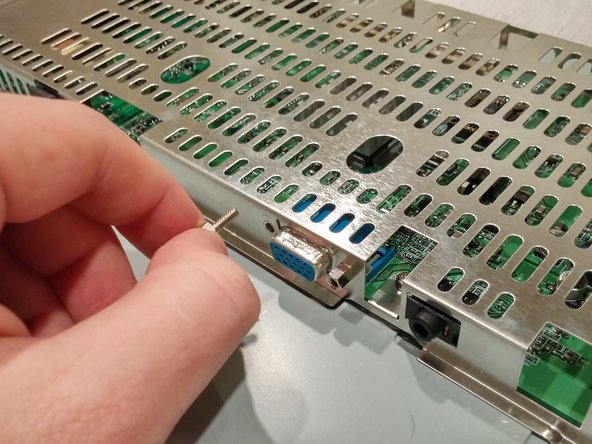
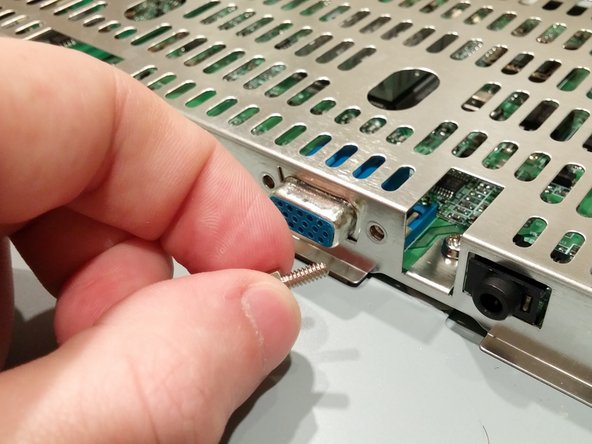
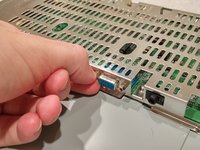
    4. Acer AL1714 Video Display Board: crwdns2935265:04crwdnd2935265:01crwdnd2935265:03crwdne2935265:0 Acer AL1714 Video Display Board: crwdns2935265:04crwdnd2935265:02crwdnd2935265:03crwdne2935265:0 Acer AL1714 Video Display Board: crwdns2935265:04crwdnd2935265:03crwdnd2935265:03crwdne2935265:0
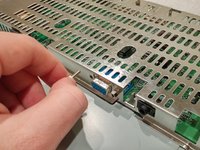
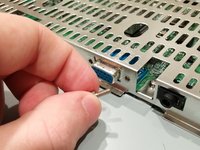
      • Unscrew the cord anchors for the VGA port.

      • (Use needle nose pliers if they're too tight for removal by hand)

      crwdns2952109:0crwdne2952109:0

      crwdns2917038:0crwdne2917038:0

    5. Acer AL1714 Video Display Board: crwdns2935265:05crwdnd2935265:01crwdnd2935265:02crwdne2935265:0 Acer AL1714 Video Display Board: crwdns2935265:05crwdnd2935265:02crwdnd2935265:02crwdne2935265:0
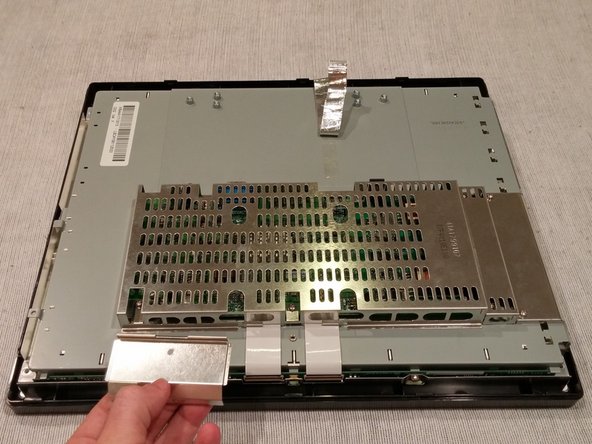
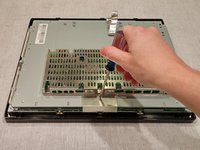
      • Turn the monitor around.

      • Unscrew the 1 screw holding the Flat power Cable cover on.

      • Lift up and remove the Flat Power Cable cover.

      • (Careful: this may be sharp)

      crwdns2952109:0crwdne2952109:0

      crwdns2917038:0crwdne2917038:0

    6. Acer AL1714 Video Display Board: crwdns2935265:06crwdnd2935265:01crwdnd2935265:01crwdne2935265:0
      • Unscrew the 5 screws holding the metal cage on.

      crwdns2952109:0crwdne2952109:0

      crwdns2917038:0crwdne2917038:0

    7. Acer AL1714 Video Display Board: crwdns2935265:07crwdnd2935265:01crwdnd2935265:02crwdne2935265:0 Acer AL1714 Video Display Board: crwdns2935265:07crwdnd2935265:02crwdnd2935265:02crwdne2935265:0
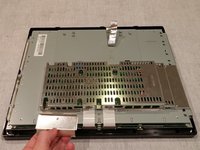
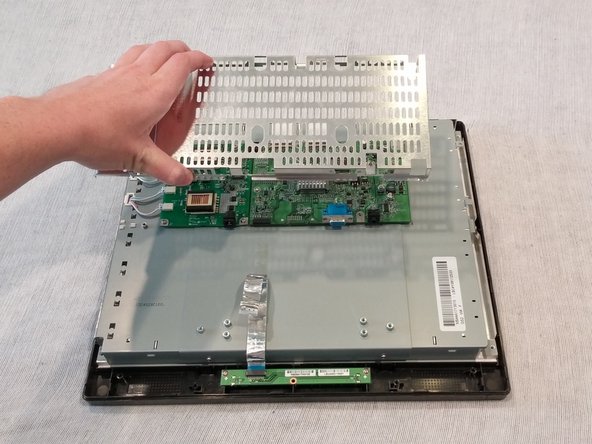
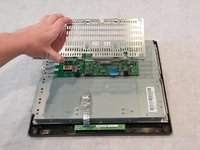
      • Turn the monitor around.

      • Lift the back of the metal cage slightly.

      • Pull the cage toward self.

      • (Must be careful to free the cover of the VGA port and the power supply input)

      crwdns2952109:0crwdne2952109:0

      crwdns2917038:0crwdne2917038:0

    8. Acer AL1714 Video Display Board: crwdns2935265:08crwdnd2935265:01crwdnd2935265:03crwdne2935265:0 Acer AL1714 Video Display Board: crwdns2935265:08crwdnd2935265:02crwdnd2935265:03crwdne2935265:0 Acer AL1714 Video Display Board: crwdns2935265:08crwdnd2935265:03crwdnd2935265:03crwdne2935265:0
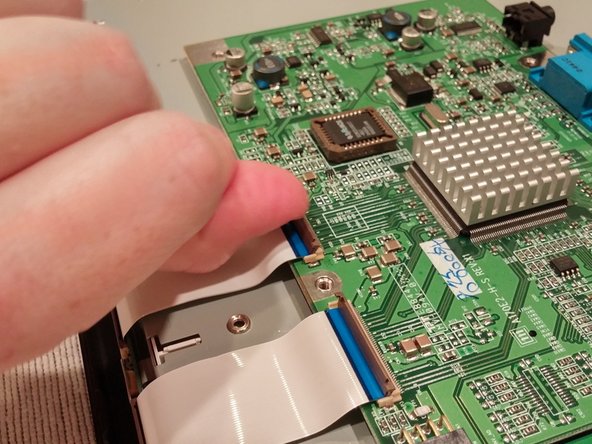
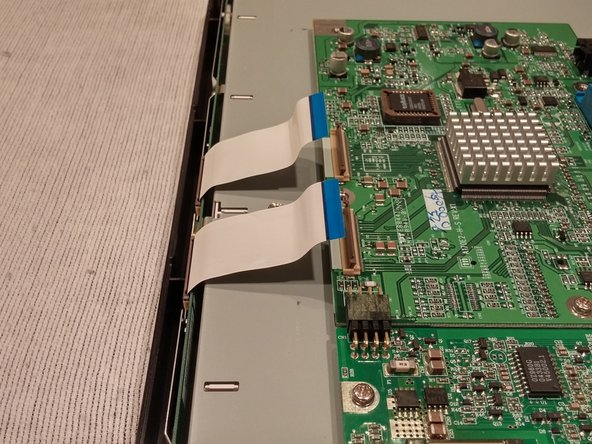
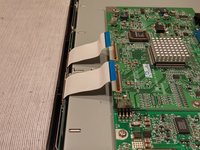
      • Lift the Flat Flex Cable holder tabs to release the cables.

      • Lift up on the Flat Flex Cables and bend them out of the working area.

      crwdns2952109:0crwdne2952109:0

      crwdns2917038:0crwdne2917038:0

    9. Acer AL1714 Video Display Board: crwdns2935265:09crwdnd2935265:01crwdnd2935265:03crwdne2935265:0 Acer AL1714 Video Display Board: crwdns2935265:09crwdnd2935265:02crwdnd2935265:03crwdne2935265:0 Acer AL1714 Video Display Board: crwdns2935265:09crwdnd2935265:03crwdnd2935265:03crwdne2935265:0
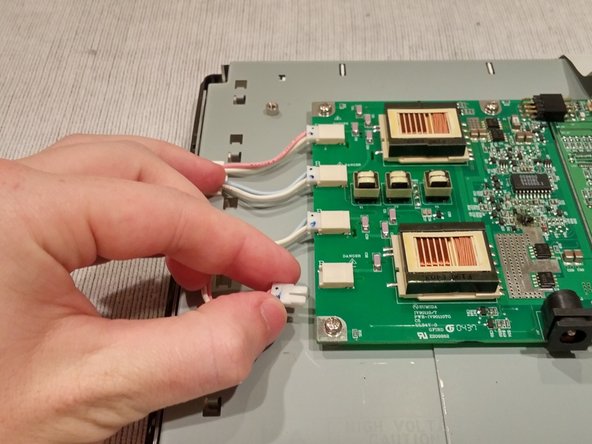
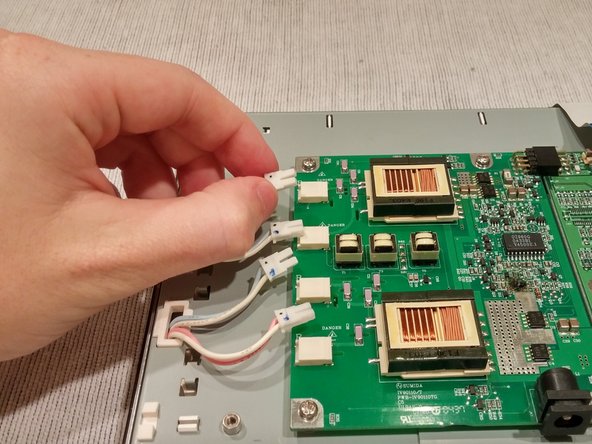
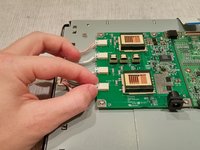
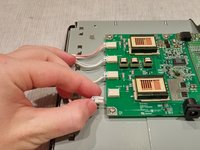
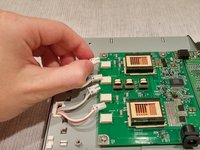
      • Unplug the 4 backlight wires from their ports on the Power Supply Board.

      • (Considering their size, the best way to unplug the backlight wires is by slowly jiggling the wires out of place)

      crwdns2952109:0crwdne2952109:0

      crwdns2917038:0crwdne2917038:0

    10. Acer AL1714 Video Display Board: crwdns2935265:010crwdnd2935265:01crwdnd2935265:01crwdne2935265:0
      • Unscrew the 5 screws holding the Power Supply and Video Display boards.

      crwdns2952109:0crwdne2952109:0

      crwdns2917038:0crwdne2917038:0

    11. Acer AL1714 Video Display Board: crwdns2935265:011crwdnd2935265:01crwdnd2935265:02crwdne2935265:0 Acer AL1714 Video Display Board: crwdns2935265:011crwdnd2935265:02crwdnd2935265:02crwdne2935265:0
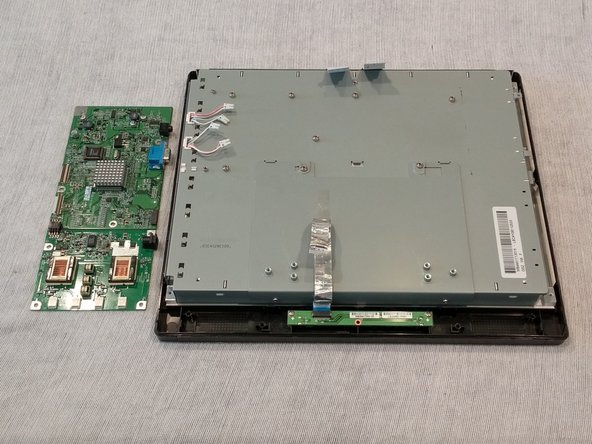
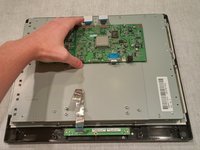
      • Lift and remove the joined boards.

      crwdns2952109:0crwdne2952109:0

      crwdns2917038:0crwdne2917038:0

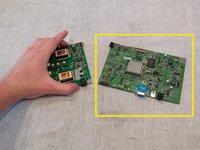
    12. Acer AL1714 Video Display Board: crwdns2935265:012crwdnd2935265:01crwdnd2935265:03crwdne2935265:0 Acer AL1714 Video Display Board: crwdns2935265:012crwdnd2935265:02crwdnd2935265:03crwdne2935265:0 Acer AL1714 Video Display Board: crwdns2935265:012crwdnd2935265:03crwdnd2935265:03crwdne2935265:0
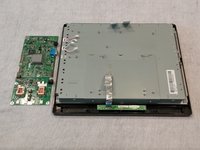
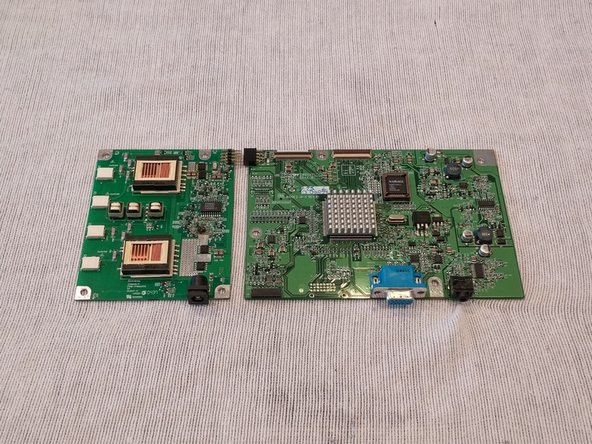
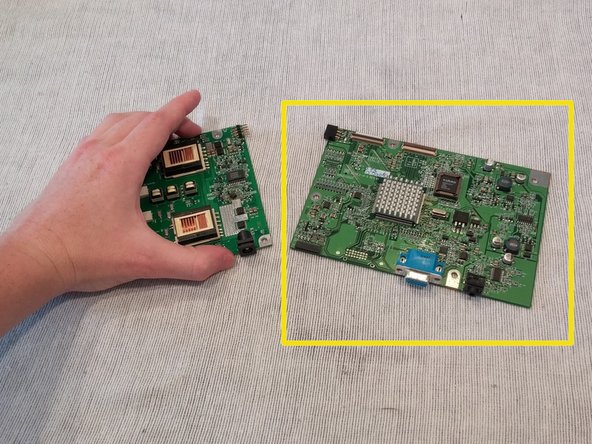
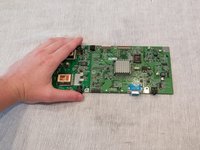
      • Carefully detach the two boards at their connector joint.

      • Replace outlined part.

      crwdns2952109:0crwdne2952109:0

      crwdns2917038:0crwdne2917038:0

crwdns2915888:0crwdne2915888:0

To reassemble your device, follow these instructions in reverse order.

crwdns2935221:0crwdne2935221:0

crwdns2935229:02crwdne2935229:0

Christopher Kelly

crwdns2935283:009/25/14crwdne2935283:0

590 crwdns2915208:0crwdne2915208:0

crwdns2935297:04crwdne2935297:0

crwdns2935287:0crwdne2935287:0

USF Tampa, Team 1-3, Brown Fall 2014 crwdns2935289:0USF Tampa, Team 1-3, Brown Fall 2014crwdne2935289:0

USFT-BROWN-F14S1G3

crwdns2931471:03crwdne2931471:0

crwdns2935297:060crwdne2935297:0

crwdns2947412:00crwdne2947412:0

crwdns2917038:0crwdne2917038:0

crwdns2936625:0crwdne2936625:0:

crwdns2936751:024crwdne2936751:0 2

crwdns2936753:07crwdne2936753:0 25

crwdns2936753:030crwdne2936753:0 108

crwdns2959996:0crwdne2959996:0 1,482